Context
One cool feature that I've been wanting to try out in Unity is Object Pooling. The benefit of pooling objects is that they Improve performance and memory use by reusing objects from a fixed pool instead of allocating and freeing objects individually.
I like this diagram from the Game Programming Patterns book:

Here we see how allocating items individually can cause memory fragmentation, which can lead to improper use of resources, slower execution, and just a mess in where all objects are located.
In this chapter, the book talks about a very common use for pooling objects, particle systems! 🎉
I wanted to go ahead and try out Unity's object pooling system, so I created a test scene to randomly spawn bouncing spheres in a 30 by 30 flat platform:

I'll show how I got to this point.
Scene Setup
Let's create a scene where we'll test the object pooling technique:
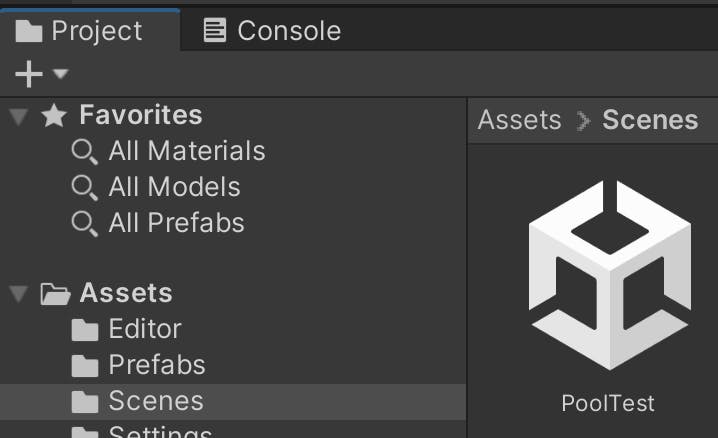
Create a new cube that will be our bouncing floor, and actually call it BouncingFloor:
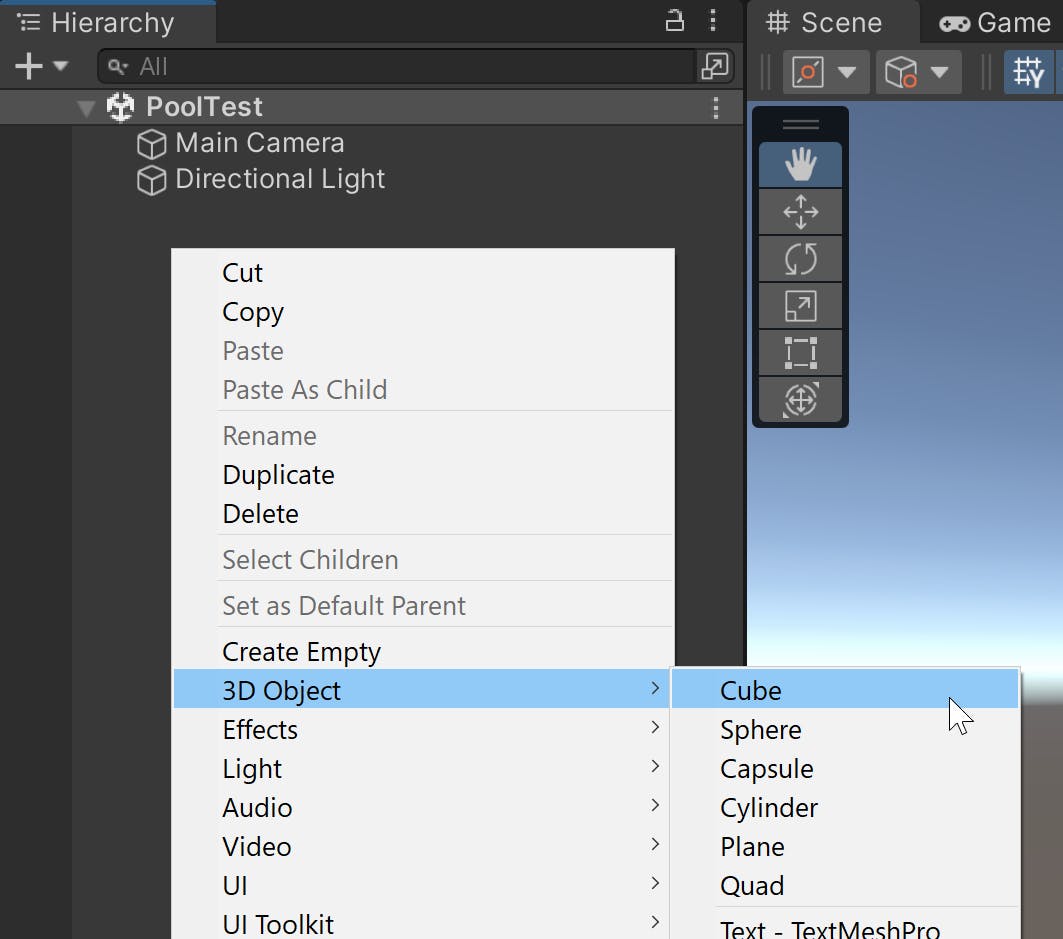
It should look like this:

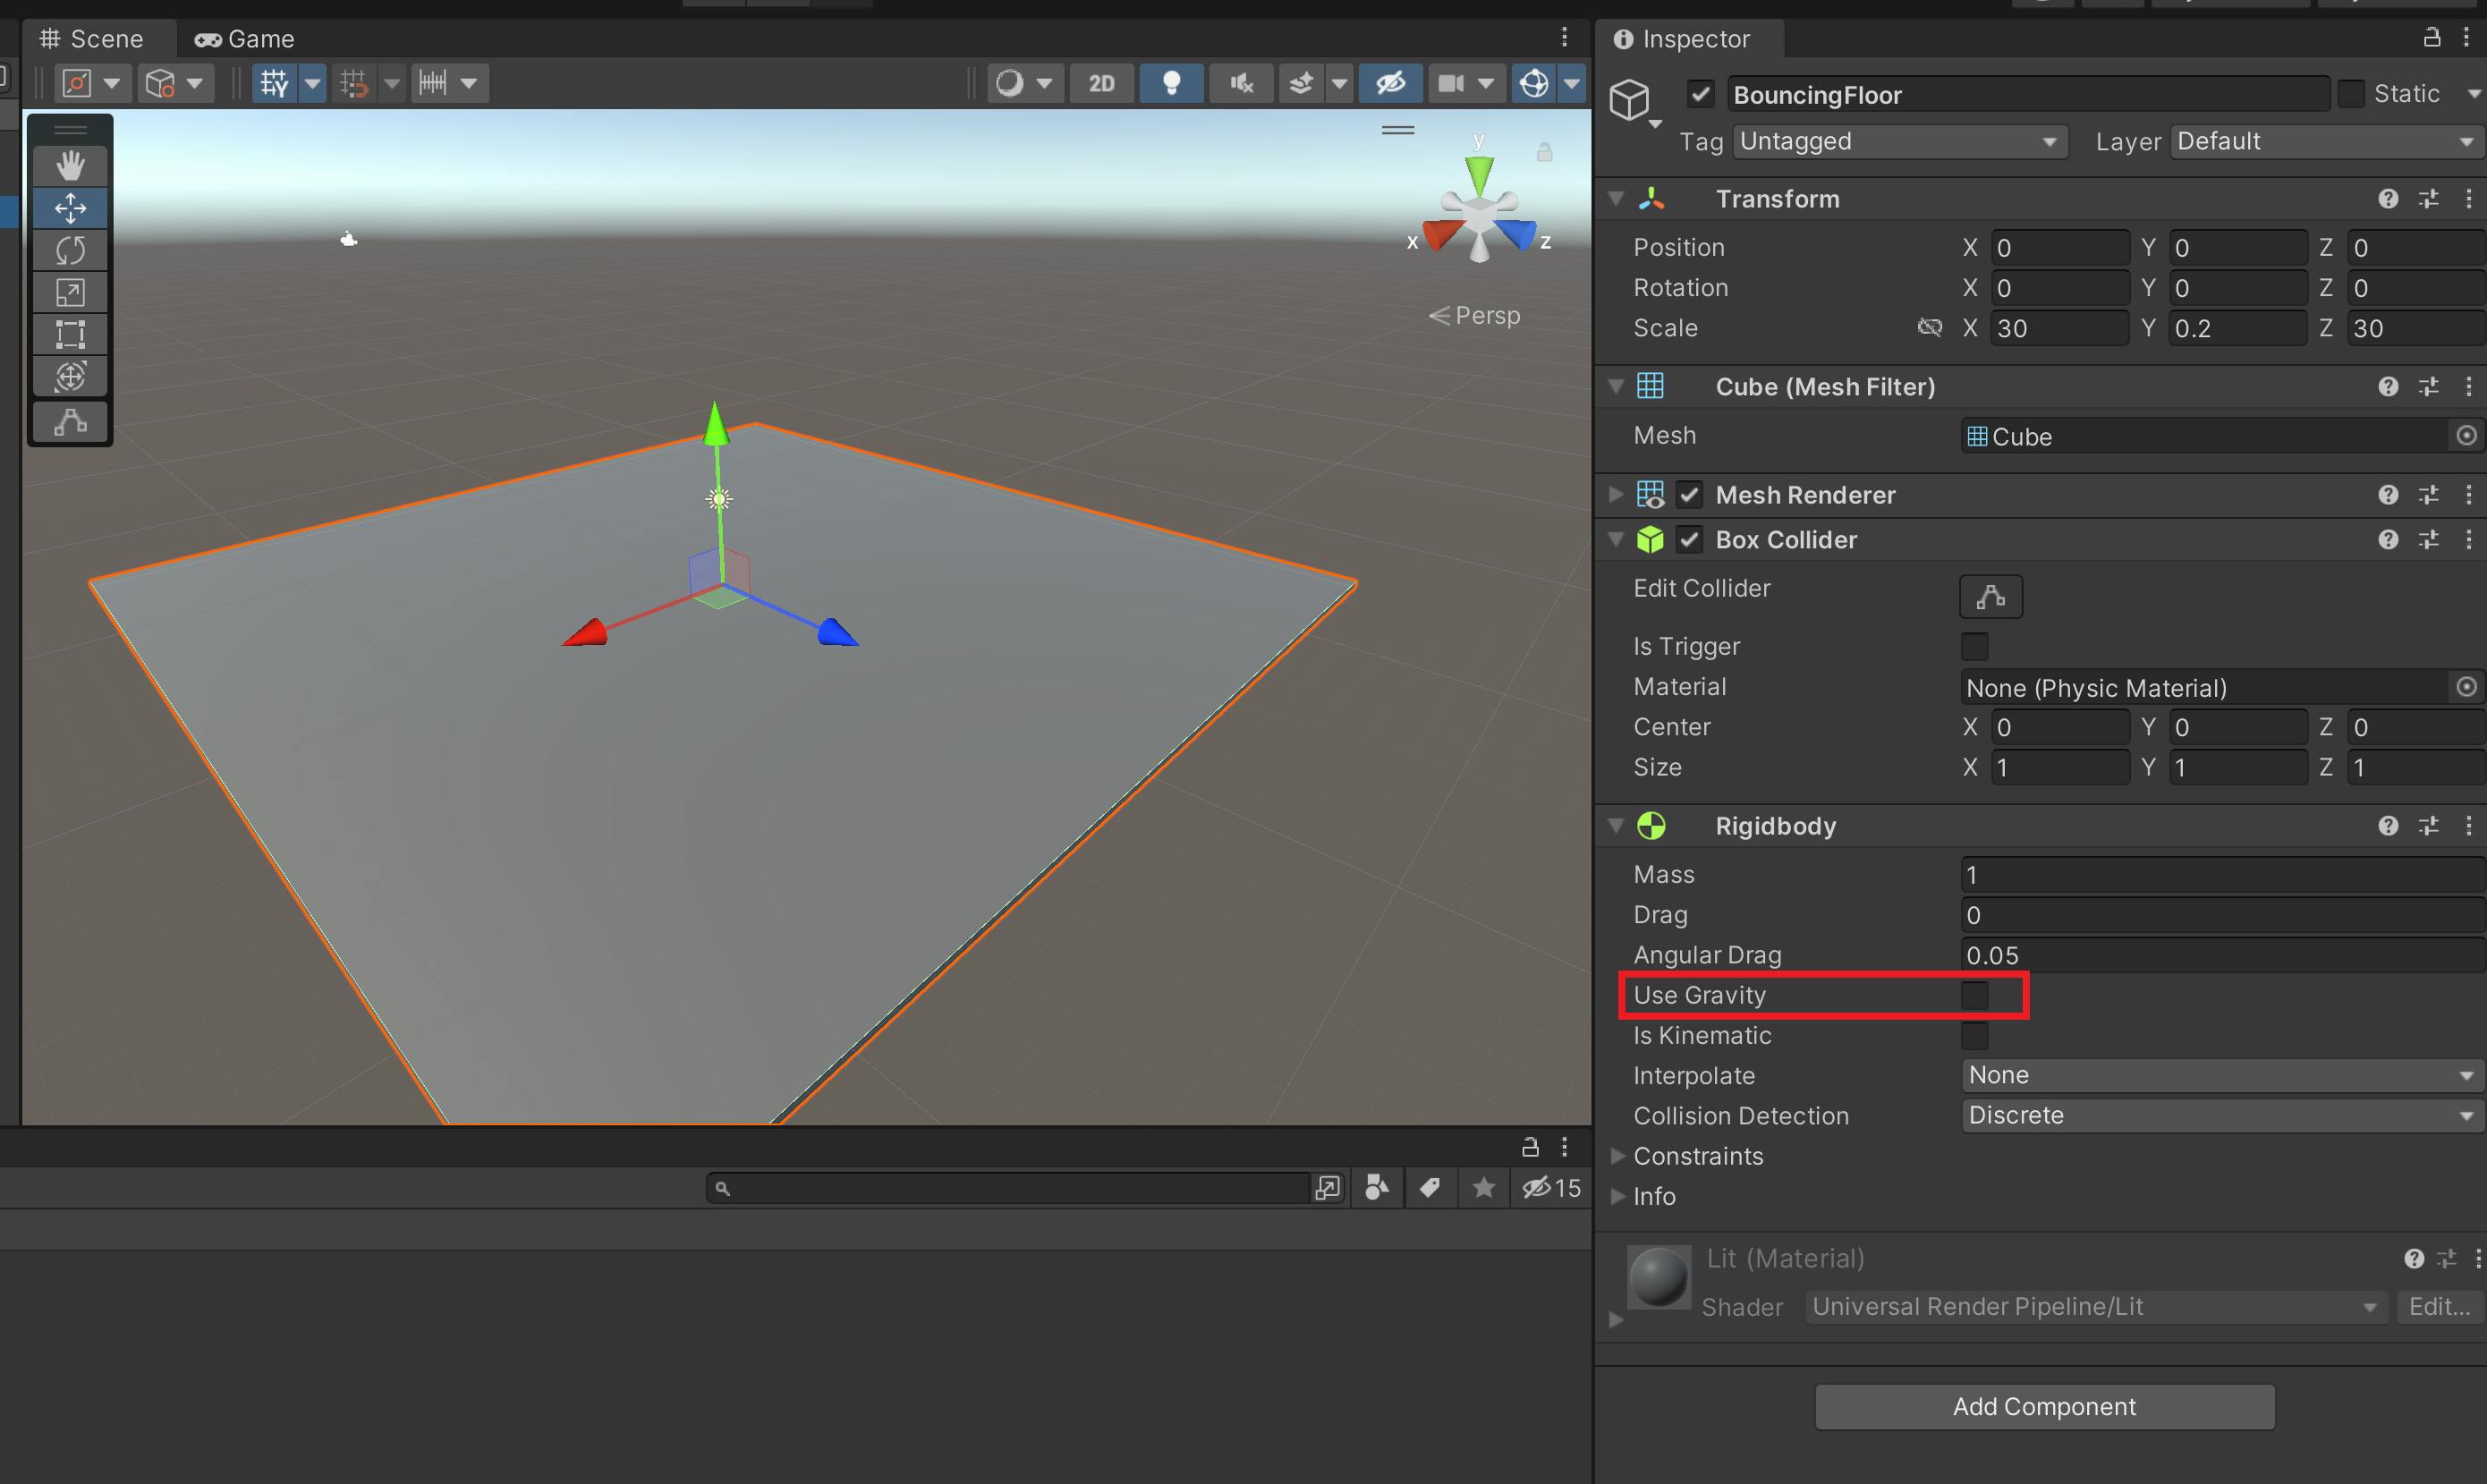
Go ahead and modify the BouncingFloor with the following:
add a
RigidBodycomponent to it , and make sure that theUse Gravitycheckbox is unchecked, as in disabled.Modify the
Transformcomponent values to be like the ones shown in the image below.
It should look like this:
We need a better view of the floor, so let's go ahead and modify the Main Camera's transform values to the following:

This should get you this view, and when you play the scene, the ground should remain in position. This is thanks to disabling the Use Gravity setting in the floor's ridigbody component.
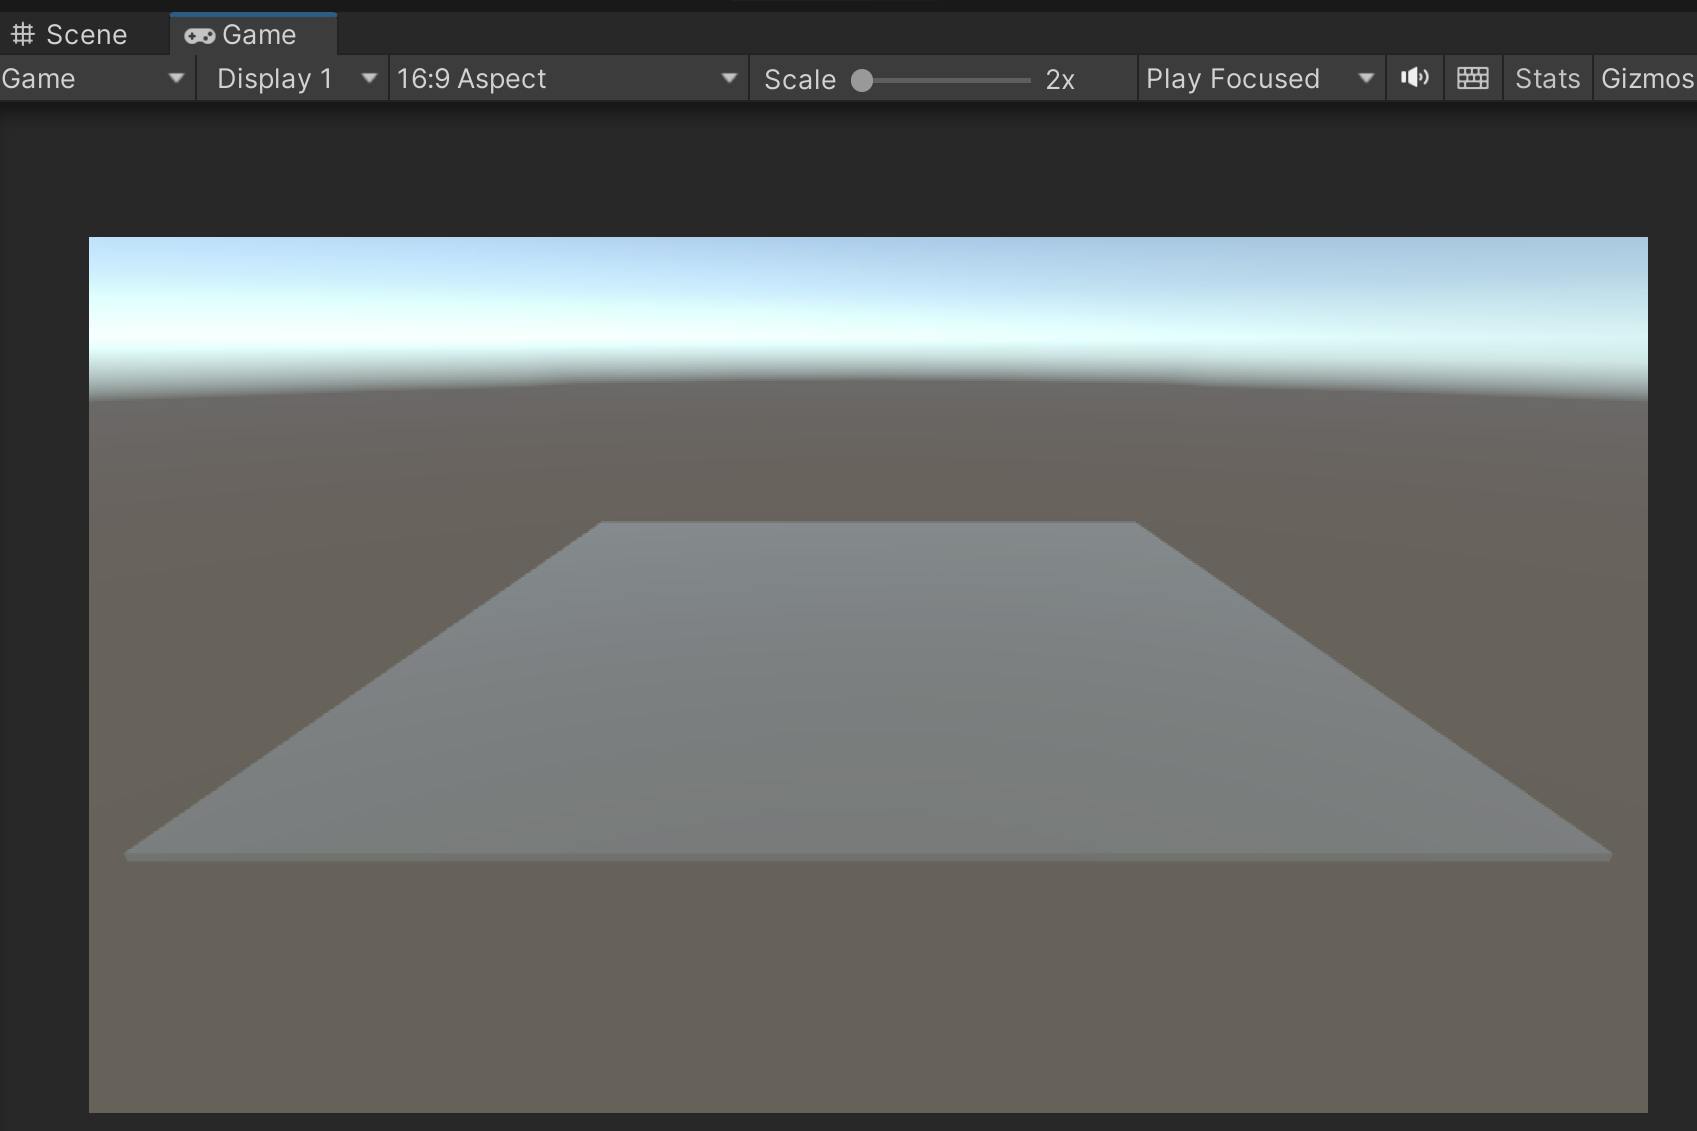
Nothing going on so far, but we'll change that real soon. 😁
Object Prefab Setup
Creating the Prefab:
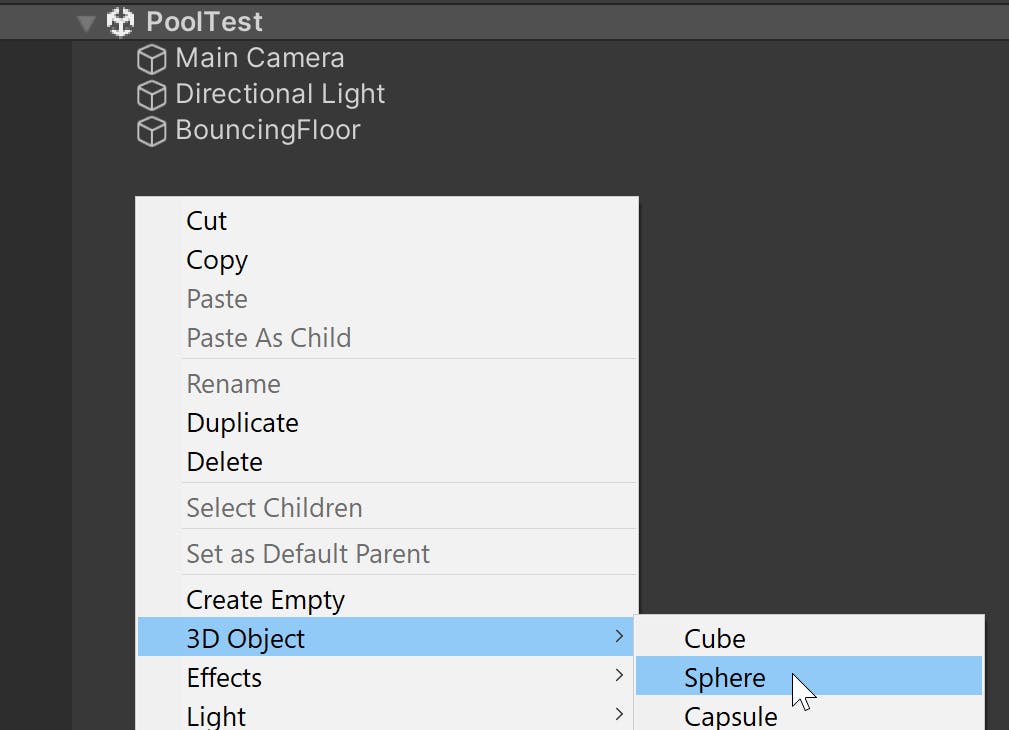
Let's add a new sphere to the scene, and call it BouncingBall:
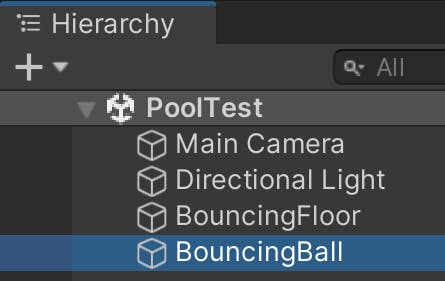
It should look like this on the Hierarchy view:
Now drag the BouncingBall object to a folder in the Project view, preferably a folder called Prefabs:
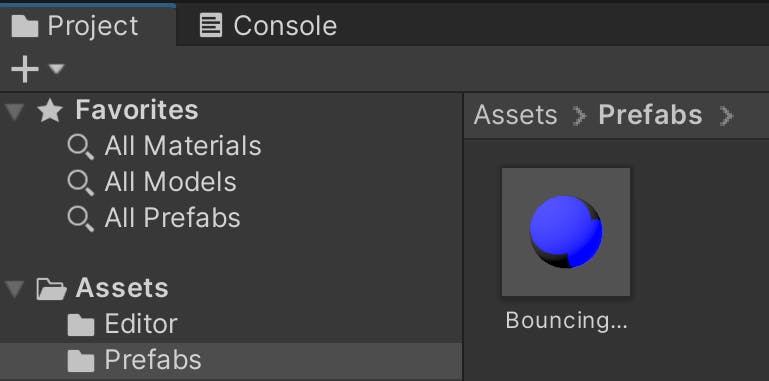
Honestly, I don't know why my sphere looked like that when I created it. 😅 In the end, the material doesn't matter for the purposes of this tutorial.
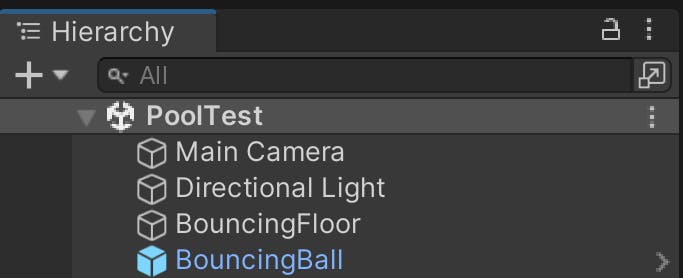
You'll also know you successfully created a prefab because the original GO's name will turn light blue:
Making the sphere bounce!
Create a Bouncy Material
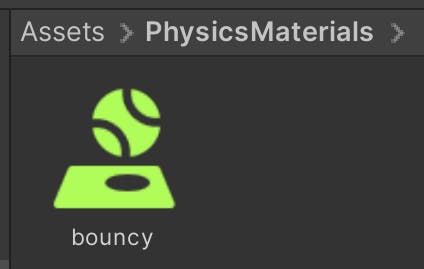
Go ahead and create a new folder called PhysicsMaterials. Afterwards, create a new Physics Material, and let's call it bouncy:

It should look like this:
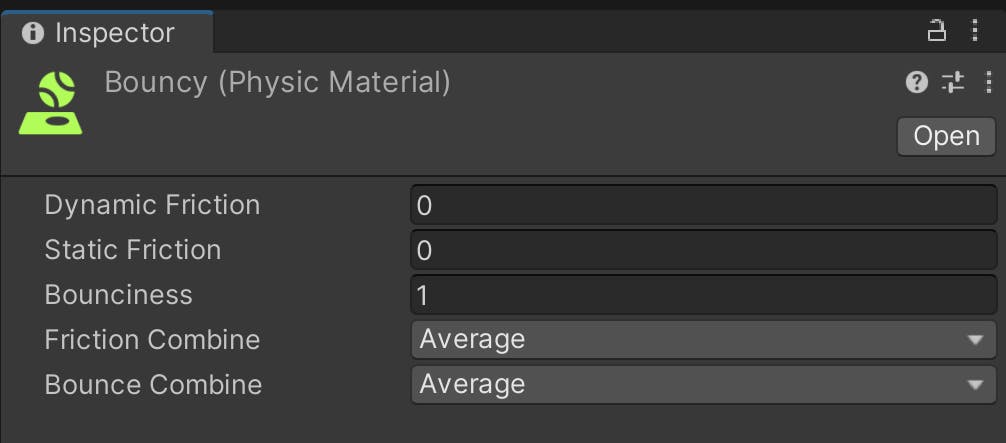
In the new material, let's change the Bounciness to 1, and the other fields set to 0:
Adding the Material to the Prefab
To open the prefab and edit it, double-click on the actual prefab file created.
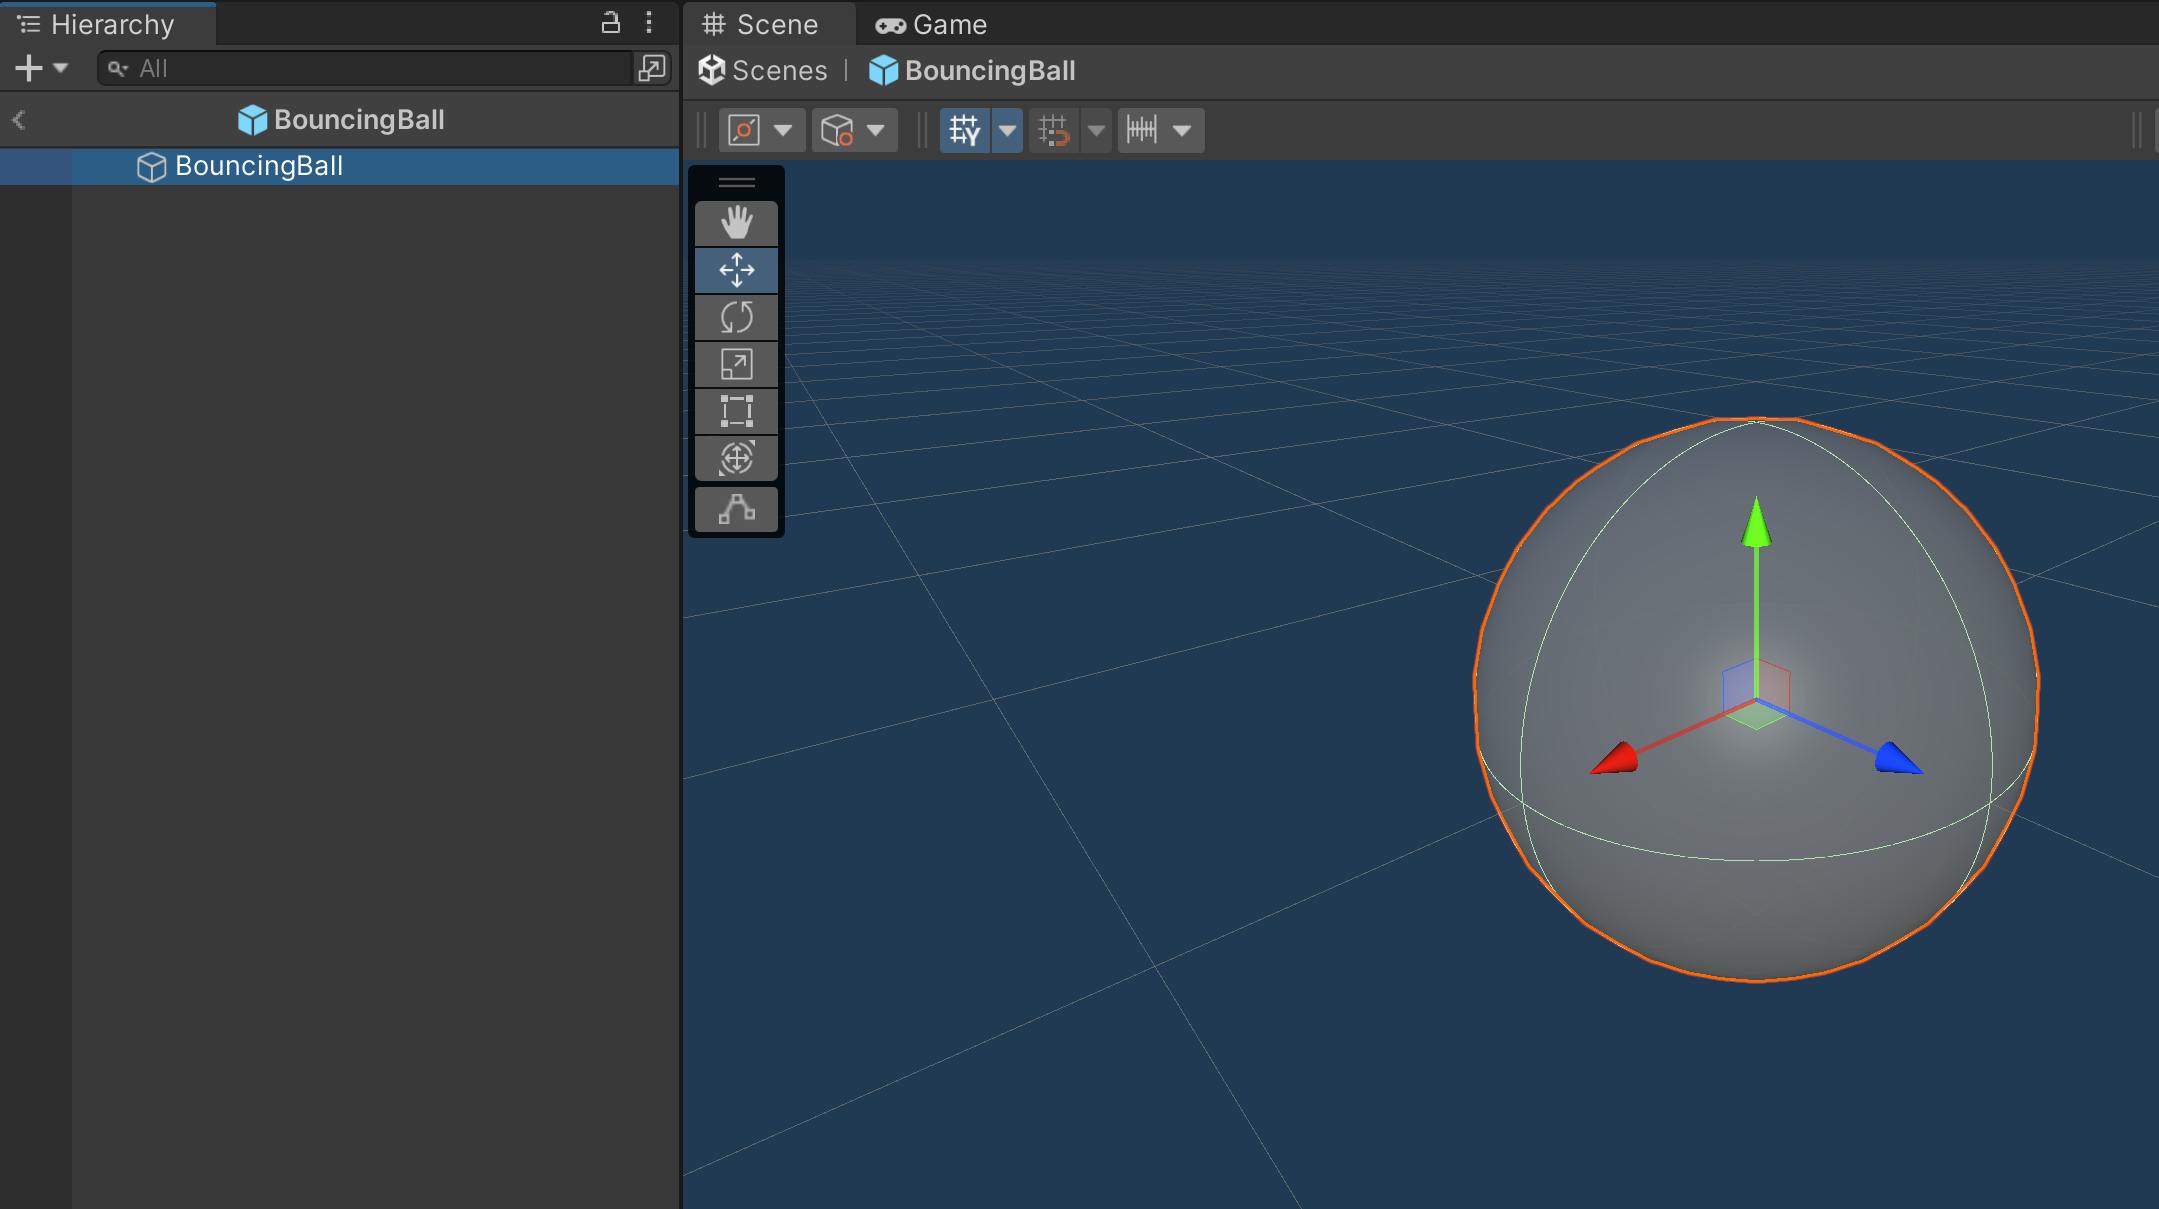
Make sure that you're in the prefab editing mode ❗
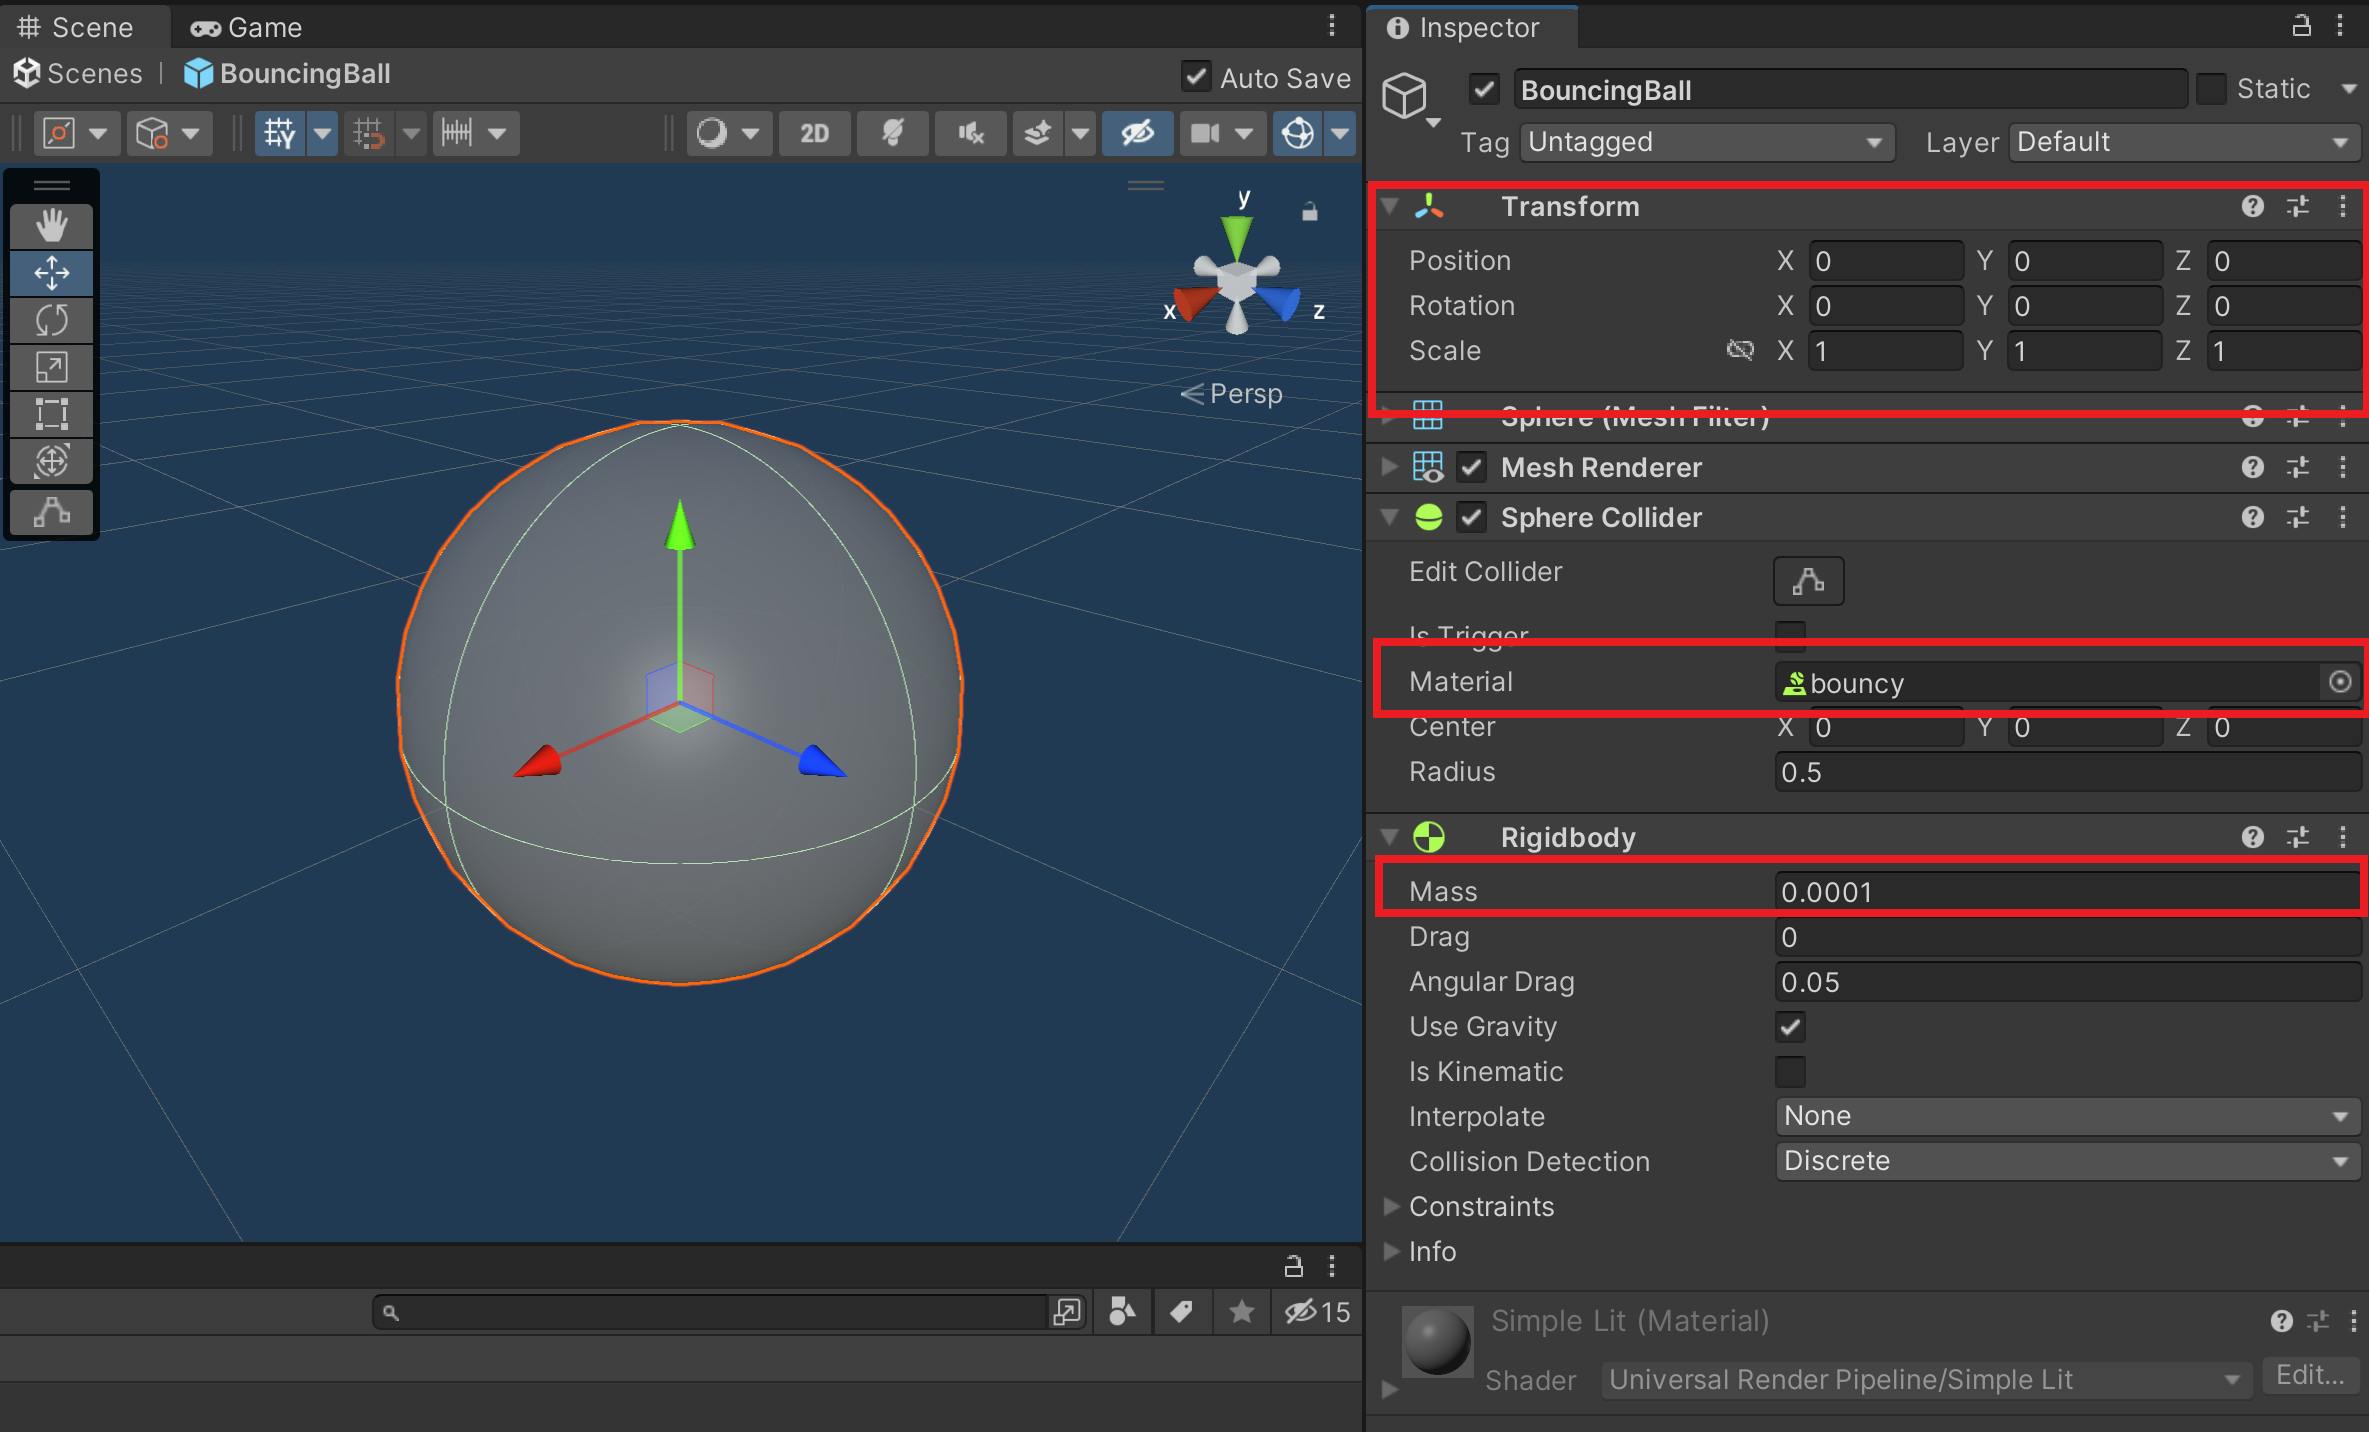
Go ahead modify the prefab:
Make sure to set the
PositionandRotationvalues to all zeroes.Scaleshould be1on all values.add a
RigidBodyto the ball, and modify theMassto be very very light, something like0.0001:In the
Sphere Collidercomponent, change theMaterialfield to use thebouncymaterial we created earlier.
First test!
Let's see what happens when we test with just one bouncing ball:
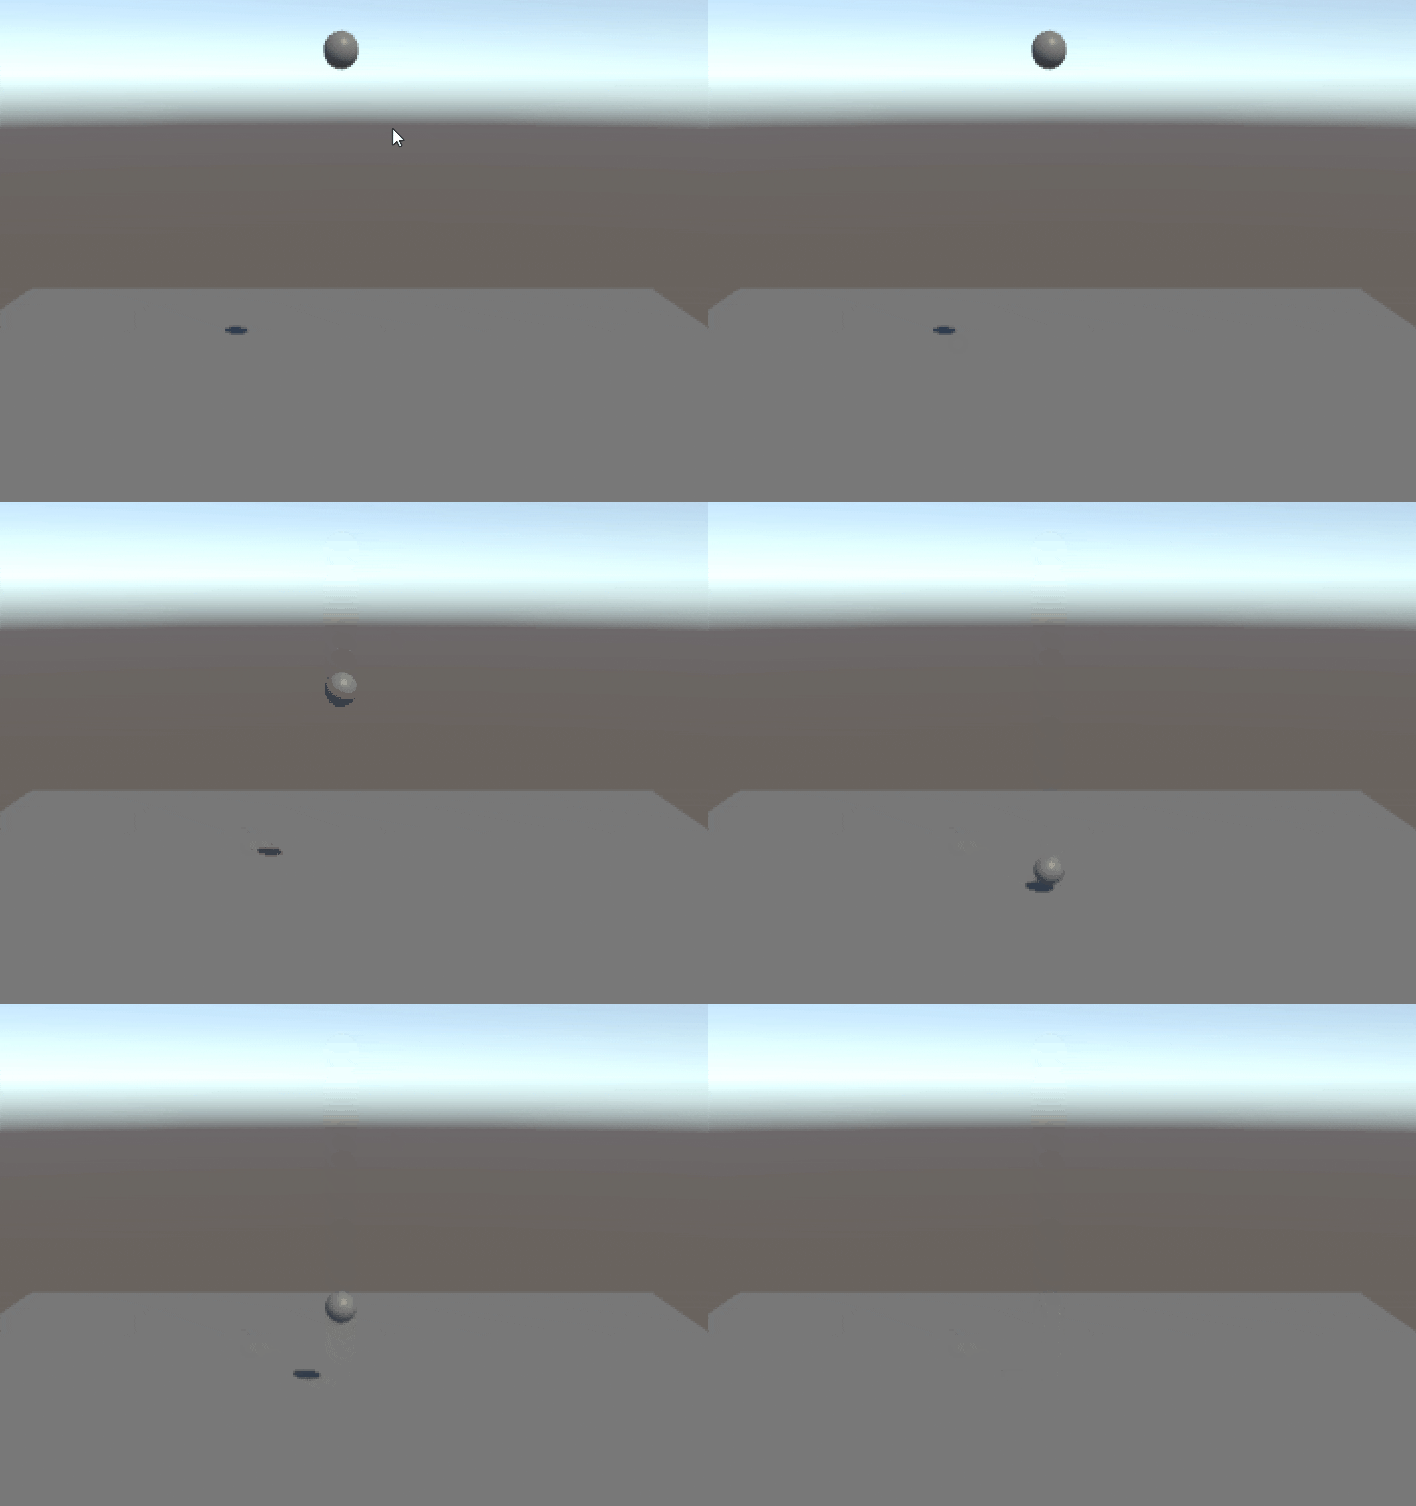
There we go, that's the behavior we want for now!
CREATE MANY BOUNCING BALLS!
Create a new empty game object called BouncingBallCreator:

Object Instantiatiors
Let's define an interface to describe the basic behavior of an object dedicated to instantiate prefabs and releasing the newly acquired memory:
using UnityEngine;

public interface IPrefabInstantiator
{
    public GameObject InstantiateNewGameObject();

    public int objectsInstantiated { get; }

    public void ReleaseInstanceOfPrefab(GameObject prefabInstance);
}
And here's the first prefab instantiator. It creates new copies of the prefab using the regular Instantiate method, and destroys them using the Destroy method:
using UnityEngine;

class RegularObjectInstantiator : IPrefabInstantiator
{
    private readonly GameObject k_prefabToInstantiate;

    public int objectsInstantiated { get; private set; }

    public RegularObjectInstantiator(GameObject prefab)
    {
        k_prefabToInstantiate = prefab;
    }

    public GameObject InstantiateNewGameObject()
    {
        var newInstance = Object.Instantiate(k_prefabToInstantiate);

        if(newInstance != null)
            ++objectsInstantiated;

        return newInstance;
    }

    public void ReleaseInstanceOfPrefab(GameObject prefabInstance)
    {
        Object.Destroy(prefabInstance);

        --objectsInstantiated;
    }
}
Now let's create another implementation that uses Unity's own object pooling. But let's first create an object that holds an object pool from Unity:
using UnityEngine;
using UnityEngine.Pool;

class PrefabObjectPool
{
    private readonly ObjectPool<GameObject> objectPool;
    private readonly GameObject k_prefabToPool;

    public int objectsInstantiated => objectPool.CountActive;

    public PrefabObjectPool(GameObject prefab, int defaultCapacity, int maxSizeOfPool)
    {
        k_prefabToPool = prefab;

        objectPool = new ObjectPool<GameObject>(
            CreatePooledPrefab,
            OnTakeFromPool,
            OnReturnedToPool,
            OnDestroyPoolPrefabInstance,
            true,
            defaultCapacity,
            maxSizeOfPool);
    }

    public GameObject GetInstanceOfPrefab()
    {
        return objectPool.Get();
    }

    public void ReleaseInstanceOfPrefab(GameObject prefabInstance)
    {
        objectPool.Release(prefabInstance);
    }

    private GameObject CreatePooledPrefab()
    {
        return Object.Instantiate(k_prefabToPool);
    }

    private void OnReturnedToPool(GameObject prefabInstance)
    {
        prefabInstance.SetActive(false);
    }

    private void OnTakeFromPool(GameObject prefabInstance)
    {
        prefabInstance.SetActive(true);
    }

    private void OnDestroyPoolPrefabInstance(GameObject prefabInstance)
    {
        Object.Destroy(prefabInstance);
    }
}
And now here's our prefab instantiator class that uses the object pool:
using UnityEngine;

class ObjectPoolObjectInstantiator : IPrefabInstantiator
{
    private readonly PrefabObjectPool objectPool = null;

    public int objectsInstantiated => objectPool.objectsInstantiated;

    public ObjectPoolObjectInstantiator(GameObject prefab, int defaultCapacity, int maxSizeOfPool)
    {
        objectPool = new PrefabObjectPool(prefab, defaultCapacity, maxSizeOfPool);
    }

    public GameObject InstantiateNewGameObject()
    {
        return objectPool.GetInstanceOfPrefab();
    }

    public void ReleaseInstanceOfPrefab(GameObject prefabInstance)
    {
        objectPool.ReleaseInstanceOfPrefab(prefabInstance);
    }
}
That's a lot of code though! Let's see how these all work together:
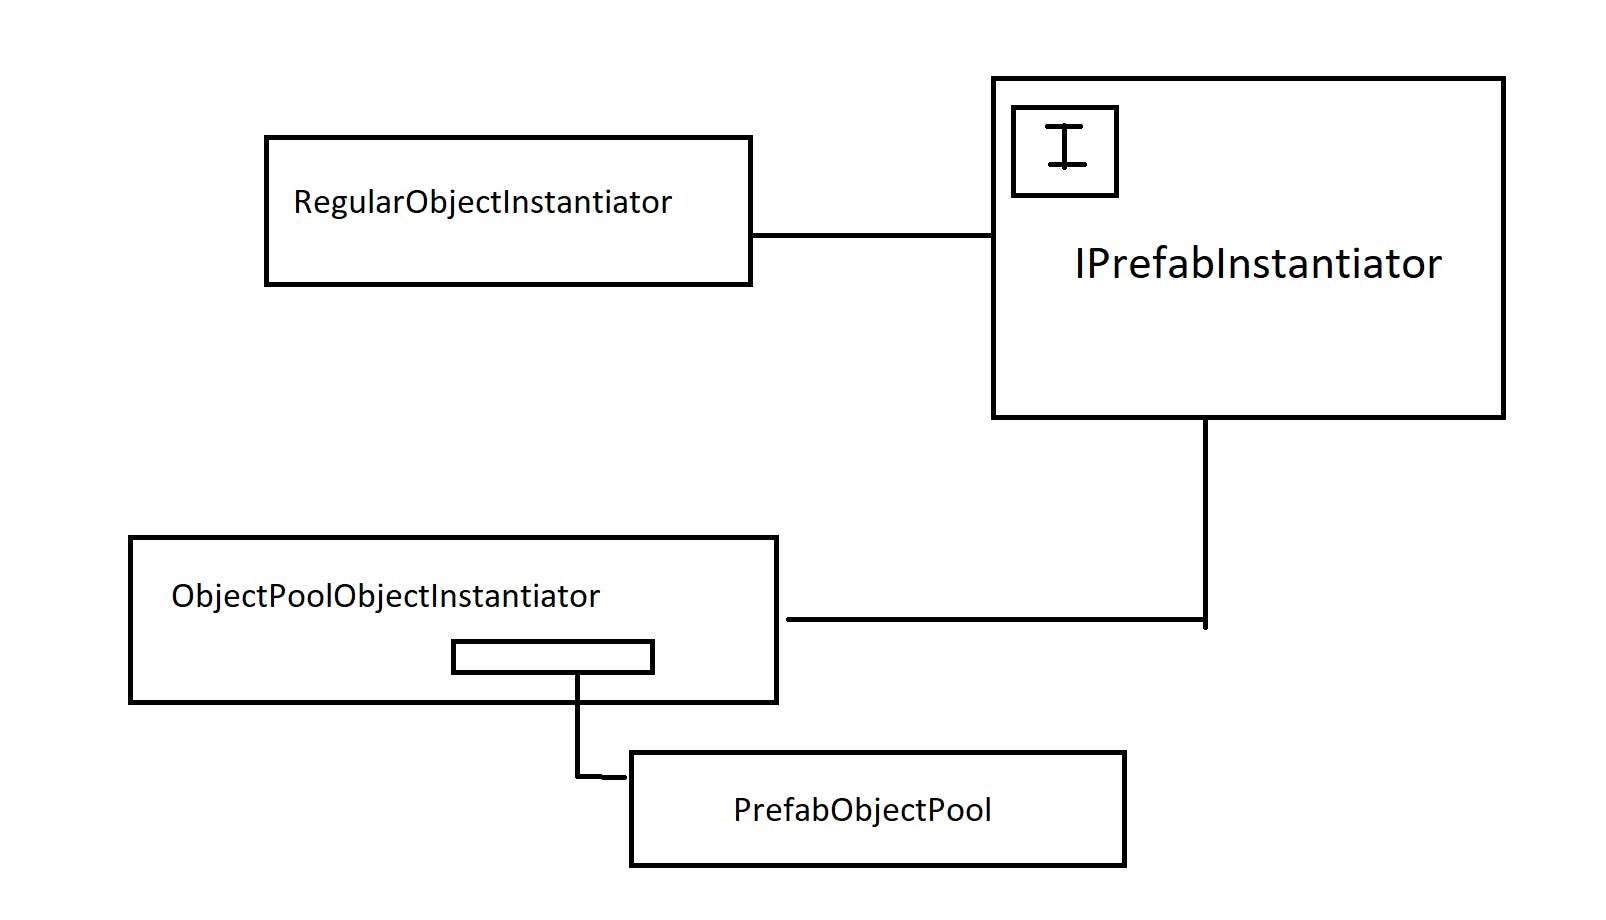
Yep, that's a class diagram created in good old MS Paint!😂 🎨
Using the Instantiatiors
Now let's put all of this code to use, let's add a new script component to the BouncingBallCreator object. Call this script PrefabInstantiator30by30 :
using UnityEngine;

[DisallowMultipleComponent]
public class PrefabInstantiator30by30 : MonoBehaviour
{
    public GameObject prefabToInstantiate = null;

    [Range(50, 2000)]
    public int instanceCount;

    public bool useObjectPooling = false;

    private const int k_poolingSize = 2050;

    private IPrefabInstantiator m_prefabInstantiator;

    private void Start()
    {
        if (useObjectPooling)
        {
            m_prefabInstantiator = new ObjectPoolObjectInstantiator(
                prefabToInstantiate,
                instanceCount,
                k_poolingSize);
        }
        else
        {
            m_prefabInstantiator = new RegularObjectInstantiator(prefabToInstantiate);
        }
    }

    private void Update()
    {
        if(m_prefabInstantiator.objectsInstantiated >= instanceCount)
            return;

        var newPrefabInstance = m_prefabInstantiator.InstantiateNewGameObject();

        if (newPrefabInstance.TryGetComponent<AutoReleaseObjectInRandomTime>(
            out var autoReleaseObjectInRandomTime))
        {
            newPrefabInstance.transform.position = GetRandomPositionIn30by30Range();

            autoReleaseObjectInRandomTime.StartCounter(m_prefabInstantiator);
        }
    }

    private Vector3 GetRandomPositionIn30by30Range()
    {
        return new Vector3(
                    Random.Range(-15f, 15f),
                    11f,
                    Random.Range(-15f, 15f));
    }
}
Note: Please notice that we're using a very descriptive and specific name and purpose to this script. This is for purely for testing purposes.
This is how the UI interface of this component will look like:

Randomly Release the Instance
The same way that we created code that uses the memory allocation, we must add code to release the memory used by the created instances.
Let's add a new script to the BouncingBall prefab called AutoReleaseObjectInRandomTime, (make sure you're in the prefab editing mode):

Add the following code to the script:
using UnityEngine;

public class AutoReleaseObjectInRandomTime : MonoBehaviour
{
    private float m_timeToDestroyInSeconds;

    private IPrefabInstantiator m_prefabInstantiator = null;

    private bool m_isCountDownStarted = false;

    public void StartCounter(IPrefabInstantiator prefabInstantiator)
    {
        m_prefabInstantiator = prefabInstantiator;

        m_timeToDestroyInSeconds = Random.Range(0.5f, 3f);

        m_isCountDownStarted = true;
    }

    private void Update()
    {
        if (!m_isCountDownStarted)
            return;

        m_timeToDestroyInSeconds -= Time.deltaTime;

        if (m_timeToDestroyInSeconds <= 0f)
        {
            // will only matter when re-activated from the pool
            Reset();

            m_prefabInstantiator.ReleaseInstanceOfPrefab(gameObject);
        }
    }

    private void Reset()
    {
        m_isCountDownStarted = false;

        m_prefabInstantiator = null;

        m_timeToDestroyInSeconds = Random.Range(0.5f, 3f);
    }
}
Let's Test All This!
Success!
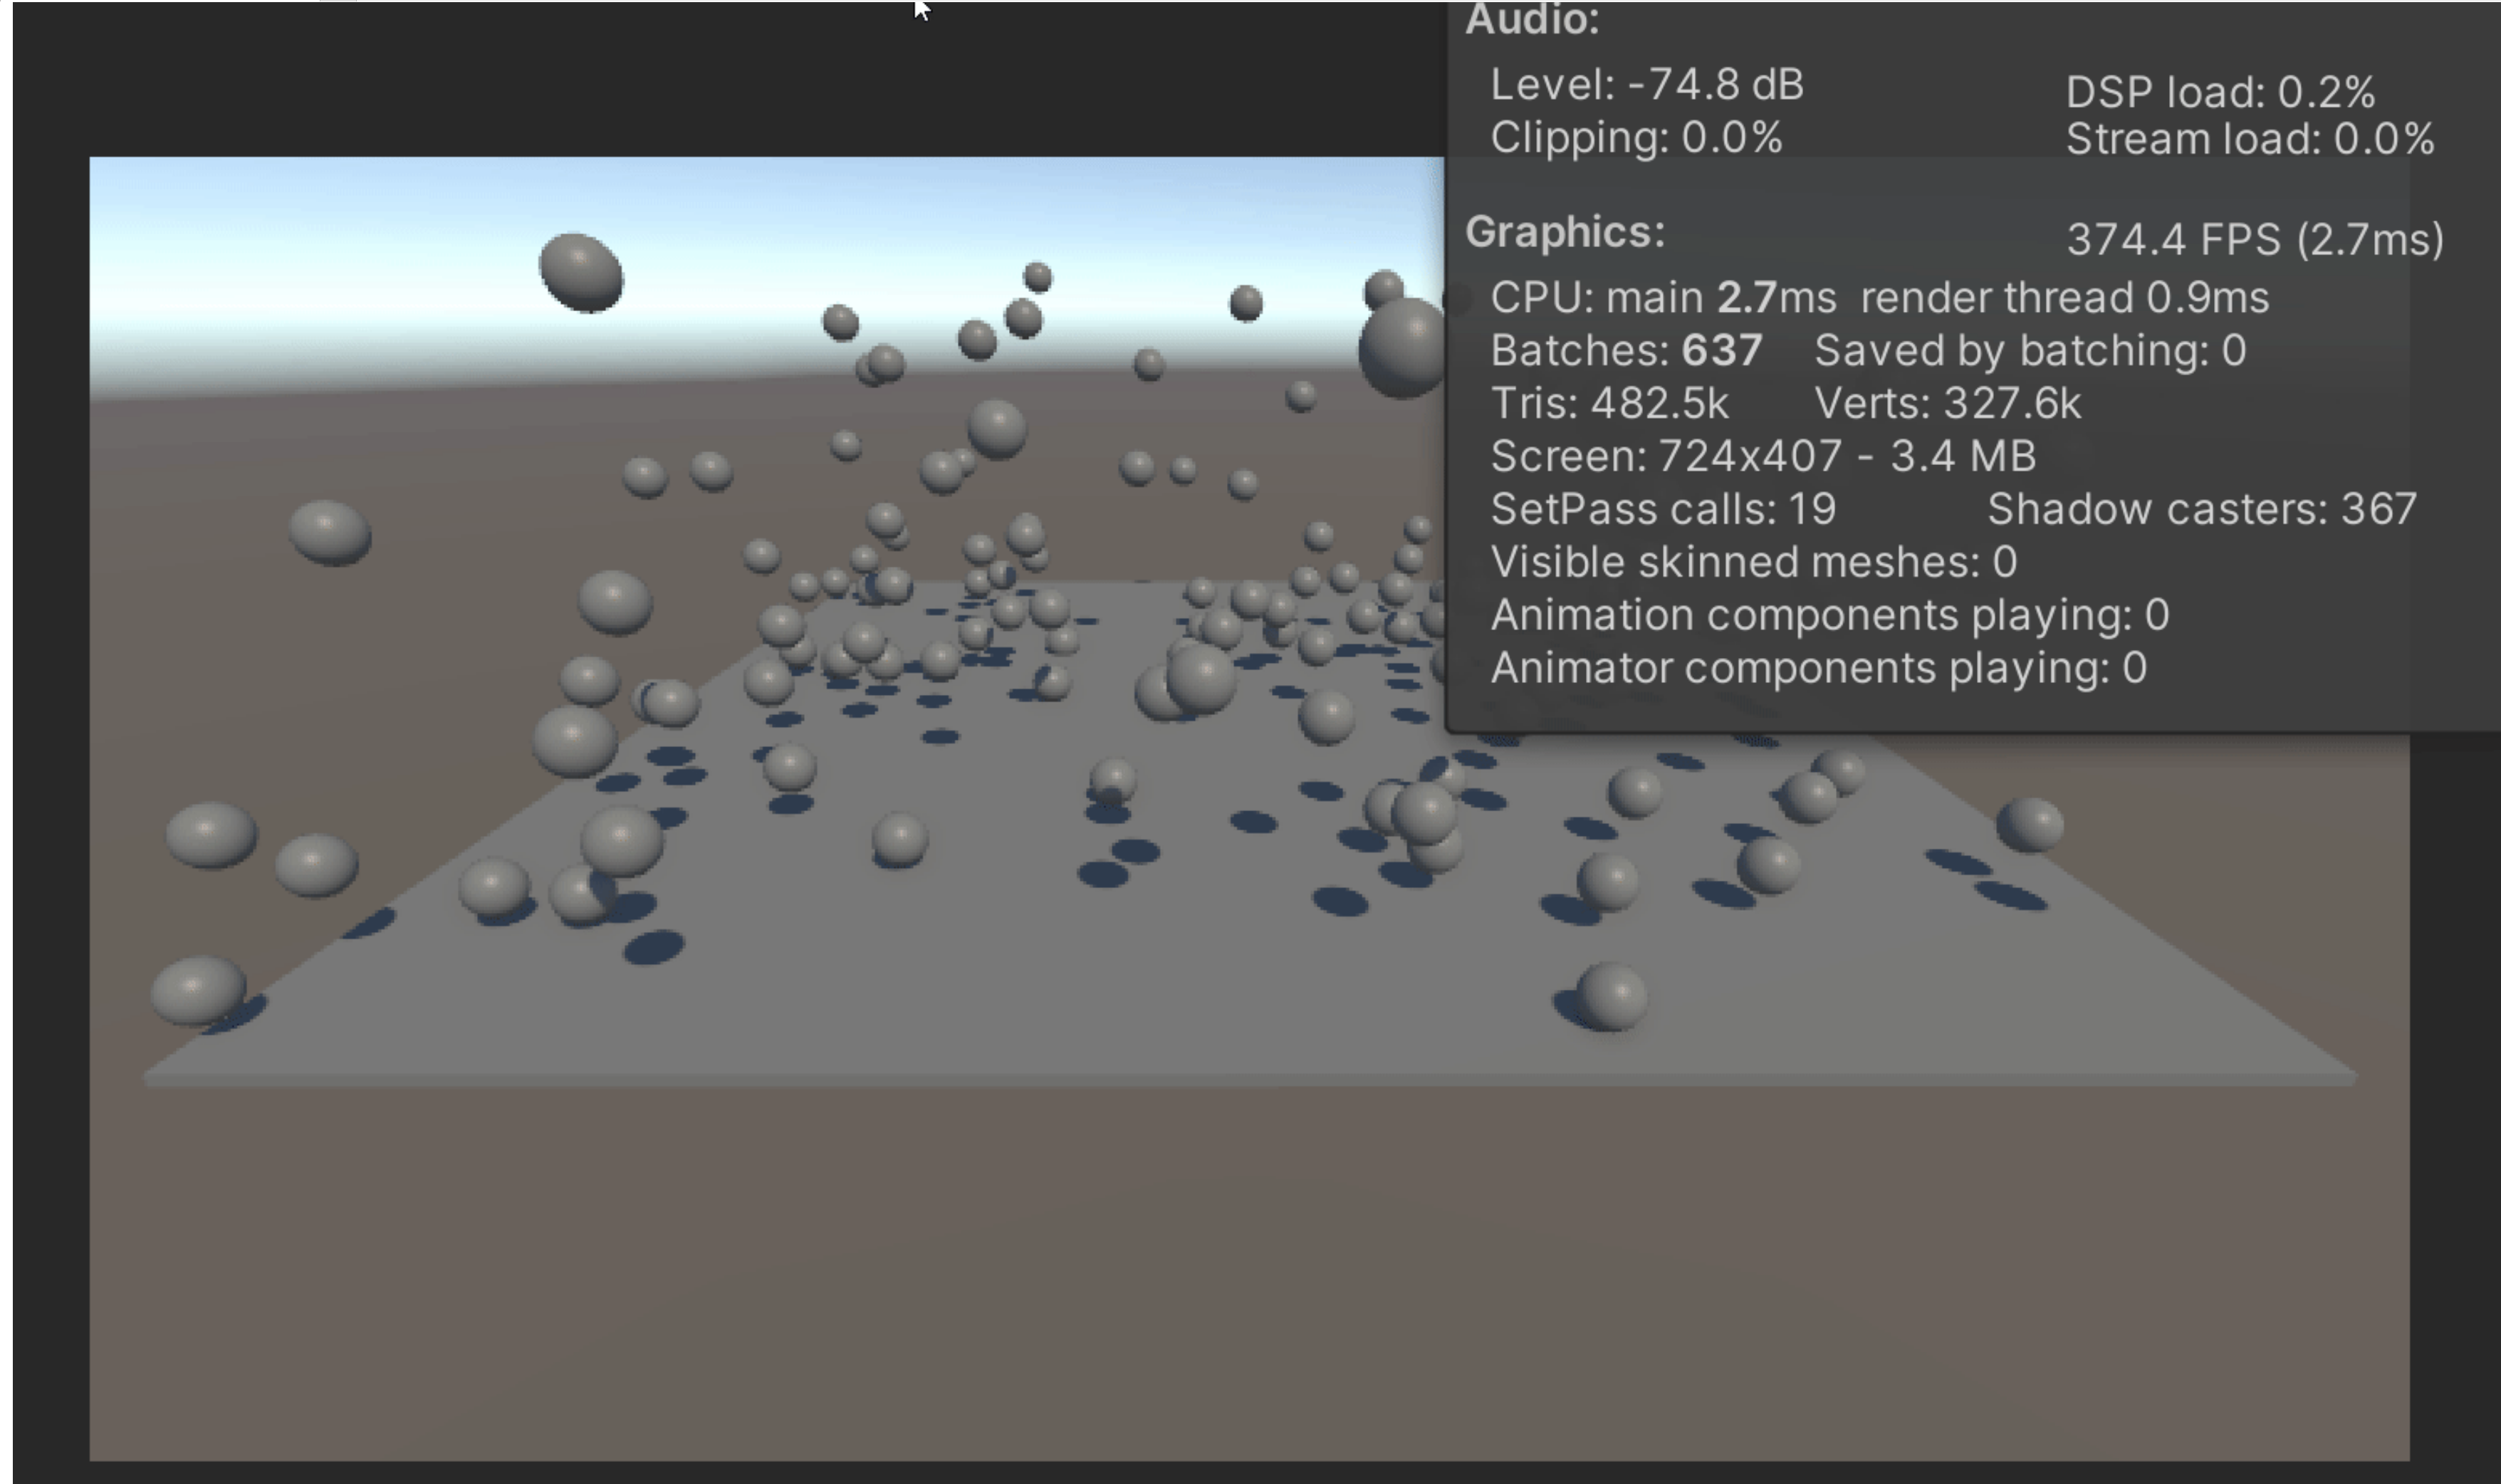
Check it out, we're allocating a max amount of 50 spheres. I tried with 1000 or more, but I noticed that after a specific amount, no more game objects were created. I believe that Unity has a limit of active GOs built-in somewhere.
Initial Conclusion of Experiment #1
Completed Goals So Far
Researched how to apply object pooling in Unity
Created a basic object pool test scene
Created basic, but functional object pooling code classes to test a high amount of allocations
Lessons Learned from So Far
Unity handles physics collisions quite well with many objects on screen! 😀
Learned that Unity has a limit of game objects on scene! ⛔
Please let me know what you think!
Have you heard of Object Pooling before?
What projects have you applied it to?
Would you be interested in trying this out?
🎉🎉🎉 Happy coding! 🎉🎉🎉
