

Unity Learn | VR Pathway - Lab #1
Locomotion and 1st grabbable objects done!


In my last post, I went over my current progress in Unity's VR pathway course, which is very well done, and covers many topics for aspiring VR developers:
The course also contains VR labs for users to practice their newly learned skills. For the 1st one, I thought of a project where users visit an interactive space where they can play with different data structures. You get to work on a Game Design Document (GDD) and everything.
This could be an educational visual illustration that can help computer science students understand the pros and cons of using different data structures:

This quick sketch shows a player interacting with a singly linked list.
In this post, you'll see my progress in making this project a reality. I managed to cover the basics of locomotion and interactable objects:

I'll now go over the steps I took to reach this point.
Setting a new VR project
You start this first lab by creating a new project since this will be your final one where you get to put all of what you learned together. Here's the scene where I'll start.
The lab repeats the same setup steps as the VR Project Setup lesson:
The tutorial helps you set up a project using Unity's XR Interaction Toolkit (XRI). There are some nice assets and a starter scene that you can use:
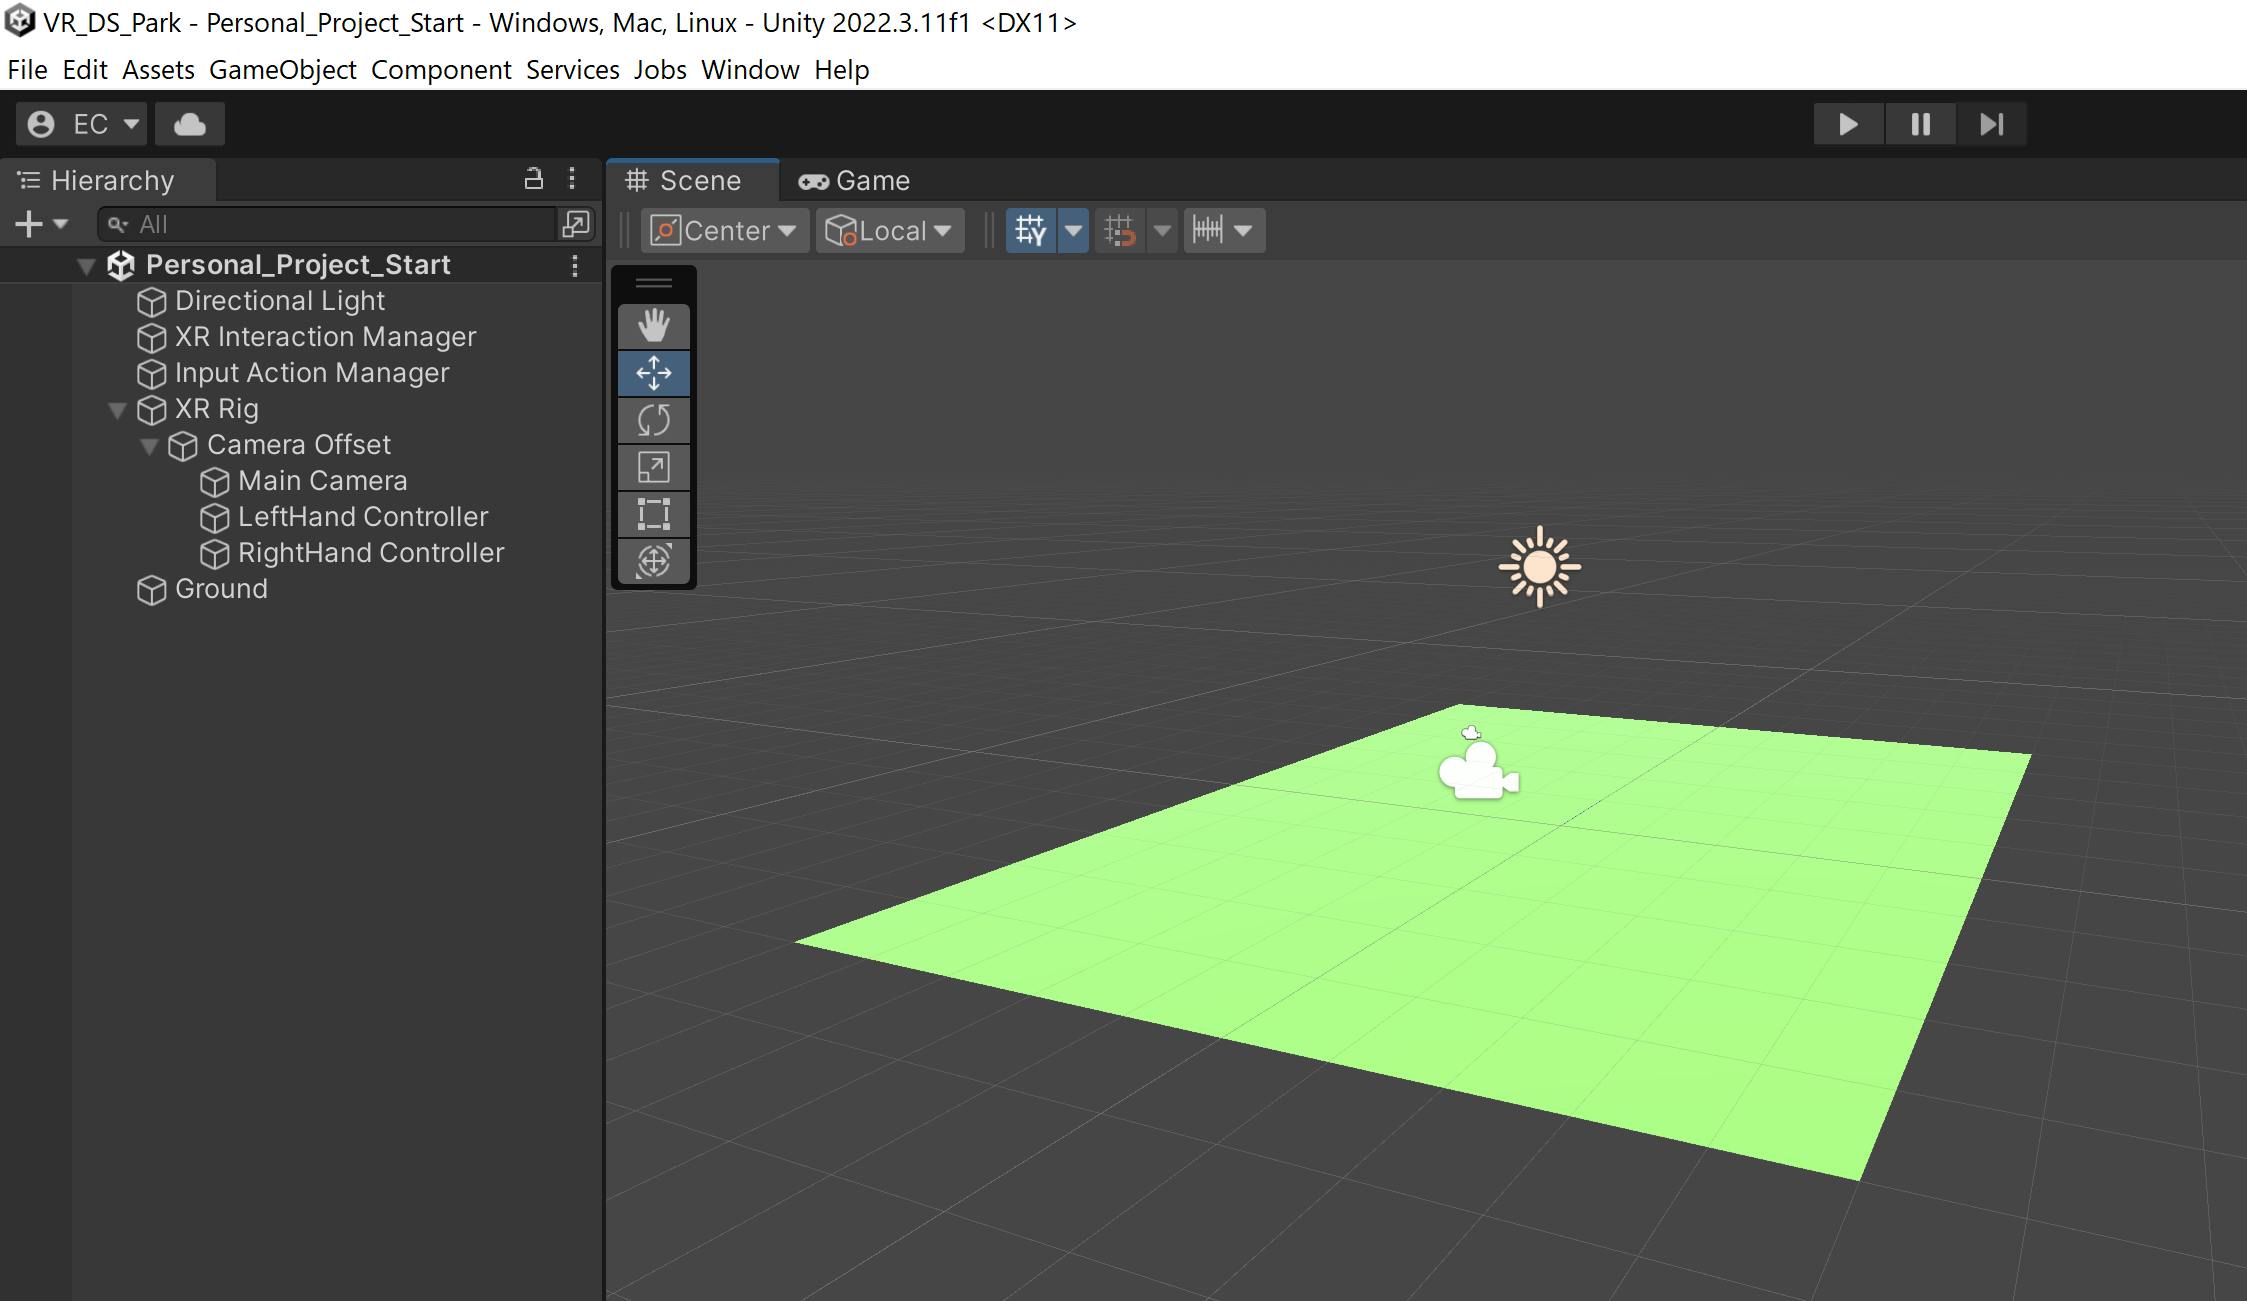
Note: I'm using Unity 2022.3.11 LTS version
These are the game objects is the one that will handle the interaction and connection to my Quest 2 device:
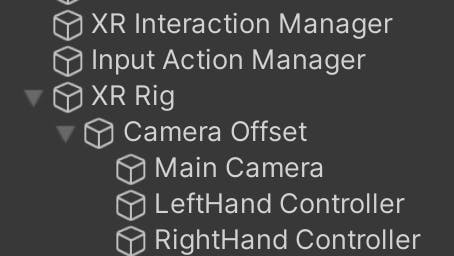
The
XR Rigcontains the origin of where our VR application will start
The data cube
I continued by creating a prefab to represent the data element that can be stored in different data structures, the data cube:
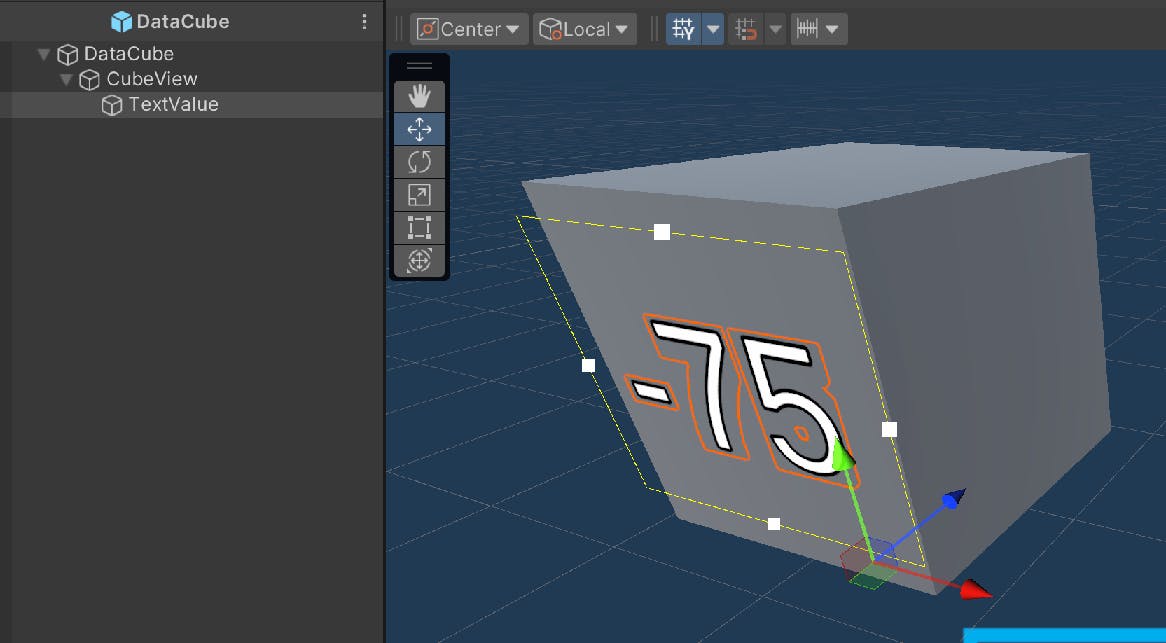
Let's break it down and see how it's structured. I created a new 3D cube GameObject, Then separated the main queue object, and the view functionality, the inner object that displays the number/data:

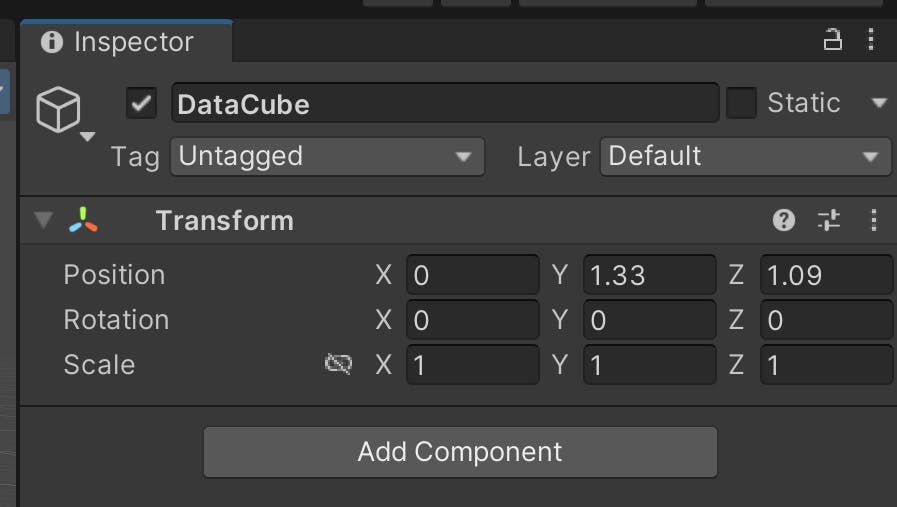
For now, the root object is just a transform:
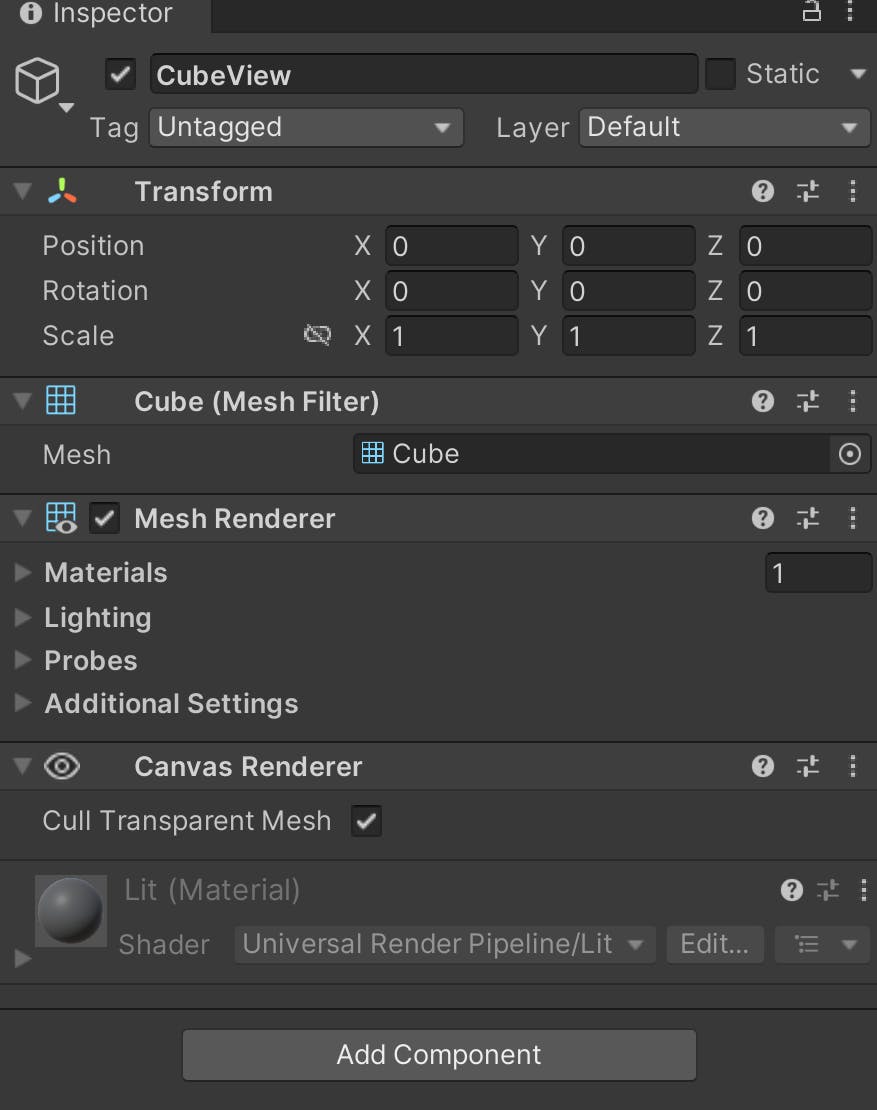
And the inner Cube View draws the cube geometry:
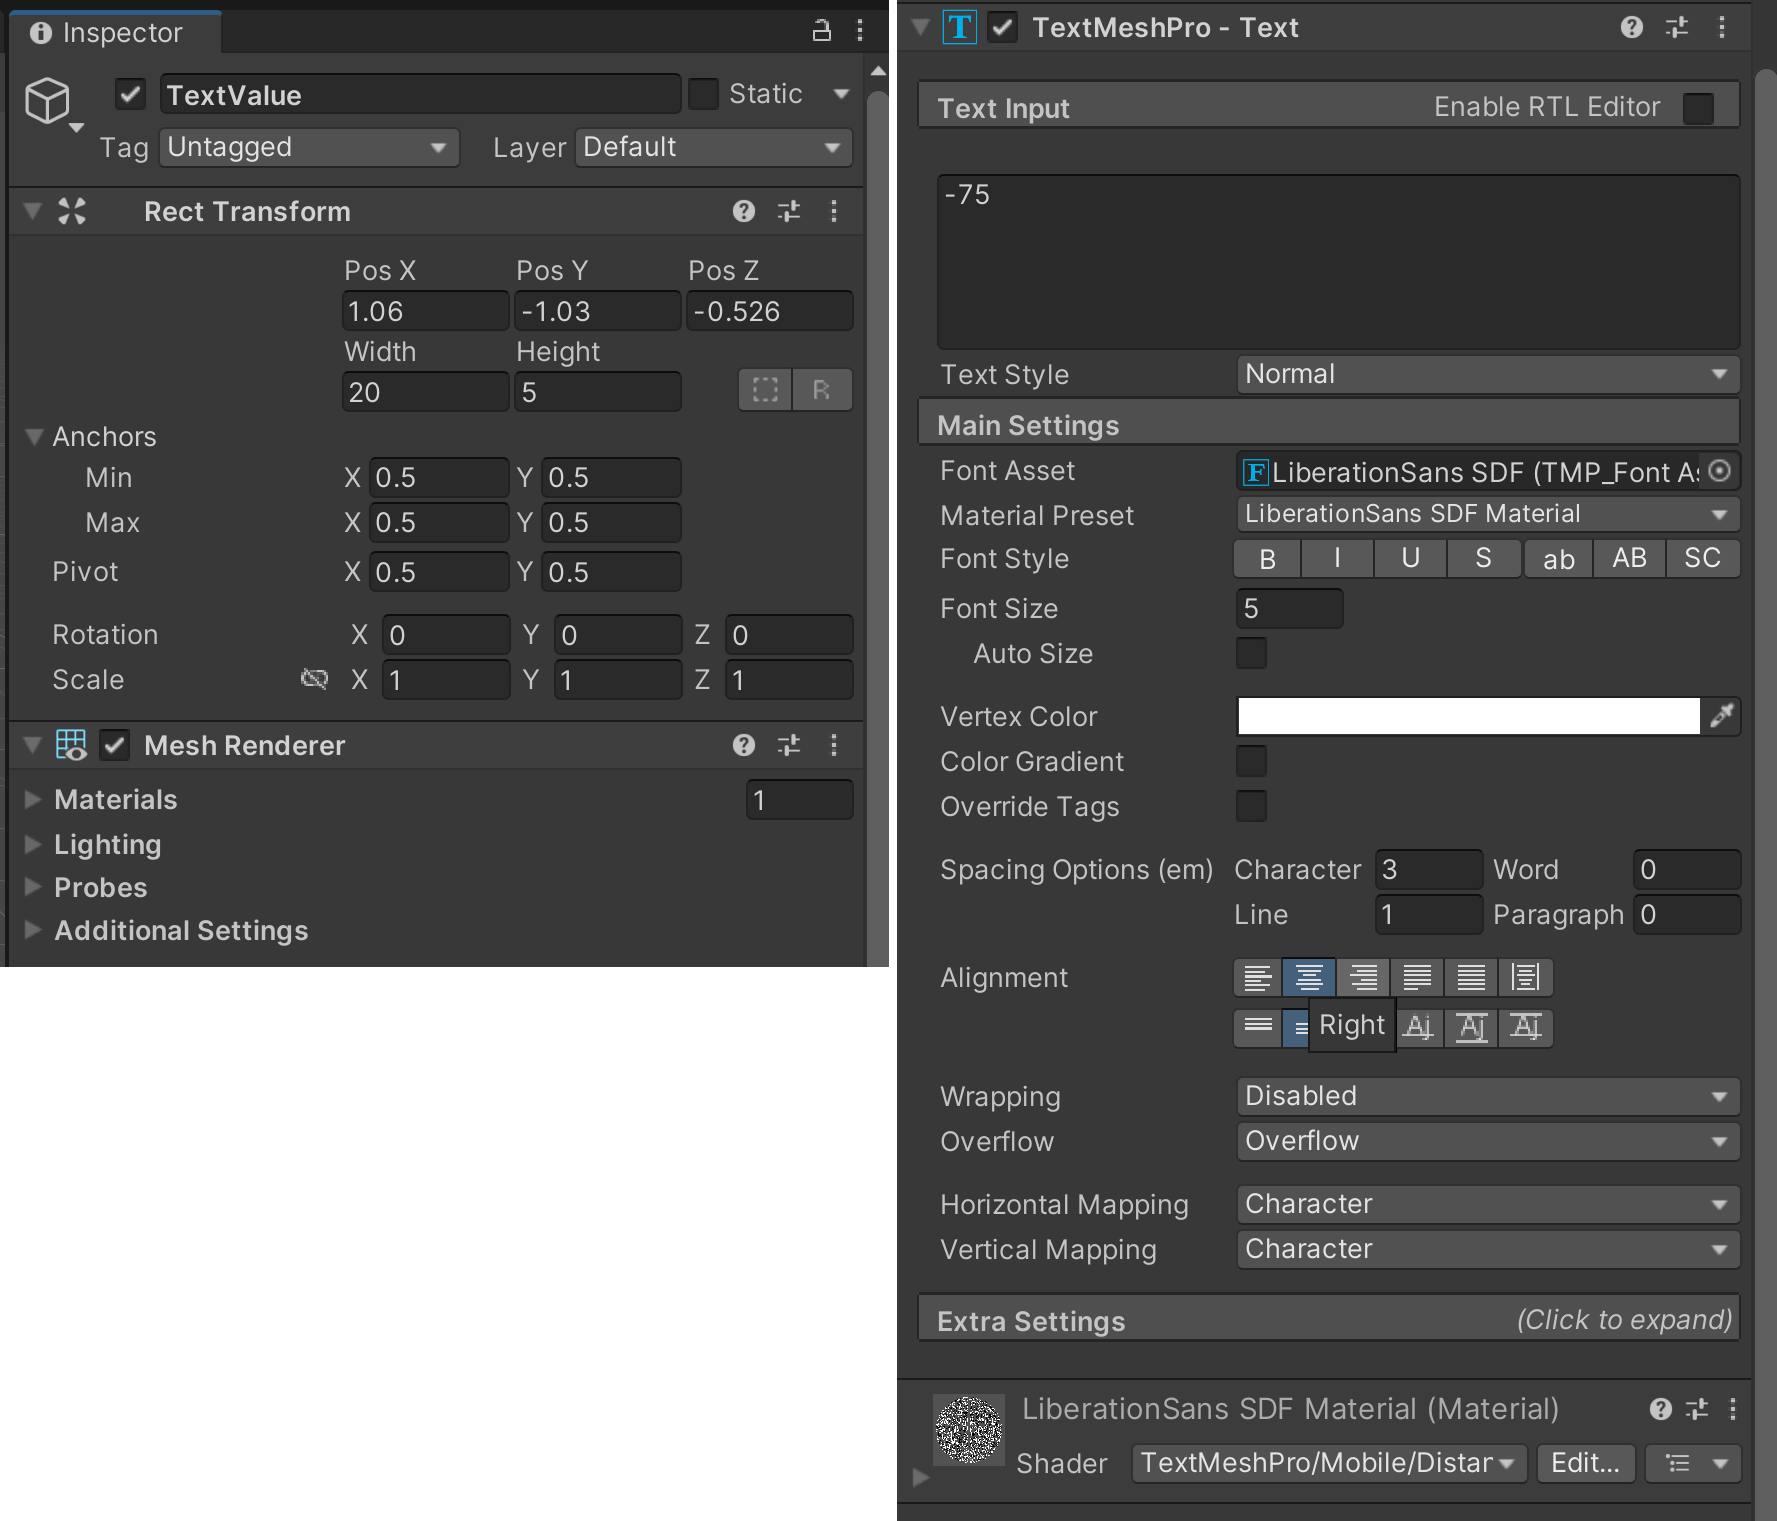
And last but not least, the TextValue object draws the numeric value of the data:
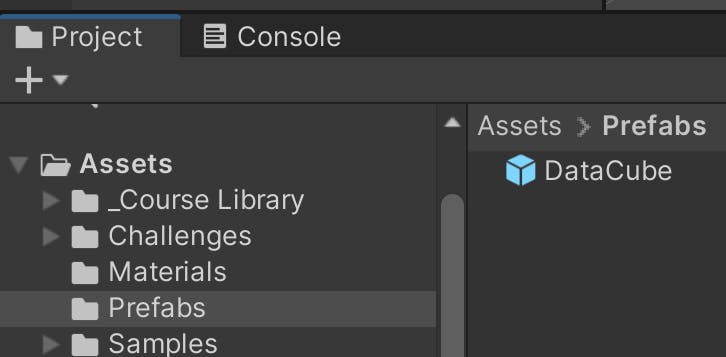
Finally, I dragged it to the Prefabs folder in order to create the prefab file:
Here are some of them placed in the world. This can give you a preview of what the experience will look like:
Not there yet, but starting to feel like you're watching the list
Setting up locomotion
No VR experience is complete without movement, and let's set that up right now. We'll start with adding the turning ability.
Snap turning functionality
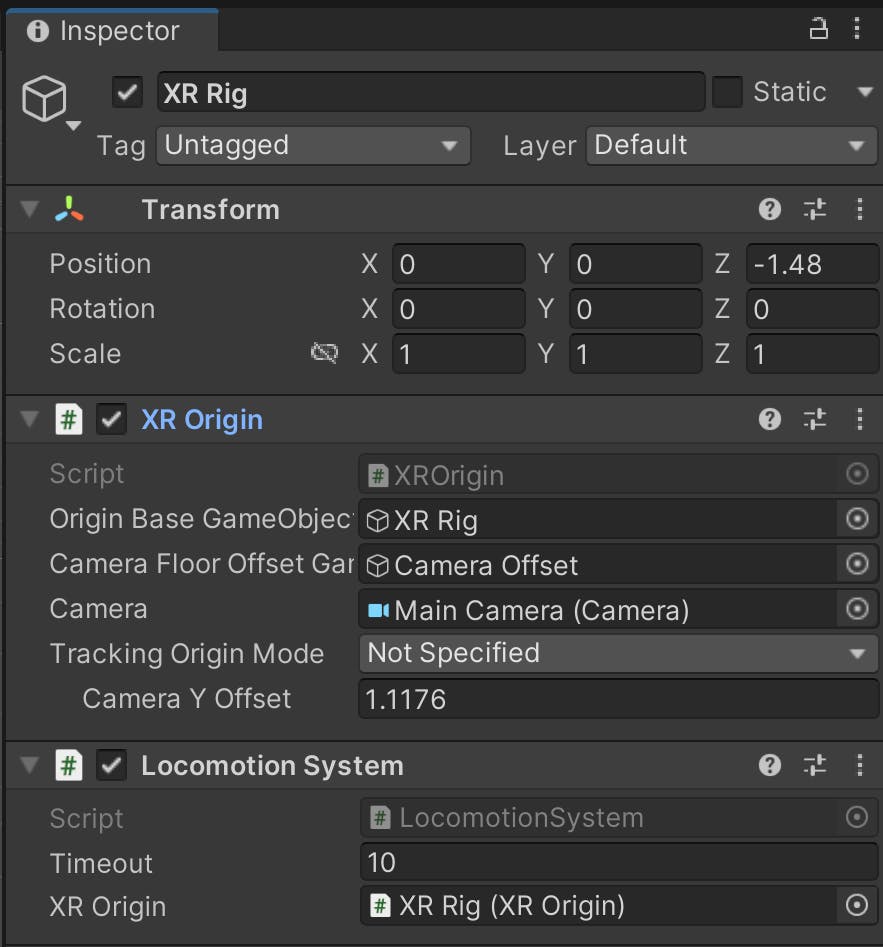
Let's start by giving the player the ability to rotate. I added a Locomotion System component to the XR Rig game object (which has the origin of the VR app), and fill in the XR Origin field with the owning object (itself):
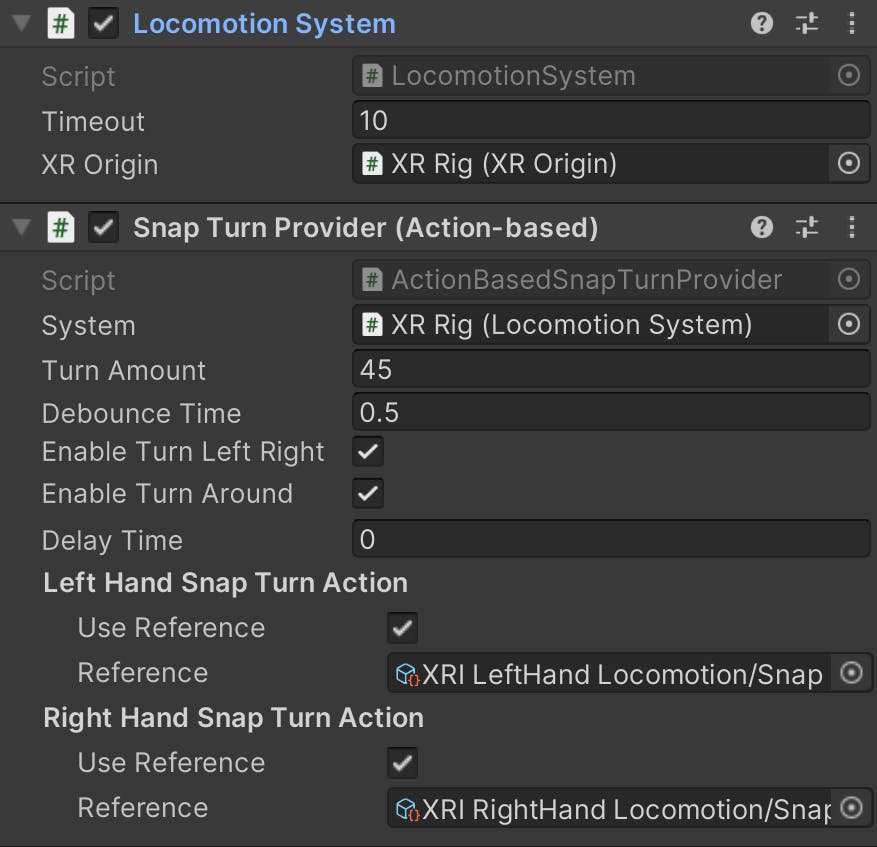
And while having the same GO selected, add the Snap Turn Provider (Action-based) component. Fill in the System field with the locomotion component that was added earlier:
Teleportation area
There are multiple ways in which you can move around a space in VR, but for now, I'll choose teleportation. It's easier for players and is less likely to cause nausea, unlike continuous movement.
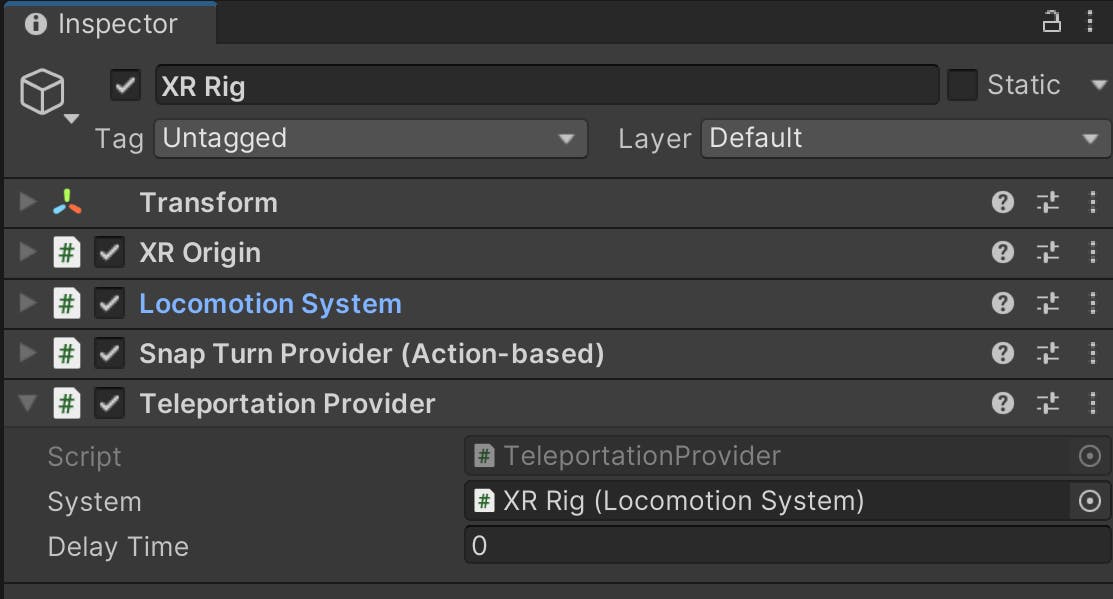
I added the Teleportation Provider component to the XR Rig object, and filled out the System field to also point to the Locomotion System component, like I did earlier with the Snap Turn Provider component:
We need to establish how we'll move around the ground"
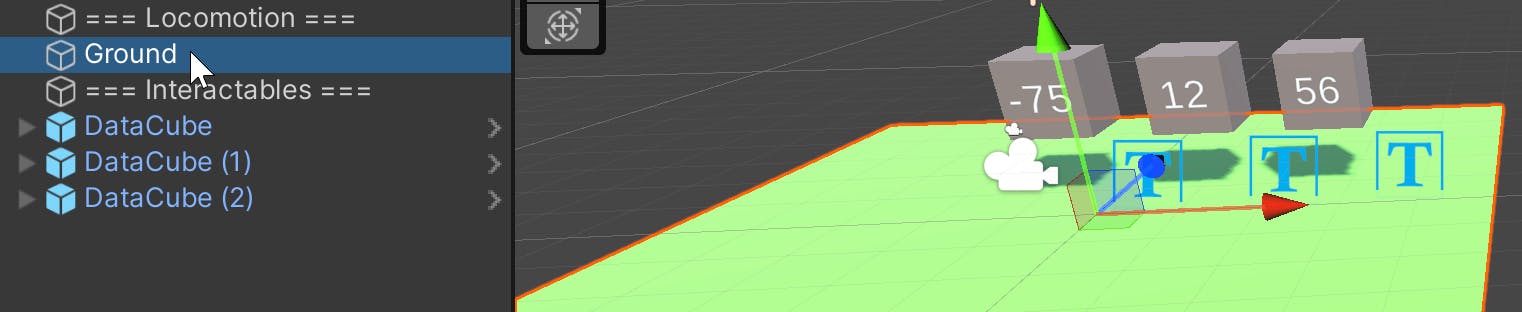
With the game object selected, I added the Teleportation Anchor component:
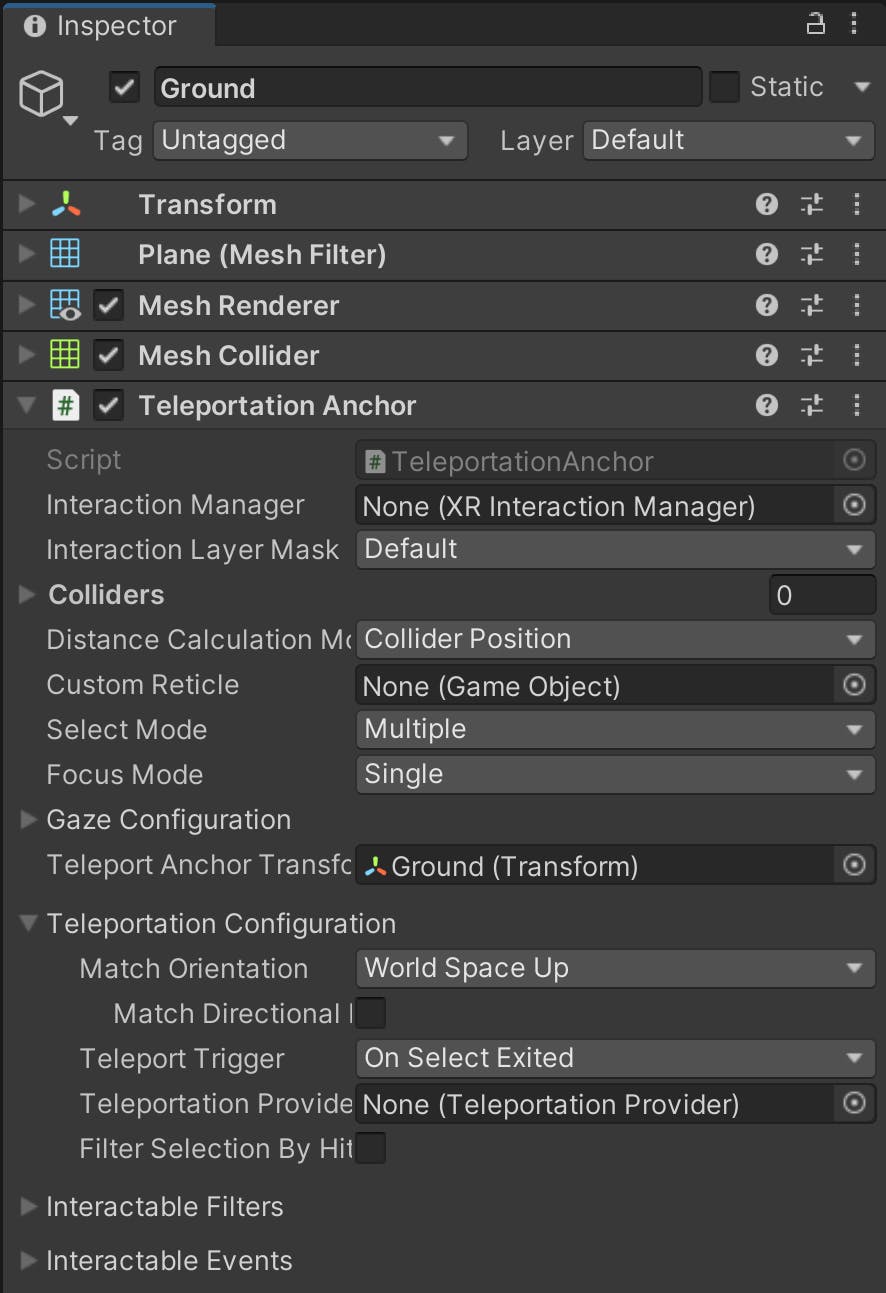
Then changed the Match Orientation field to this:

This will match the last orientation the player was facing, which is useful and can avoid certain confusion.
And look at that, I can rotate! But wait, I can't move around yet:

There's something I did wrong in the teleportation setup. Let's fix it!
Teleportation pads
When you're providing teleportation in VR, you need to give the player however many options they need. Each of those options is a separate game object. Let's create a repeatable game object that will be a teleportation spot.
I created a copy of the current Ground game object, which will be a teleportation pad:

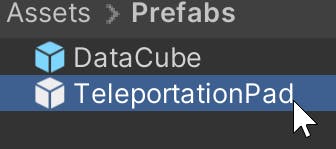
It was dragged to created a prefab based on that new GameObject:
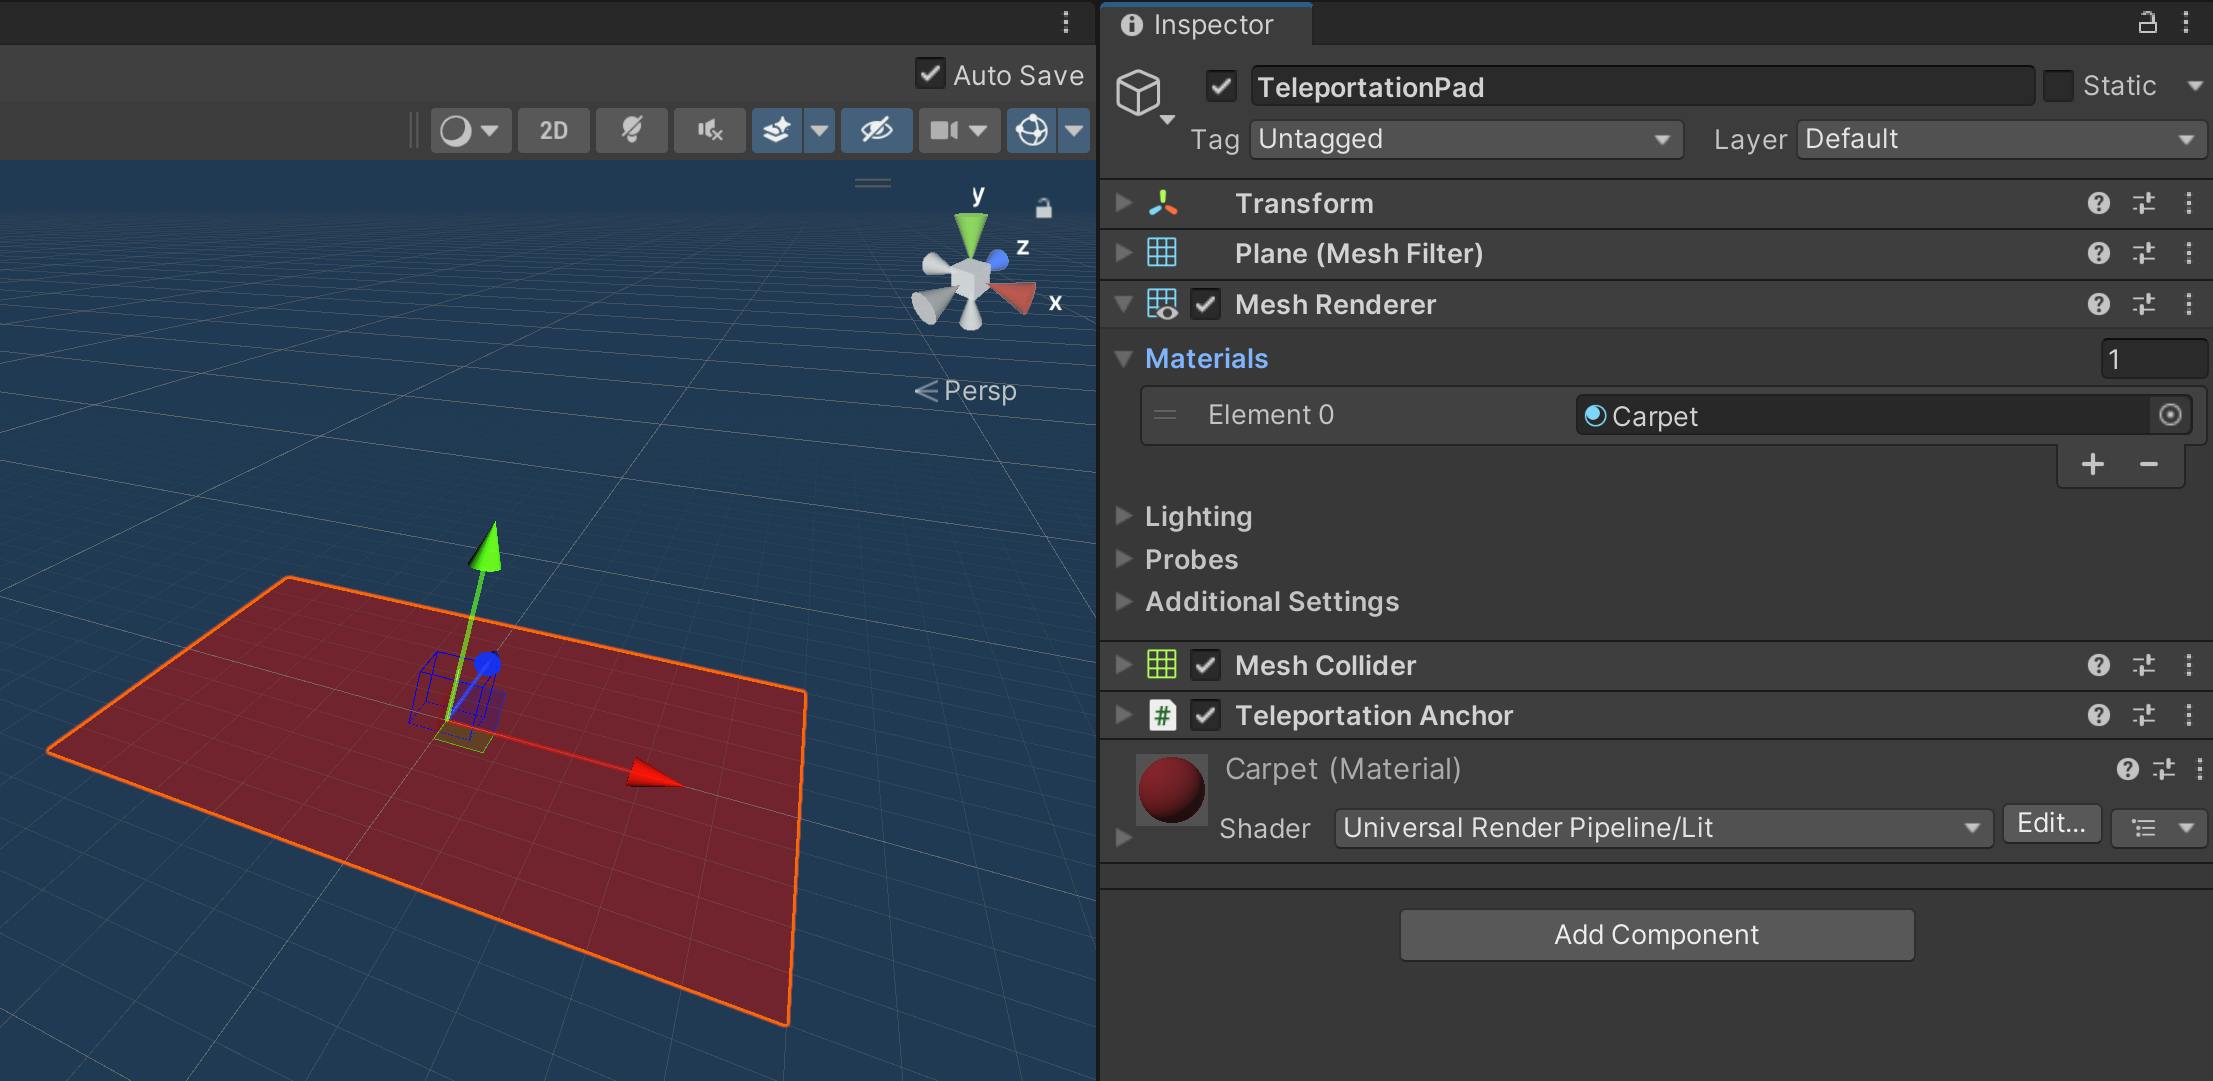
On the newly created prefab, I changed the color from green (like grass) to red, like a rug:
I then scattered some of these teleportation pads around, as a test:
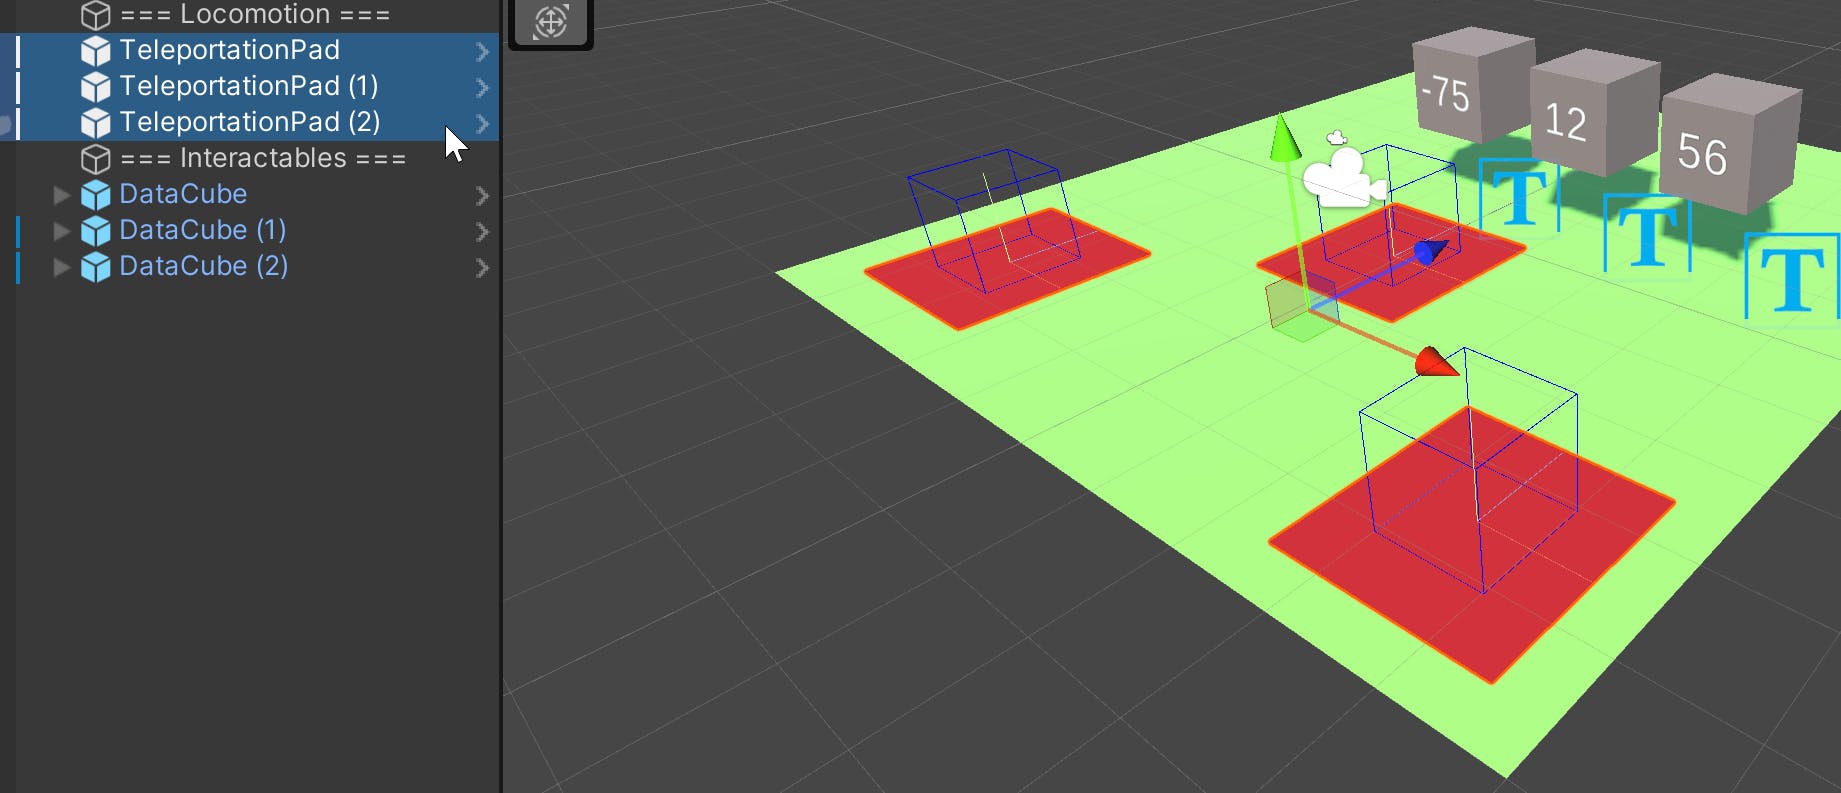
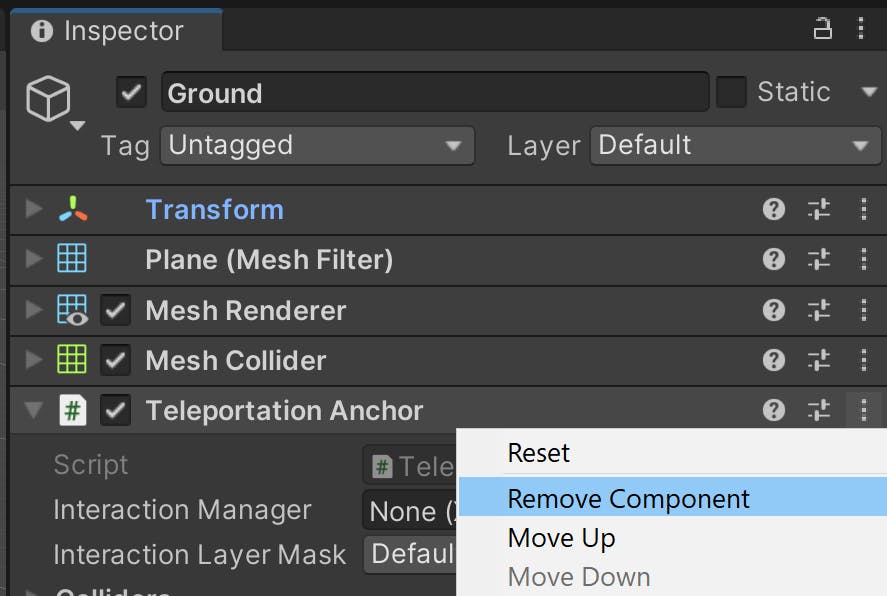
And last but not least, I removed the teleportation anchor from the ground, since we don't need it:
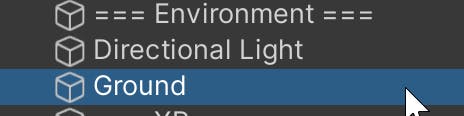
And I moved the ground to the environment section of the scene since it's not part of locomotion anymore:
And check it out, now I can move around and rotate!
I can add more teleportation pads as needed
Adding basic interactables
Movement is not just the only common feature in VR experiences. These usually have ways for players to interact with virtual objects, similar to the real world. Let's make the data cubes we made earlier, interactable.
I needed to first add an attach point, this is just a transform that defines where in space, we'll grab the game object:
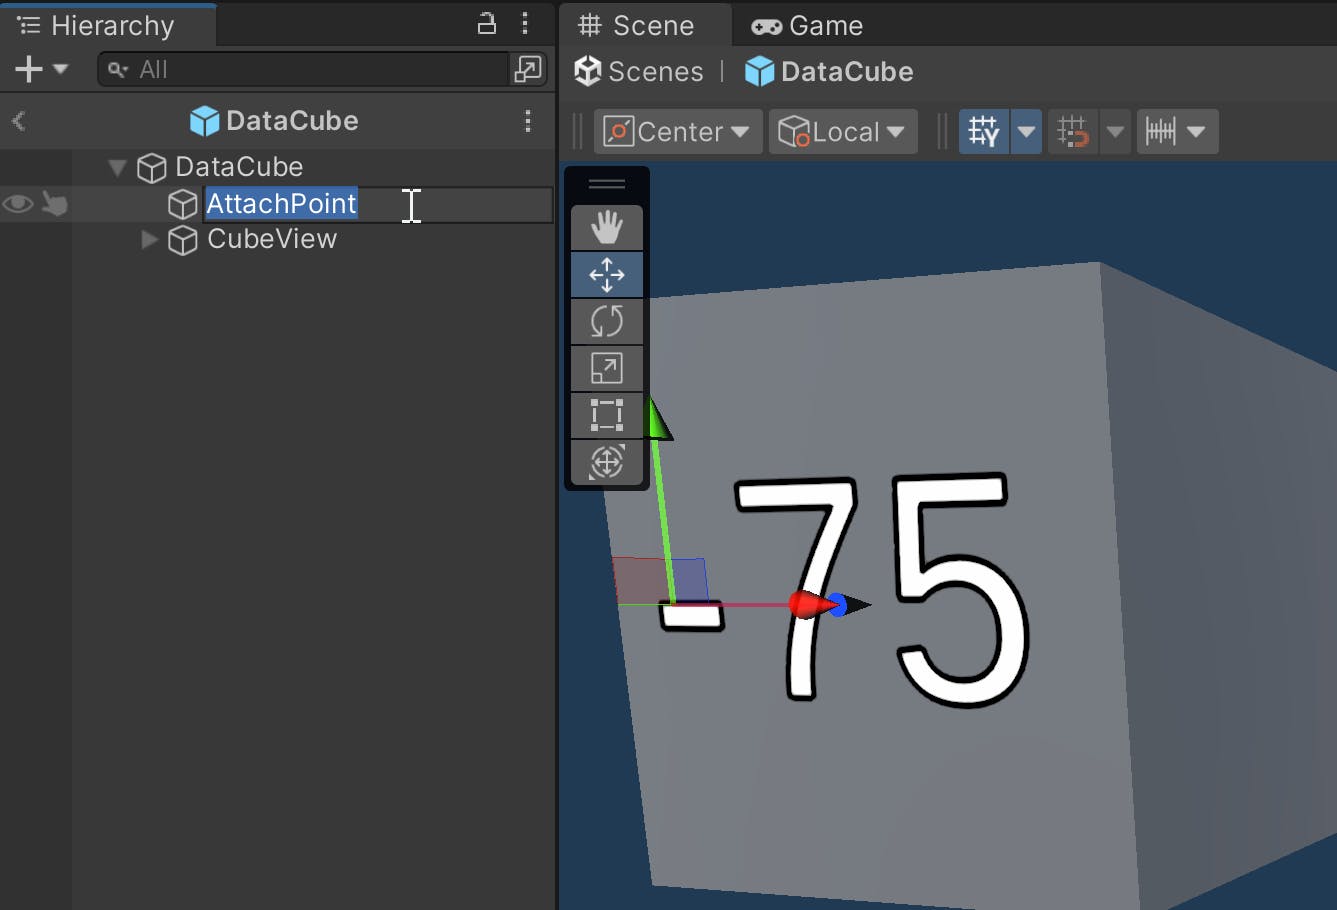
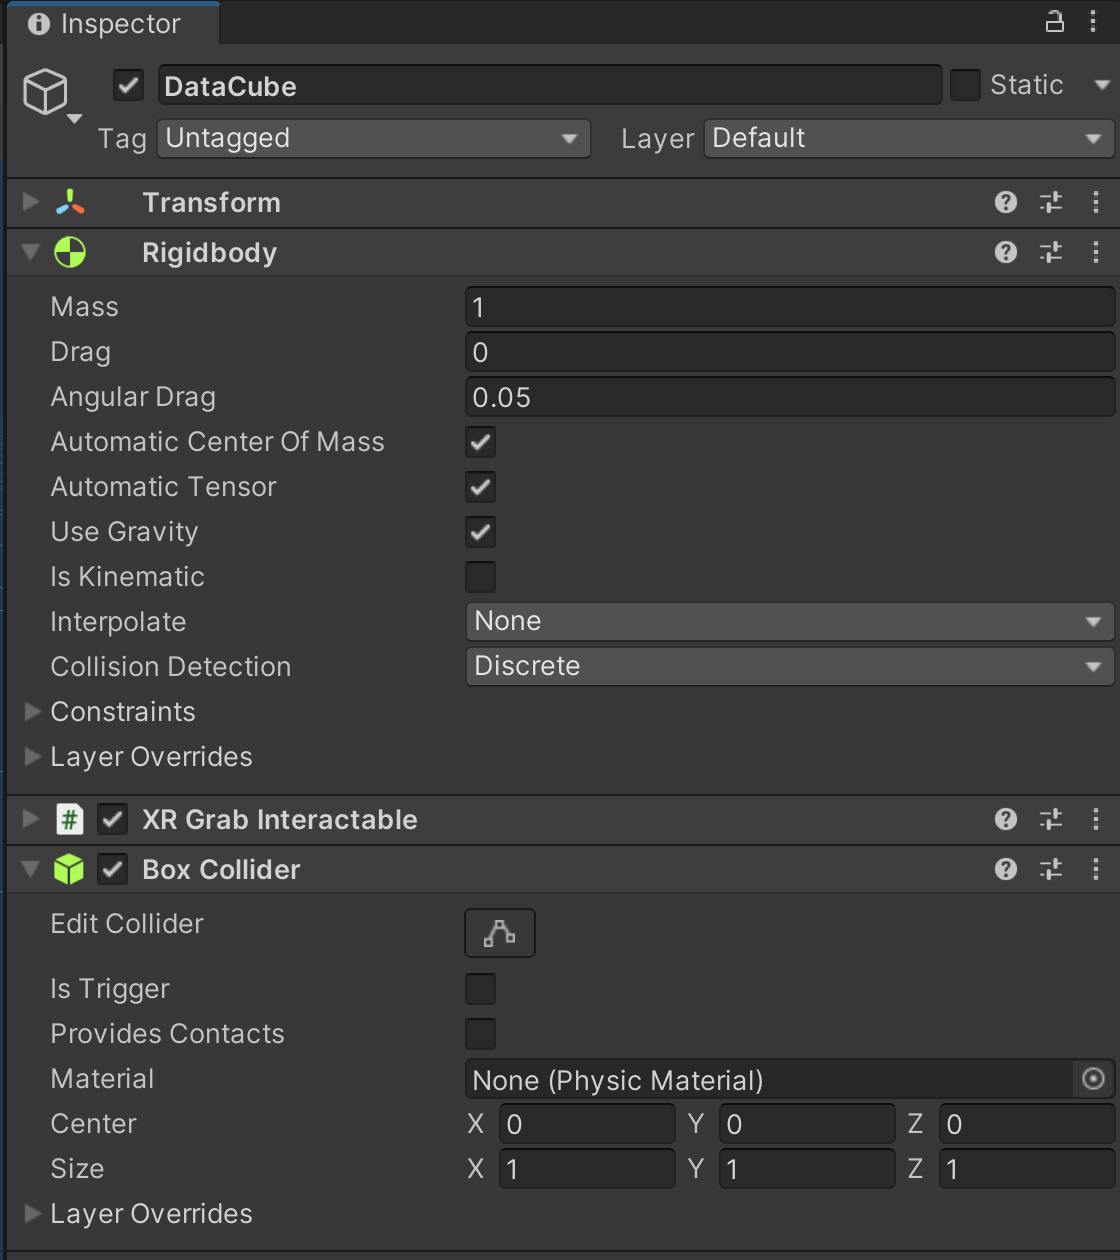
Afterwards, I added to the parent GO, the XR Grab Interactable component:

Note: Notice that we filled in the
Attach Transformfield with theAttach Pointobject we created earlier.
Additionally, the interactable component automatically added a Rigidbody component to handle physics interactions. I also added a Box Collider as well:
And check it out, we can now grab the data cubes!
Lessons learned
It's quite easy to enable movement in VR, but it's best to compare
I still need to test with different sizes of data cubes, it's not a super comfortable experience yet.
Please let me know what you think!
What data structures would you like to see?
What would you do to illustrate the connection between data cubes?
What XR projects are you working on right now?
🎉🎉🎉 Happy building! 🎉🎉🎉