Multiplayer Experiment: Tit-tac-toe - Pt. 3
Starting to add Networking!

👋🏾 Hello! 👋🏾 My name is Esteban and I love video games and learning about making games. I'm sharing here my progress as I build up my skills and learn new technologies.
Context
In my last article, I was able to add the feature of selecting an open spot on the field, to mark it as claimed with the click of the left-click mouse button:
The next step is to differentiate between claiming as either X or O.
2nd Prefab
To keep things organized, I made a prefab out of the main game field:
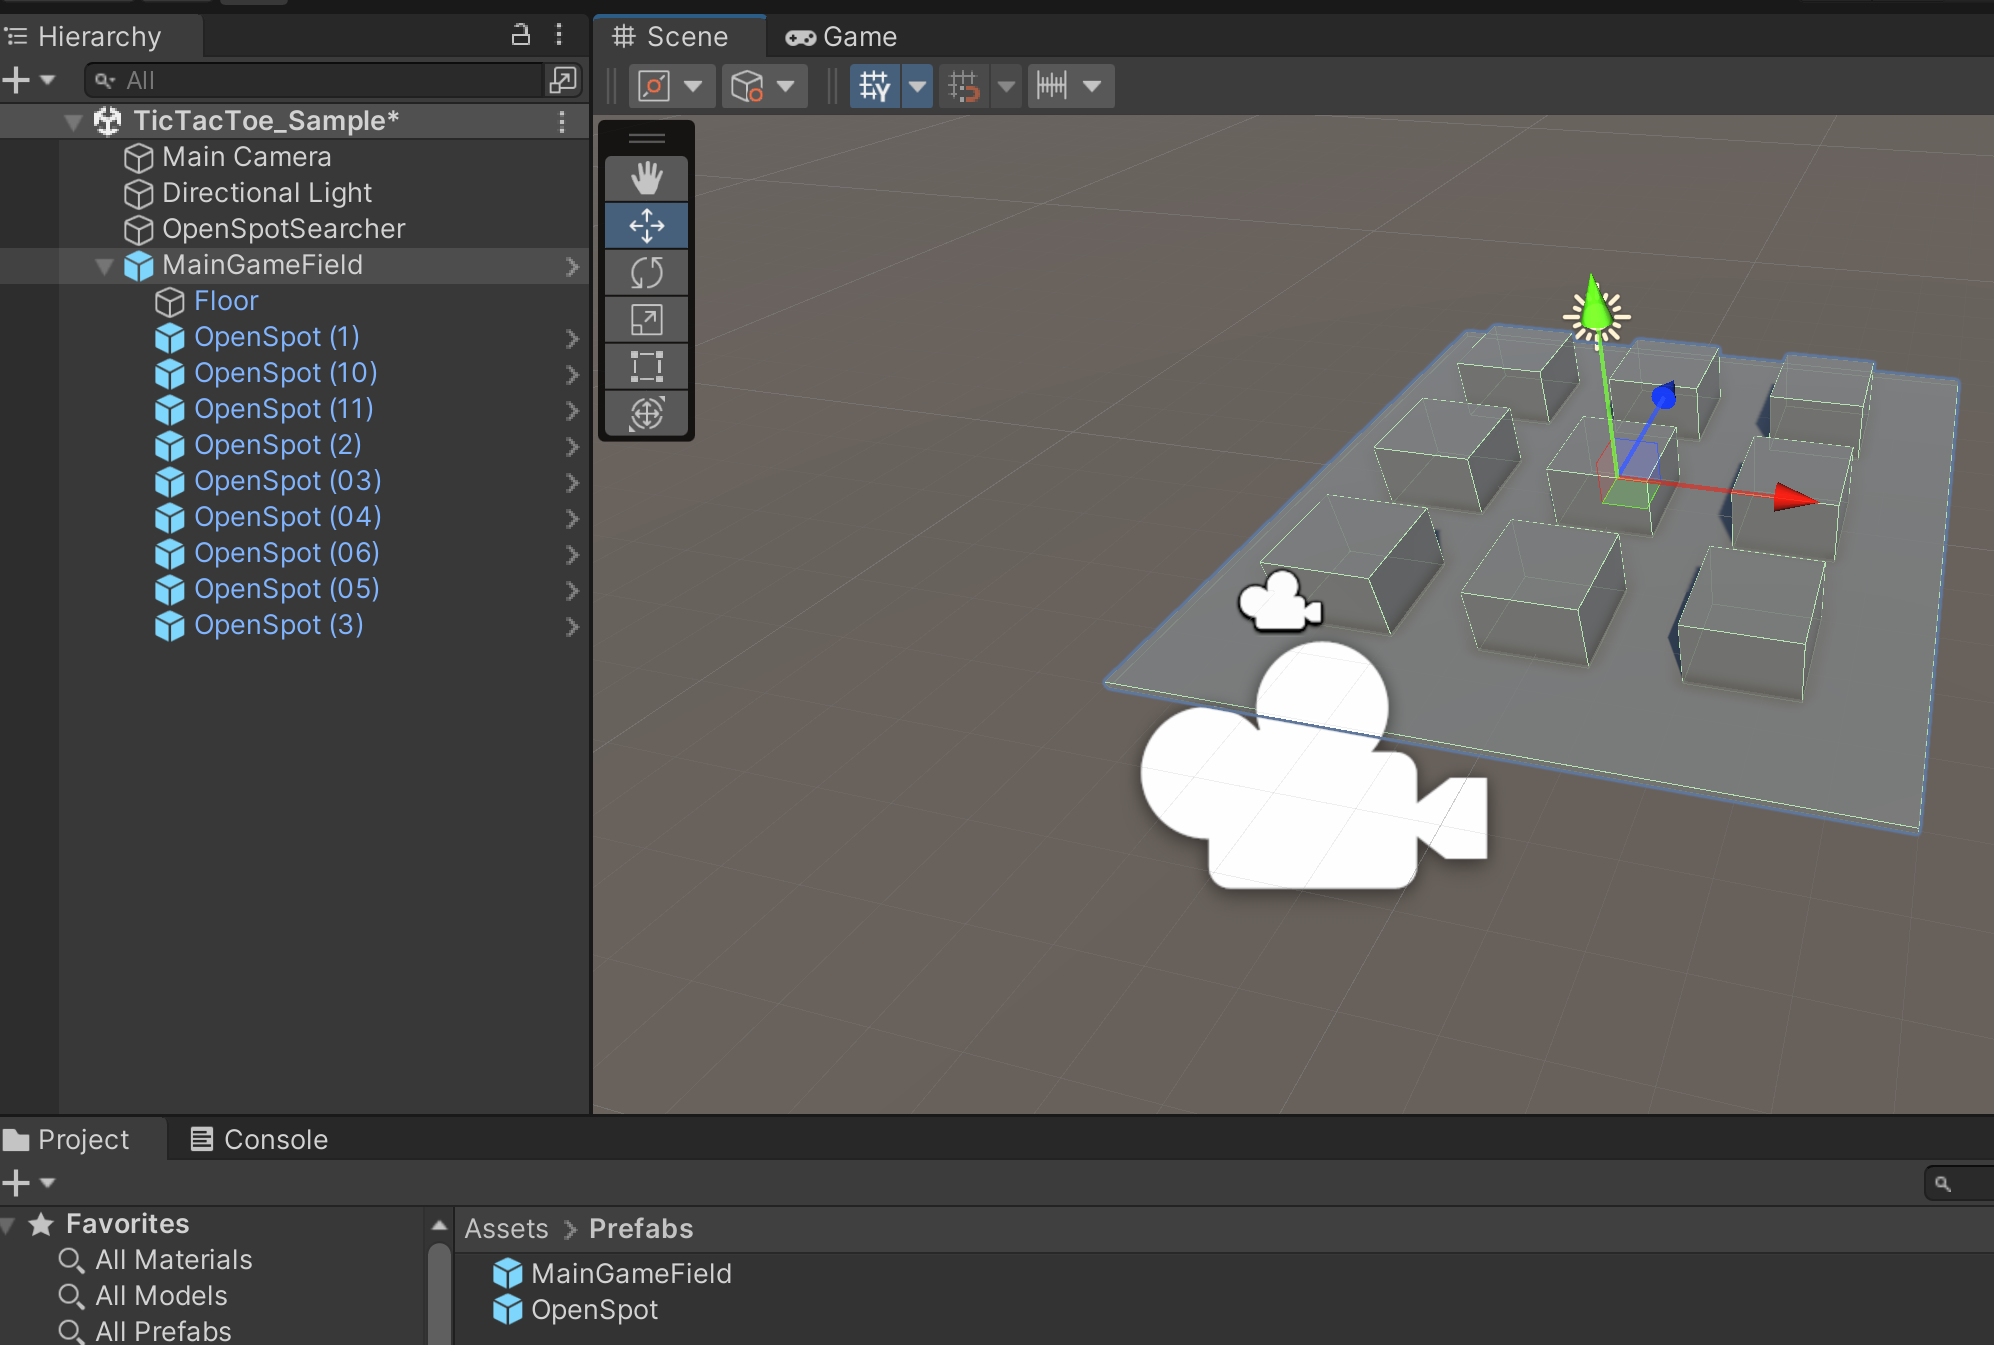
The created prefab is shown at the bottom, in the Project window
Additionally, I decided to name all of the game spots to be in the order of 1 to 9:
1st use of Multiplayer!
In my first post, I added the Netcode for GameObjects plugin (also referred to as NGO) which is Unity's multiplayer library that lets you synchronize data between connected clients in a networked session.
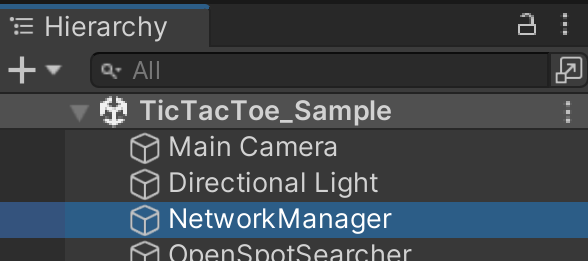
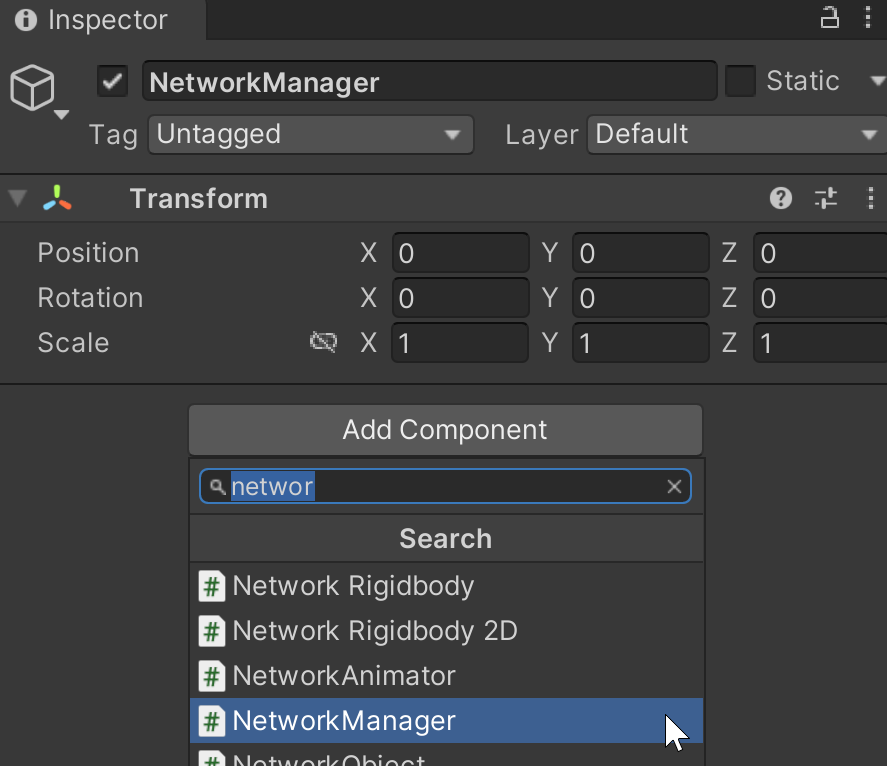
Let's start to add networking functionality. We need a GameObject to be responsible for starting a networked session, and we'll call it the NetworkManager:
Let's now add the very first NGO component which is also called NetworkManager:
This new component comes with many editable fields, but let's start with the most important one, the method that we'll use to send data in-between connected clients:
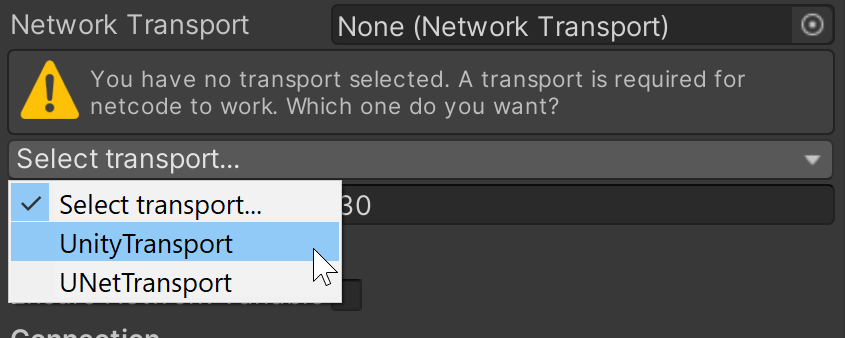
We selected Unity Transport, which will automatically add that same component to the NetworkManager object. Notice the connection details that get filled up by default:

This means that by default, the networked session will be running on the very same computer that I'm using to build my project. This is the best way of testing your multiplayer games when you're first creating them.
Planning The Game Flow
Before I continued, I needed to stop for a bit, and think things through. I went back to the Miro drawing board to think of the high-level application flow:

This seems simple, but it's good enough to get us started. But let's expand on the Main Game Loop step:
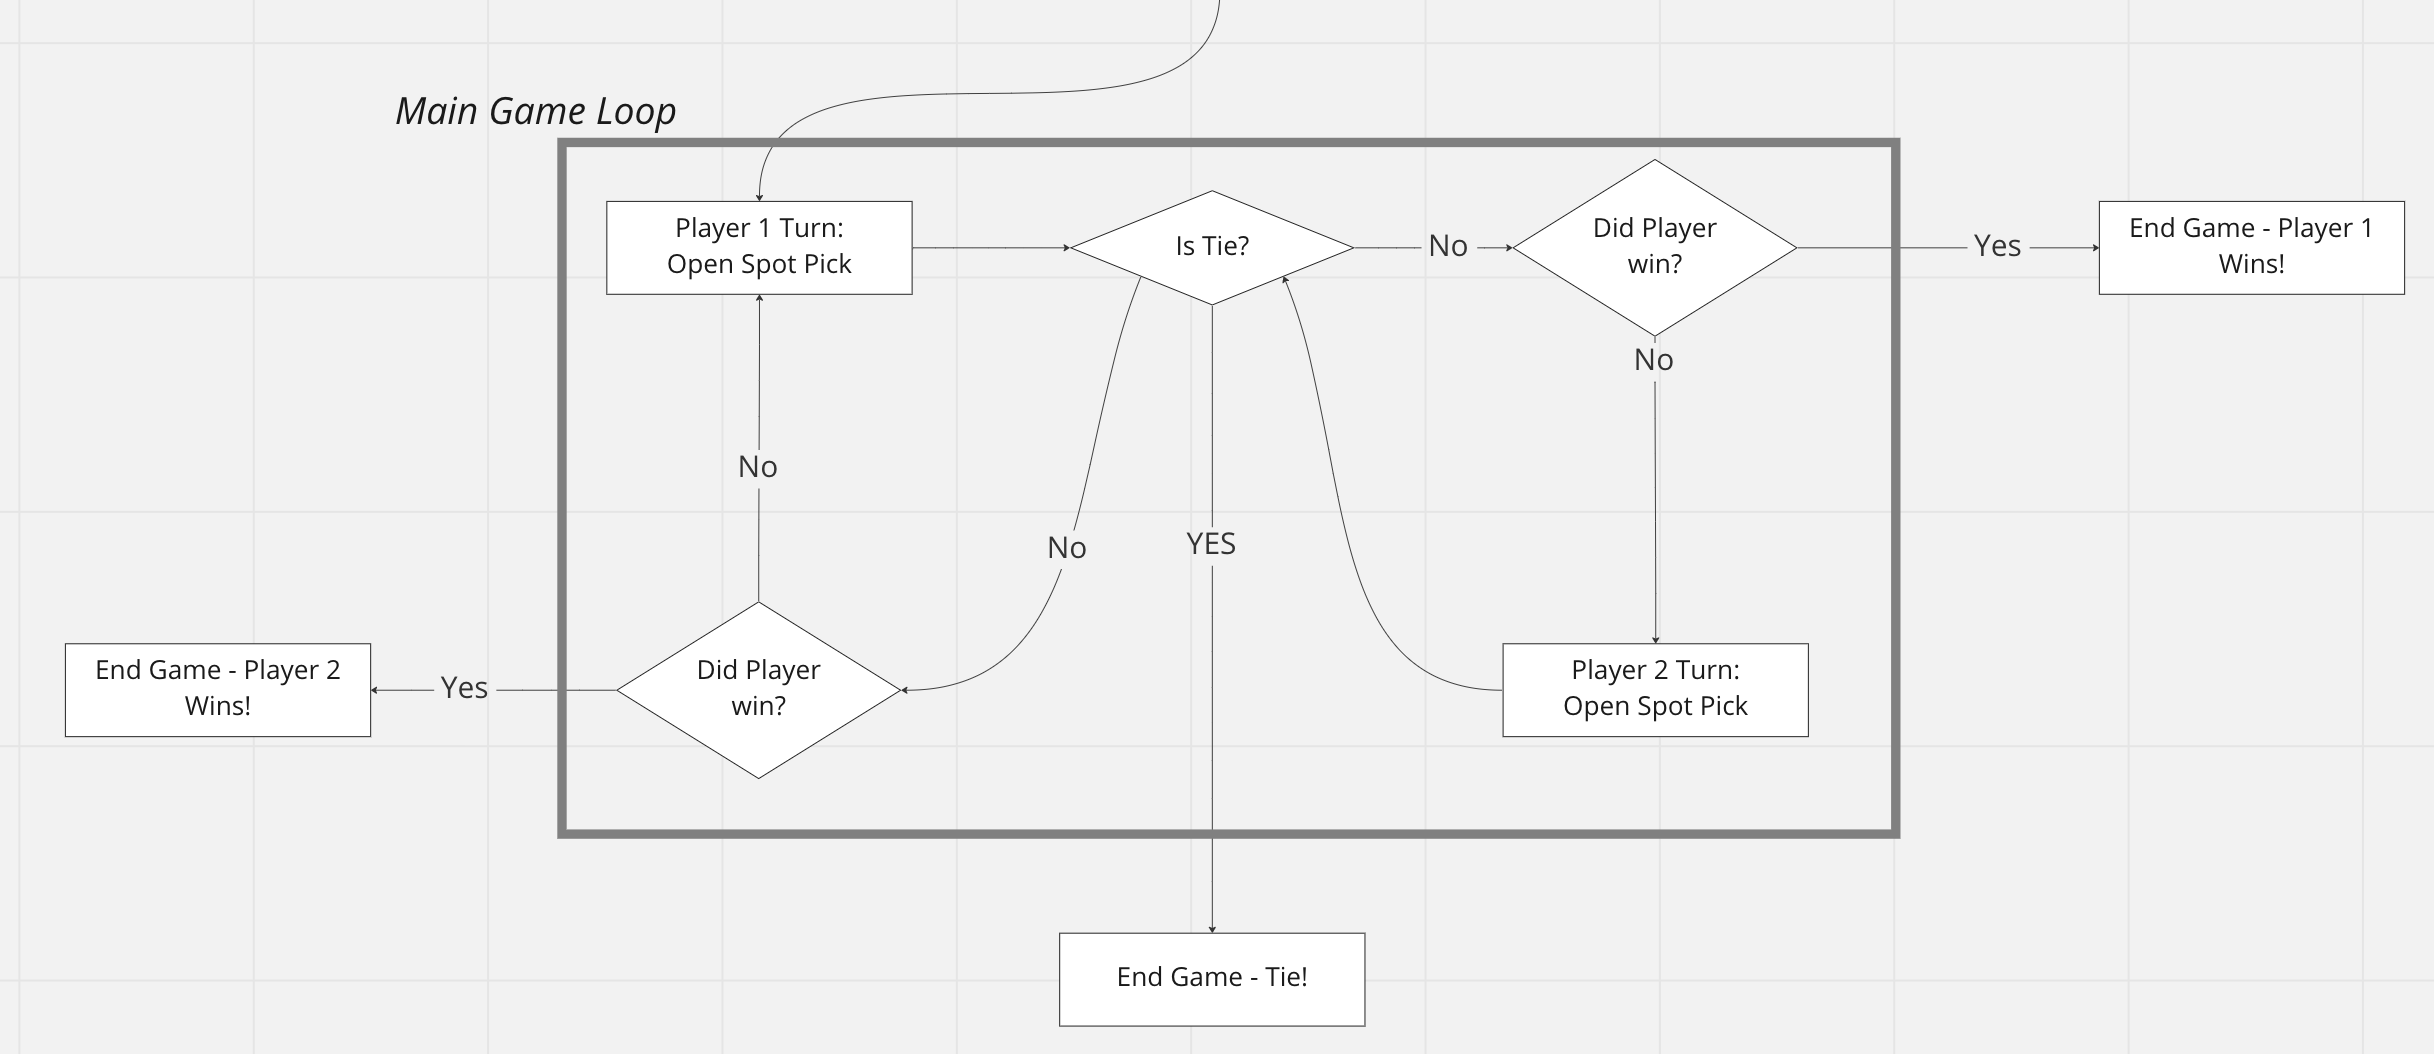
So now I that have drawn out an action plan, let's see if it gives us the desired results.
Let's Start to Build it!
Singleton for the win!
I need to cover Introducing the Singleton, which is a commonly used programming pattern. The Singleton ensures a class has one instance and provides a global point of access to it. Let's go ahead and create the C# script:
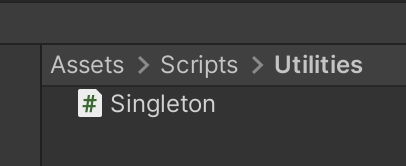
And here are the contents of the file:
using Unity.Netcode;
using UnityEngine;

public class Singleton<T> : MonoBehaviour where T : Component
{
    public static T Instance { get; private set; }

    public virtual void Awake()
    {
        if (Instance == null)
        {
            Instance = this as T;
        }
        else
        {
            Destroy(gameObject);
        }
    }
}
As you can see, this class is a generic class that will ensure there's one instance of a class that inherits from MonoBehaviour, in other words, a GameObject component.
Game Turn Manager
Our first use of the Singleton class is to have 1 instance of a class that keeps track of whose turn it is to play:
using System.Collections;
using System.Collections.Generic;
using UnityEngine;

public enum TicTacToeTurn
{
    none,
    X_Turn,
    O_Turn
}

public class TicTacToeTurnManager : Singleton<TicTacToeTurnManager>
{
    // for now, starting with O symbol
    public TicTacToeTurn currentTicTacToeTurn { get; private set; }
        = TicTacToeTurn.O_Turn;

    public void ChangeTurn()
    {
        if(currentTicTacToeTurn == TicTacToeTurn.O_Turn)
        {
            currentTicTacToeTurn = TicTacToeTurn.X_Turn;
        }
        else
        {
            currentTicTacToeTurn = TicTacToeTurn.O_Turn;
        }
    }
}
Let's now update the GameSpotBehavior class to use this new single TicTacToeTurnManager instance:
public class GameSpotBehavior : MonoBehaviour
{
    ...

    public void ChangeToClaimedSpot()
    {
        isSpotClaimed = true;

        if(TicTacToeTurnManager.Instance.currentTicTacToeTurn
            == TicTacToeTurn.X_Turn)
        {
            ChangeVisualStyleToClaimedAs_X();
        }
        else if (TicTacToeTurnManager.Instance.currentTicTacToeTurn
            == TicTacToeTurn.O_Turn)
        {
            ChangeVisualStyleToClaimedAs_O();
        }

        TicTacToeTurnManager.Instance.ChangeTurn();
    }

    private void ChangeVisualStyleToClaimedAs_X()
    {
        m_meshRenderer.material.color = Color.green;
    }

    private void ChangeVisualStyleToClaimedAs_O()
    {
        m_meshRenderer.material.color = Color.yellow;
    }
}
And check it out, we now alter the look in-between X and O turns:
Synchronizing what we have
Starting a Network session
What NGO offers by default
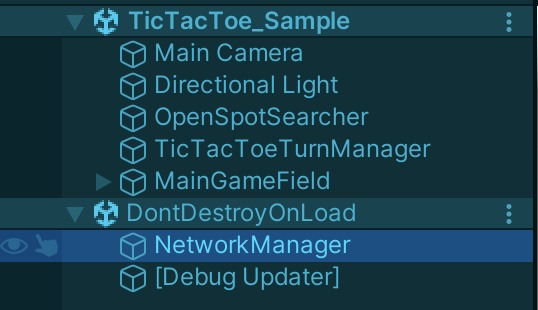
When we go into play mode, you can see that the Network Manager is moved to this additional scene. This is a built-in behavior of the Unity editor:
When you select the NM and look in the Inspector window, we now have 3 clickable buttons to choose from:

These buttons do exactly what they say. With these, you can:
Start a network session as a host (server + client)
Start a network session as a standalone server
Start a network session as a client, who joins an active session
📝For more information about this terminology, please visit Unity's multiplayer documentation site.
Let's add some test UI
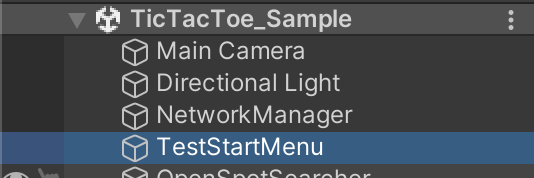
Let's add a game object that will show a menu, called TestStartMenu:
And now, grabbing a lesson from NGO's Golden Path Tutorial, let's add a quick menu that will help to start the network session.
Let's add a new script called TestStartMenu, and add it to the new game object:
using Unity.Netcode;
using UnityEngine;

public class TestStartMenu : MonoBehaviour
{
    void OnGUI()
    {
        GUILayout.BeginArea(new Rect(10, 10, 300, 300));

        if (!NetworkManager.Singleton.IsClient &&
            !NetworkManager.Singleton.IsServer)
        {
            StartButtons();
        }

        else
        {
            StatusLabels();
        }

        GUILayout.EndArea();

    }

    void StartButtons()
    {
        if (GUILayout.Button("Host"))
            NetworkManager.Singleton.StartHost();

        if (GUILayout.Button("Client"))
            NetworkManager.Singleton.StartClient();

        if (GUILayout.Button("Server"))
            NetworkManager.Singleton.StartServer();
    }

    void StatusLabels()
    {
        GUILayout.Label("Transport: " +
            NetworkManager.Singleton.
                NetworkConfig.NetworkTransport.GetType().Name);

        string mode = NetworkManager.Singleton.IsHost ?
            "Host" : NetworkManager.Singleton.IsServer ?
                "Server" : "Client";

        GUILayout.Label("Session Mode: " + mode);
    }
}
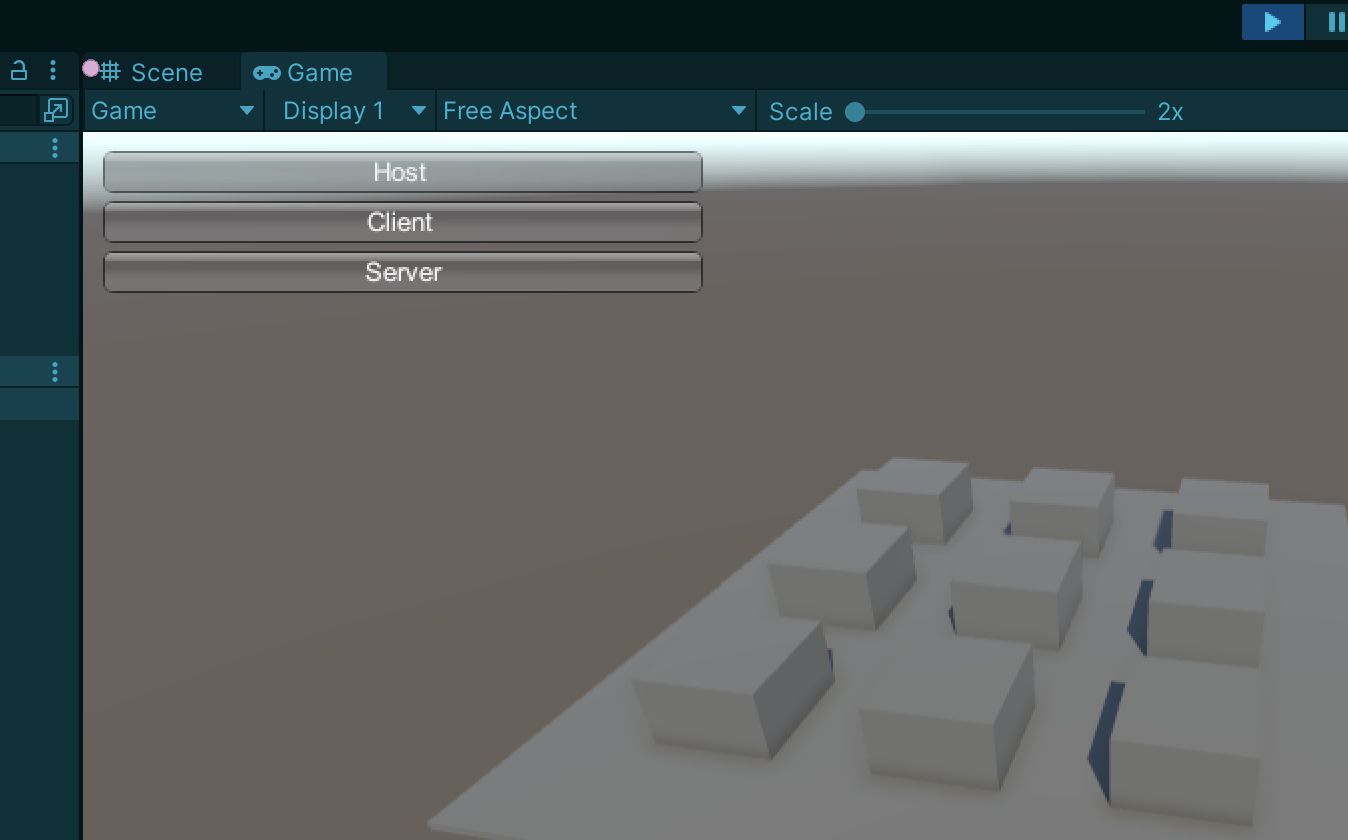
And look at that, now we have some basic UI:
1st Networking Test
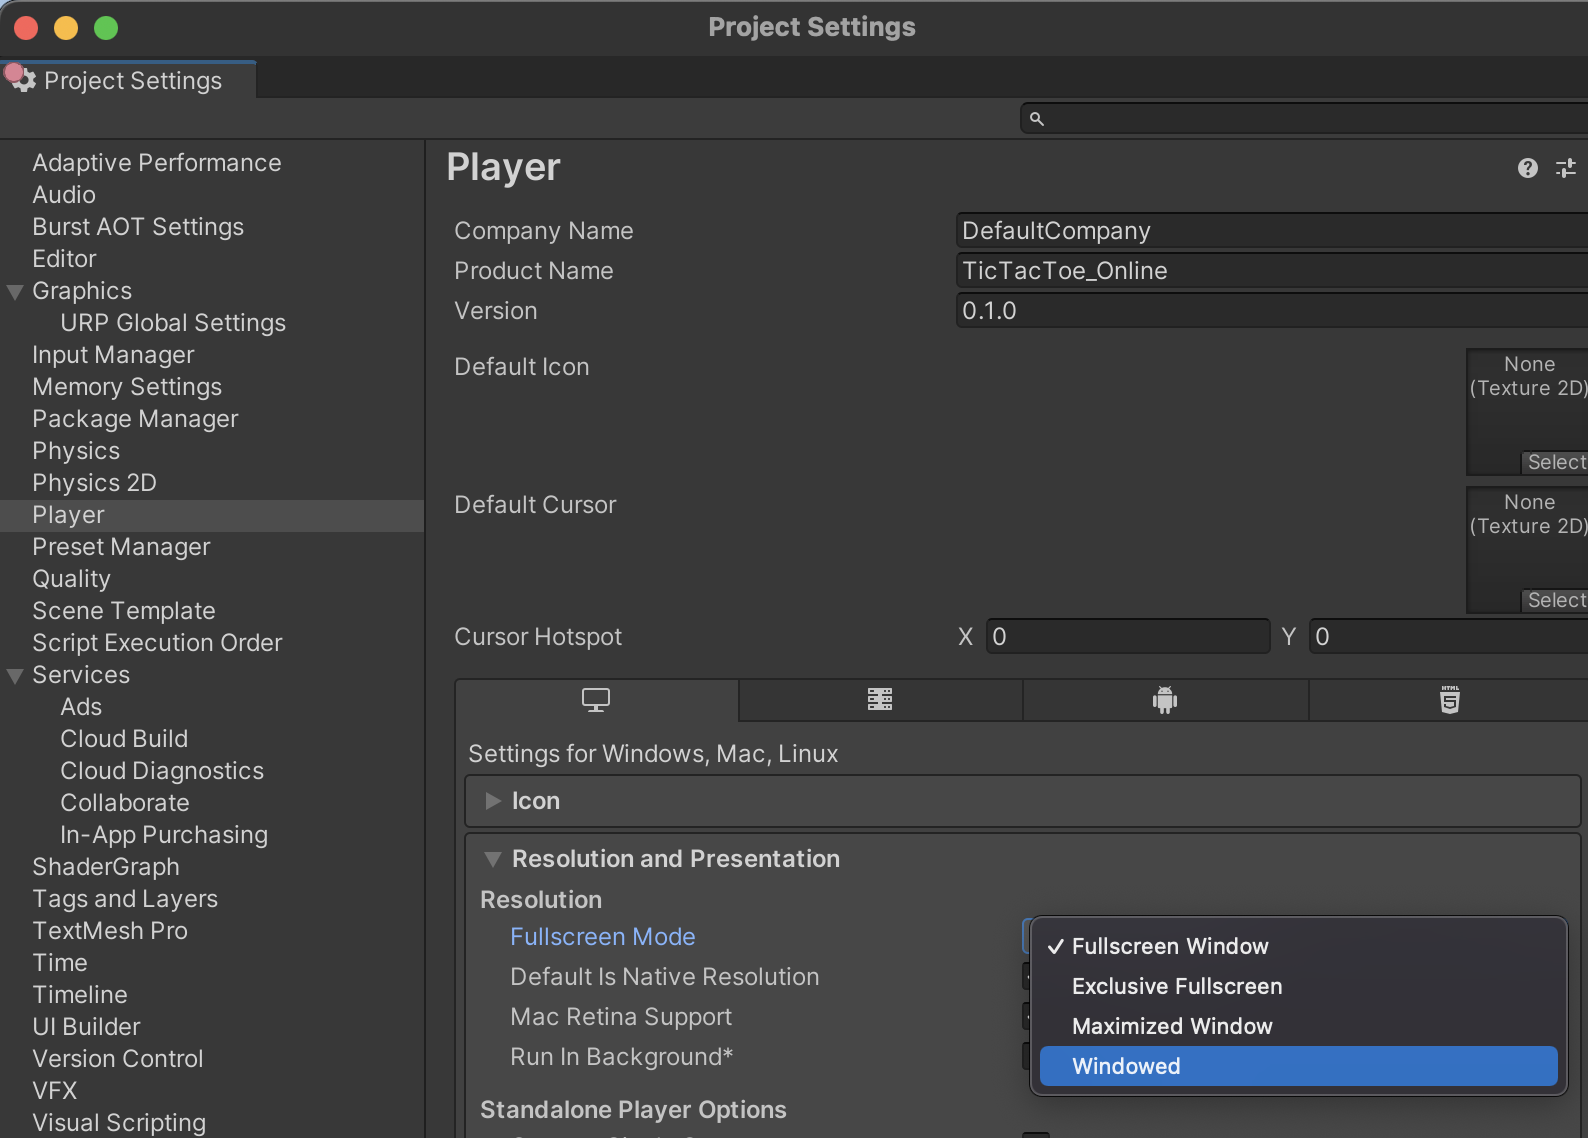
Let's change the Project Settings so that when we build the game it doesn't go to full screen. Change the Fullscreen mode to Windowed:
Let's build the current scene. You can access the build settings under File > Build Settings:
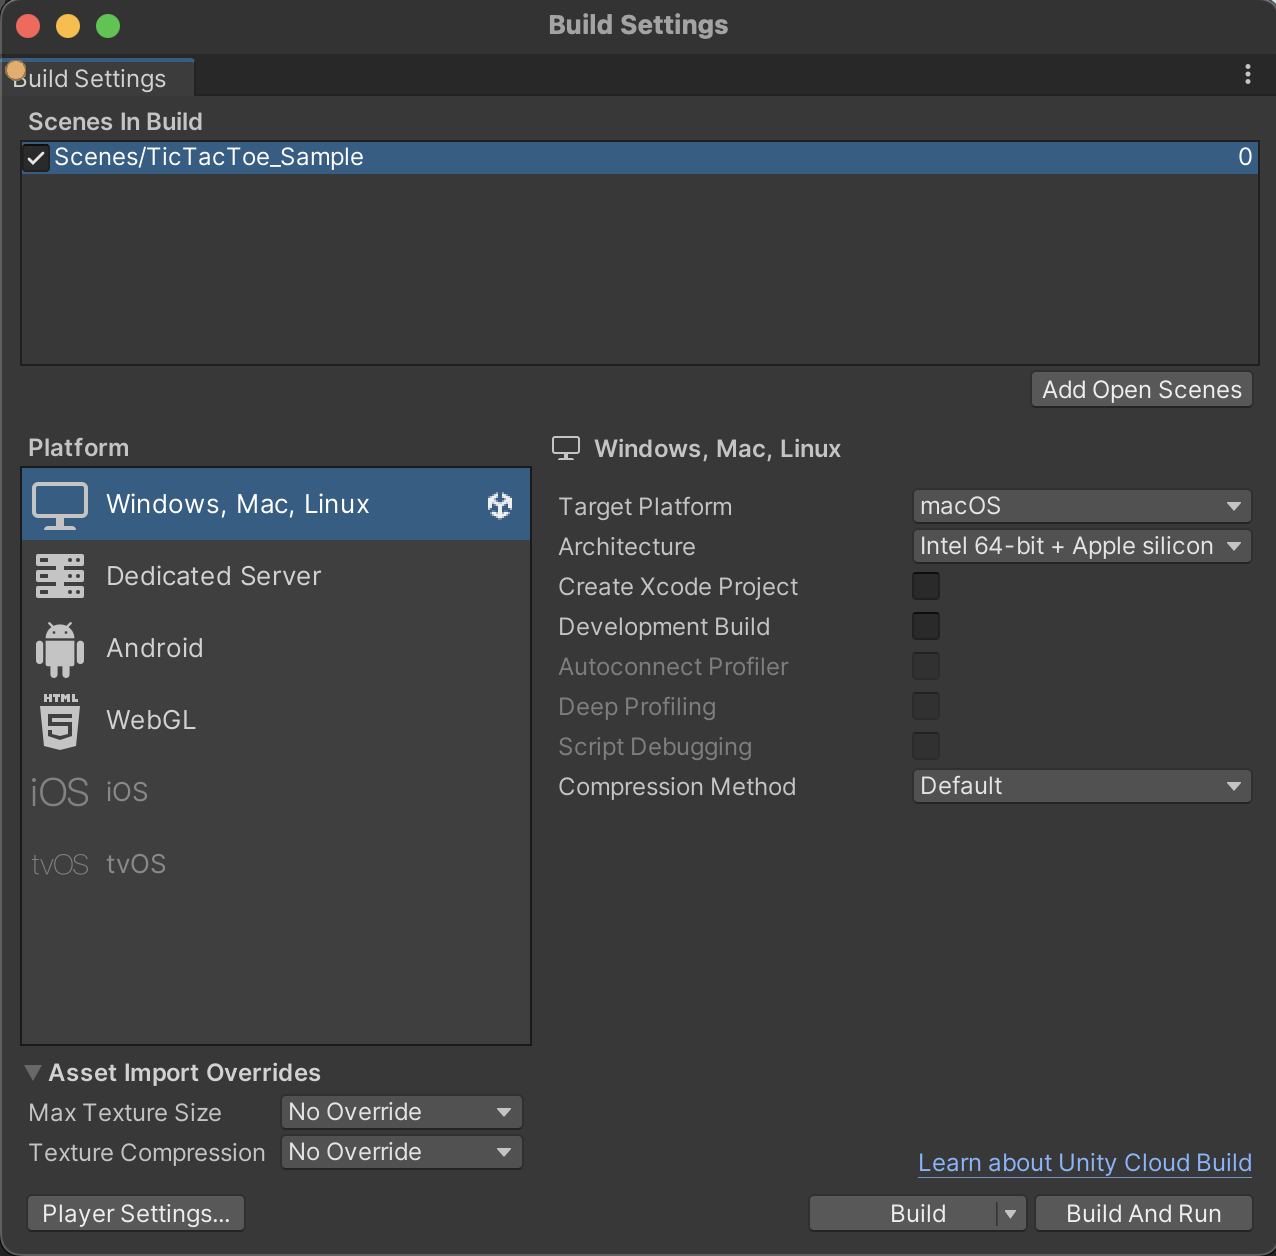
After hitting the Build button, the editor will create that build of the current scene. We can test this built game so that it connects to an active networking session:
As you can see, technically I'm starting a networking session with the editor, and then joining the network session with the built instance. There's no synchronization happening for now, but this is currently expected.
Change the Game Spot to Network
I need to add a few changes to the GameSpotBehavior script to make it access networking functionality from NGO.
We'll need to make the script inherit the NetworkBehaviour class. This is NGO's default scripting class to inherit when you want to access networking functionality. And the first feature that we're going to use is NetworkVariable. As the name mentions, these are variables that have built-in synchronization features for multiplayer games:
public class GameSpotBehavior : NetworkBehaviour
{
    public bool isSpotClaimedGetter => isSpotClaimed.Value;

    readonly NetworkVariable<bool> isSpotClaimed = new NetworkVariable<bool>(
        false,
        NetworkVariableReadPermission.Everyone,
        NetworkVariableWritePermission.Server);

    readonly NetworkVariable<bool> isHighlighted = new NetworkVariable<bool>(
        false,
        NetworkVariableReadPermission.Everyone,
        NetworkVariableWritePermission.Server);

    ...
}
But now we need to fix something. NGO is giving us the following error message because we have to make some important changes to the OpenSpot prefab, which was previously NOT made to access NGO functionality:
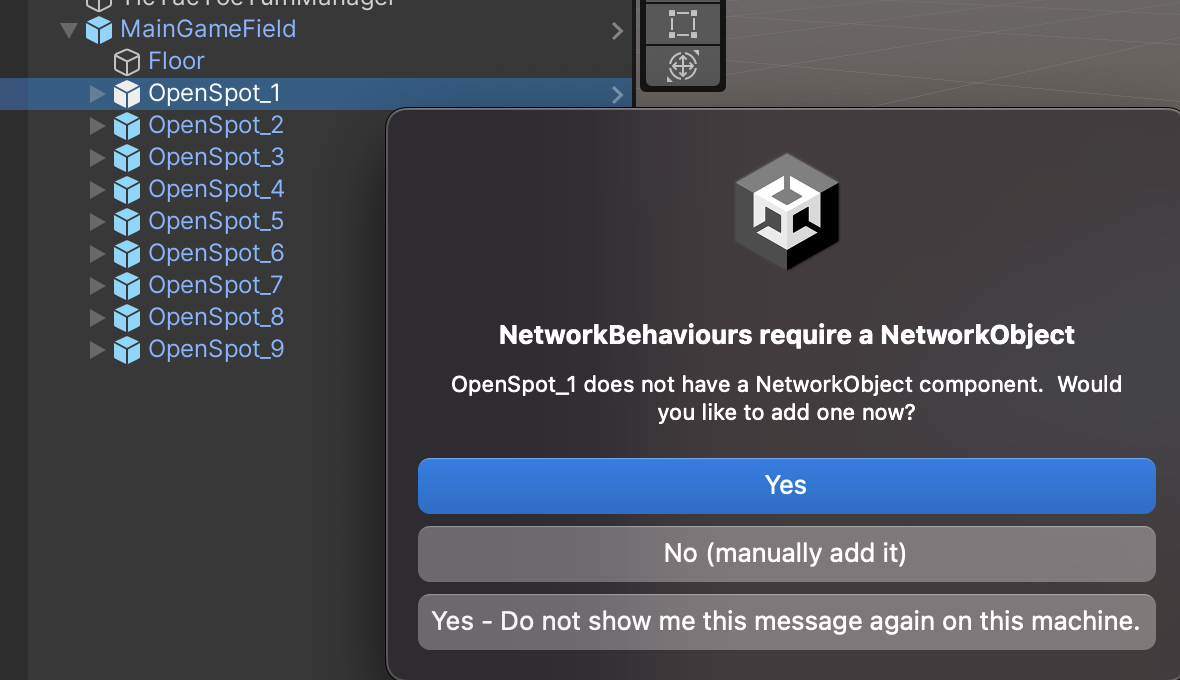
Let's open the prefab, and add a very important component, the NetworkObject component. This component marks game objects as ones that should access functions and features from NGO.
👀I'll show the status of the project with these changes in the next post!
Completed goals
Started to use the Netcode for GameObjects plugin, to start a networking session
Tested that a network connection is made between a host and a client
Started to change existing prefabs to access NGO's features
Lessons learned so far
Proper use of layer masks in ray casting
There's a reason there are only 32 possible layers in a Unity project
Again, YAGNI. Do NOT optimize before you need to! 😂
Please let me know what you think!
Are these changes I'm doing making sense?
Have you used the Singleton pattern before?
What do you think of the current design of the game flow?
🎉🎉🎉 Happy building! 🎉🎉🎉


