Learning Unity | Modding the Karting Microgame sample
A blog post I use to show one way of writing a development story


Context
I wrote this blog post as an example on how can one easily start creating a development story. I'm creating it with the following persona in mind:
I'm an aspiring game developer, that will explore a Unity game sample and try to make a modified game from it. I'd like to also practice writing my own blog post about my development experiment
The following is going to be the necessary steps needed in order to modify Unity's Karting Microgame sample.
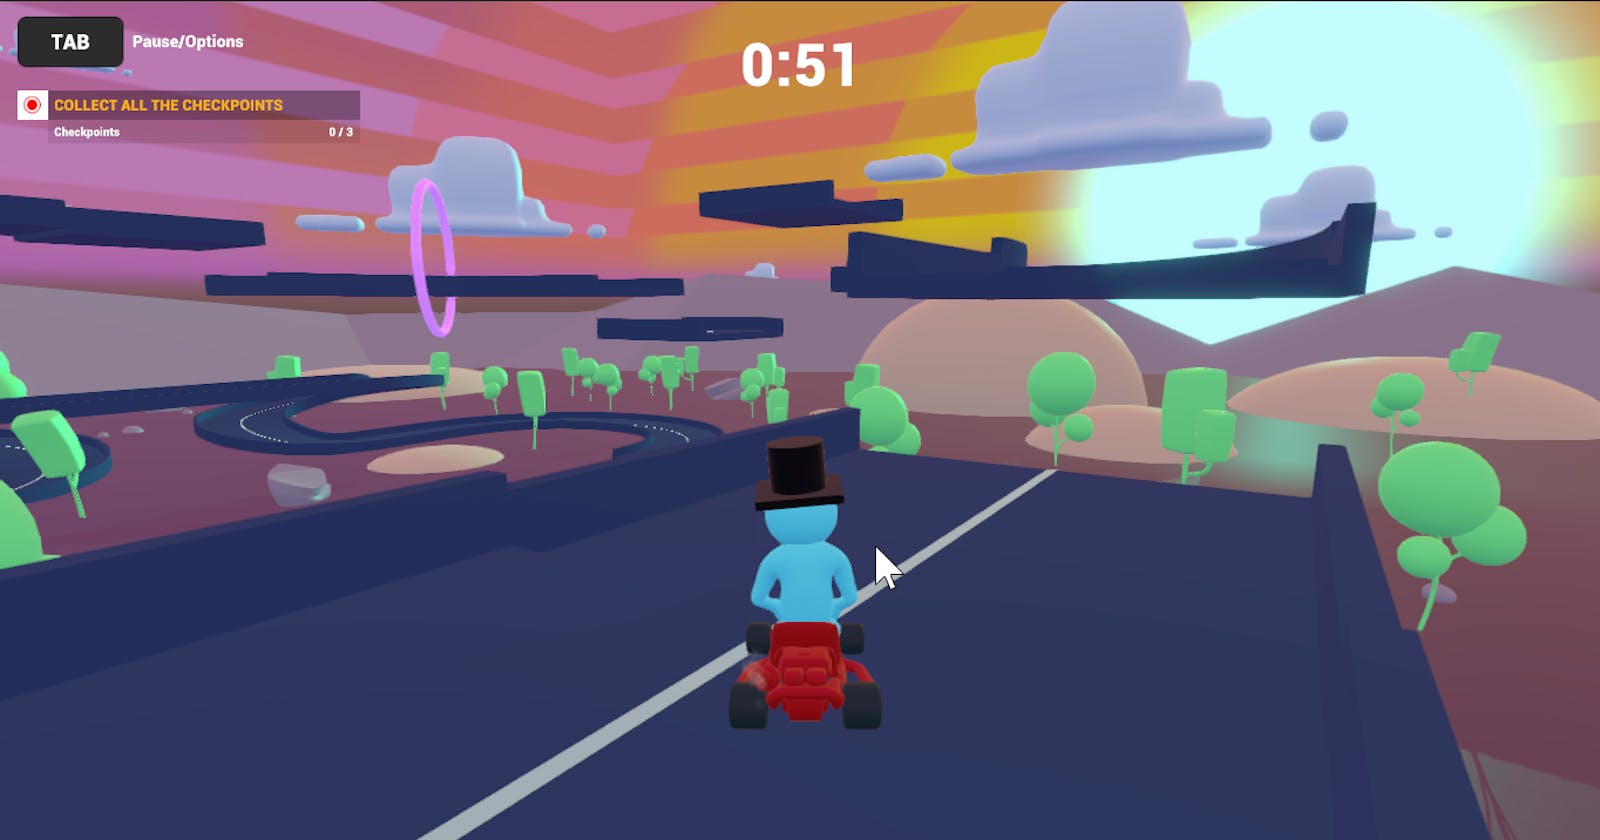
I will cover all of the necessary steps going from how to implement the sample assets into a Unity project, all the way to making a modified version where the segments of the racetrack oscillate up and down, like so:
Getting the Kart Racing Sample
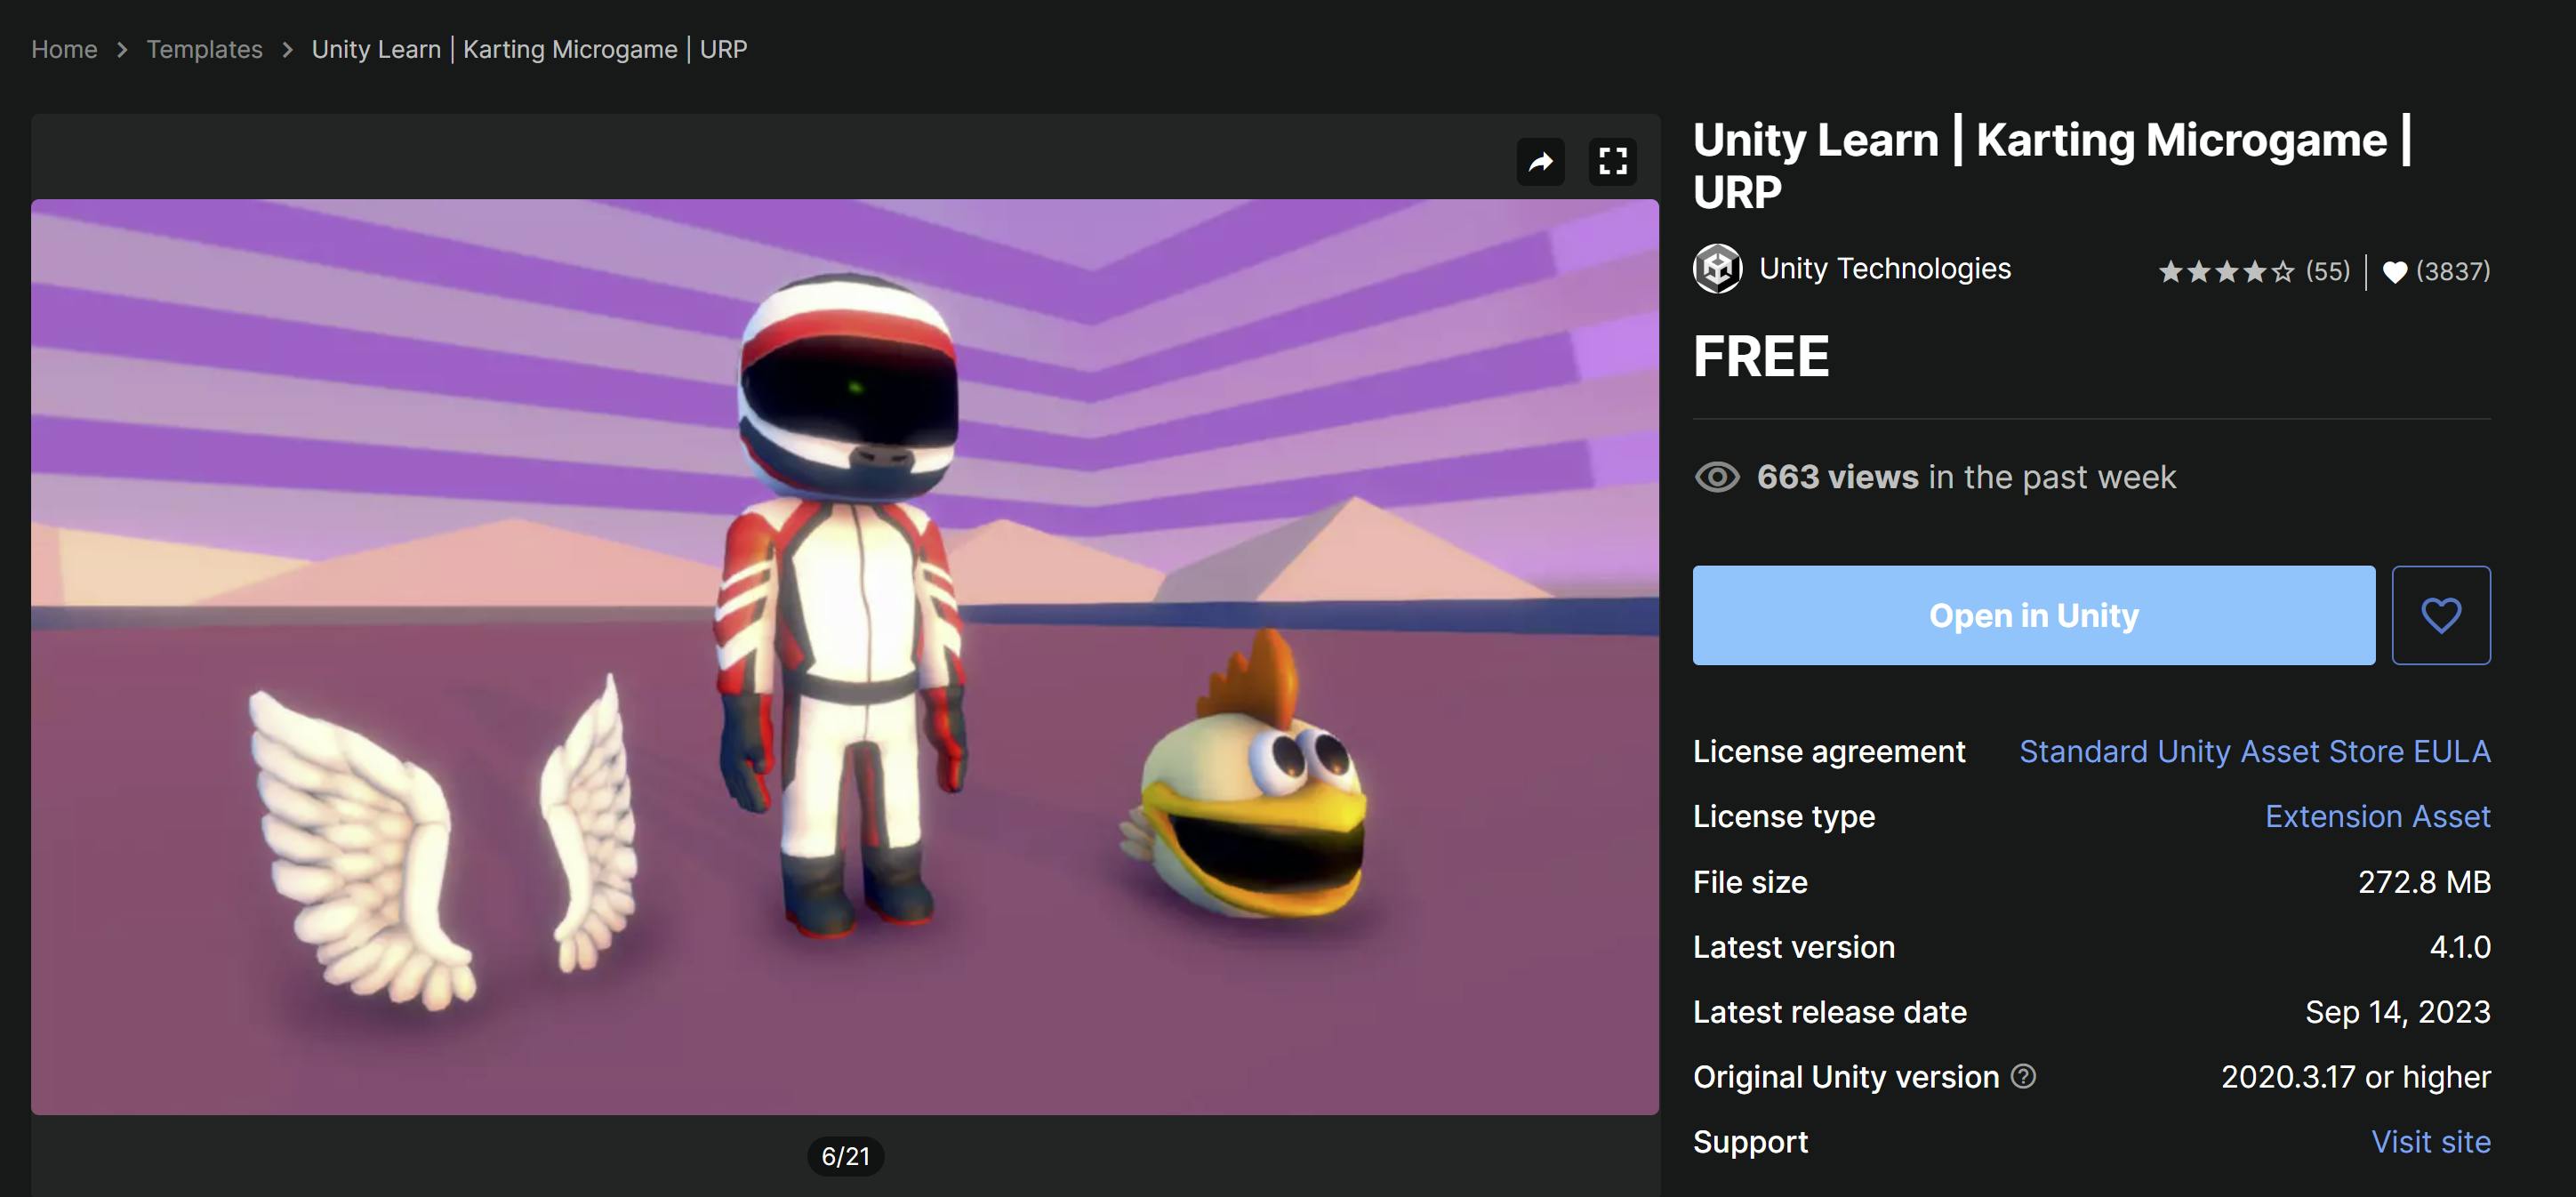
After you create a Unity project, and having it open using a supported Unity version, you can download the sample from the online asset store by clicking on the Open in Unity button shown below:
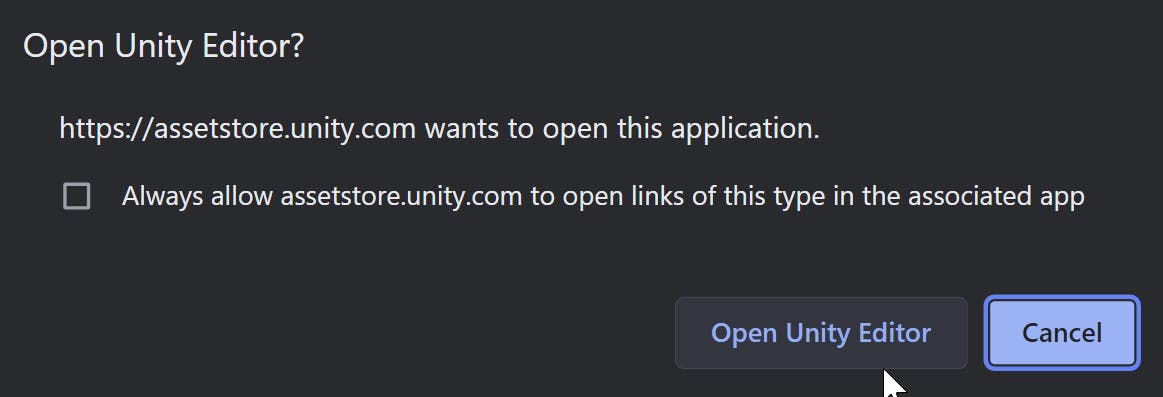
On your web browser, you'll get this pop up giving you the option to open on the Unity editor, click on that button while having the Unity editor open:
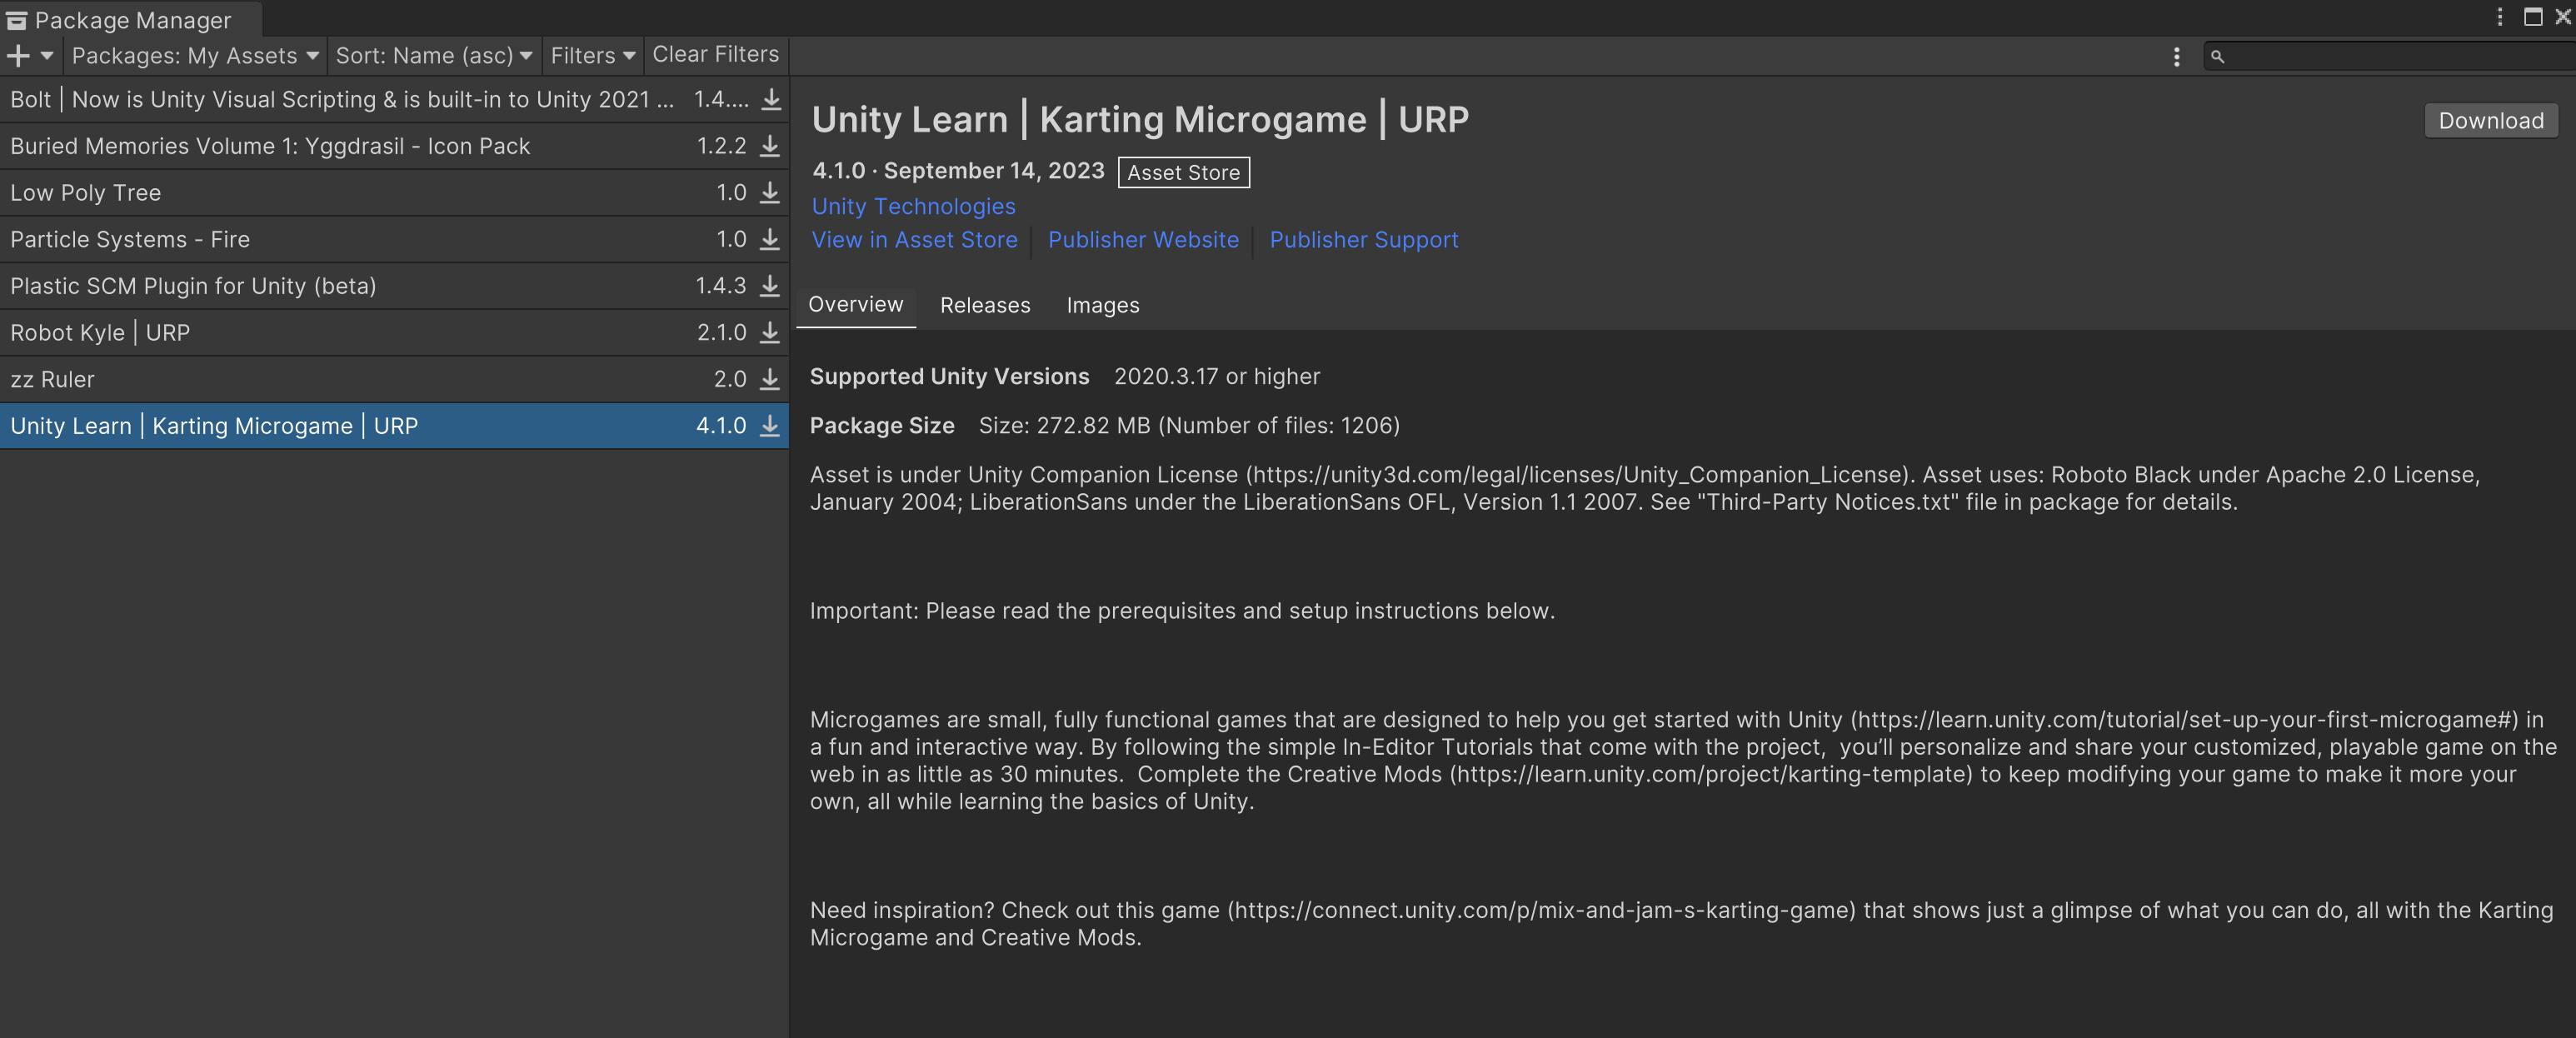
Once on the unity editor, The package manager window will open and it'll show all of your assets that you've obtained from the asset store. If you notice, there's a download button on the top right of the image that I show below, click on that to download the sample assets:
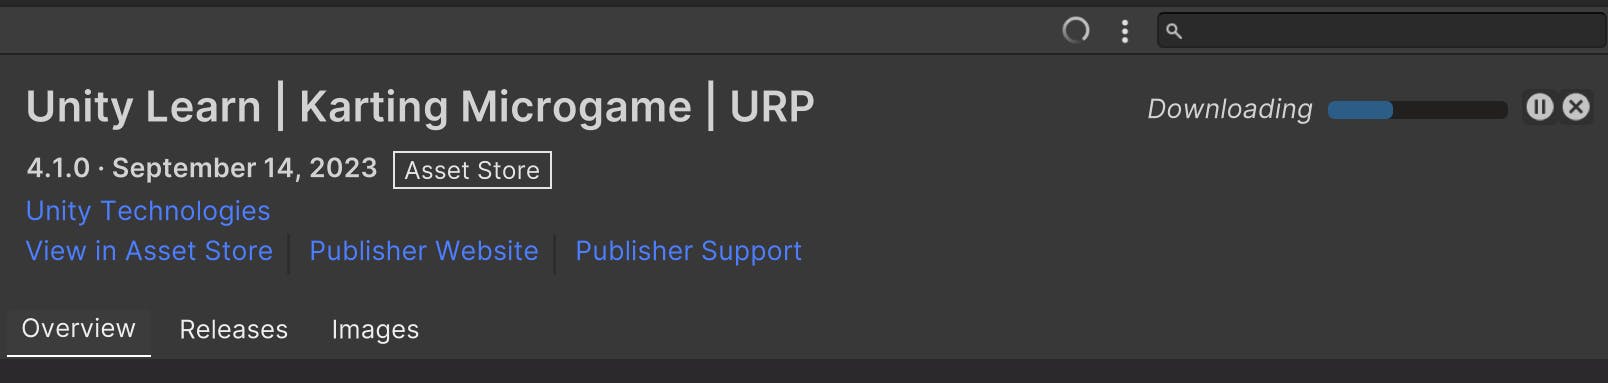
The editor will start downloading the files:
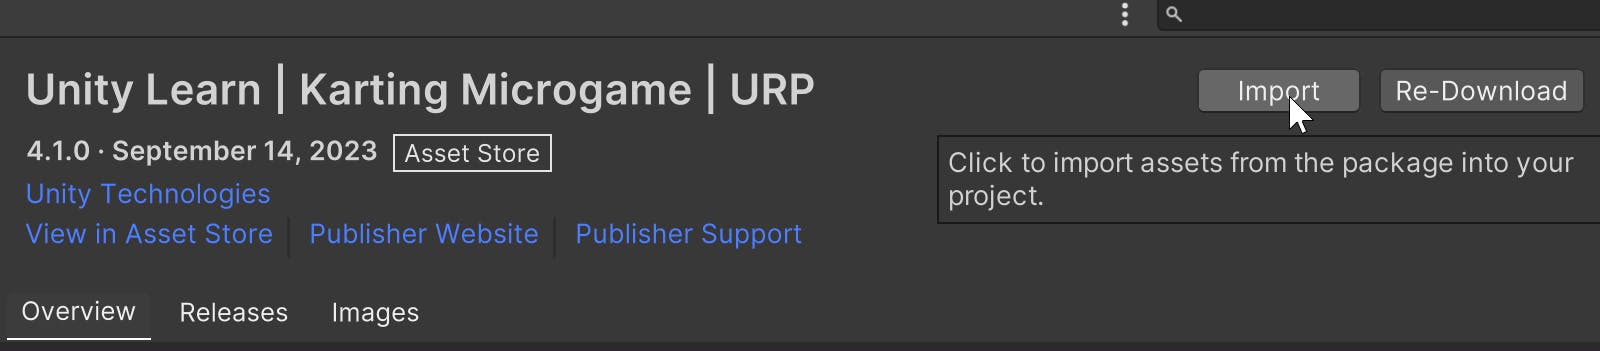
Once the files are downloaded, they can be imported into your Unity project. Click on the import button shown below:
Follow the import instructions, they're really straightforward:

Once the import process is done, open the Assets > Karting > Scenes > MainScene.unity scene file, and you'll open this beautiful scene:

And with that, you've obtained the necessary assets to commence your modding!
Running the game for the 1st time:
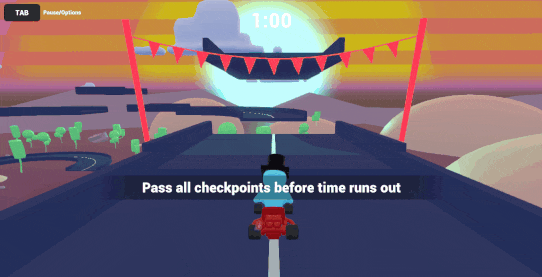
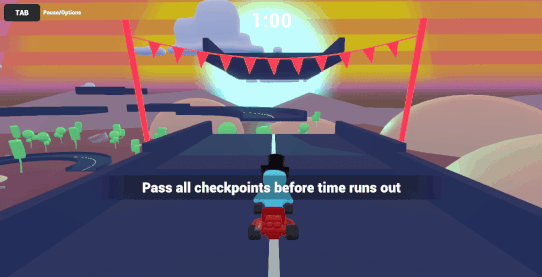
Goal of the game
Play the scene, and you'll notice that the game is pretty simple. You have to race along the track and go through all the checkpoints before time runs out. That's our base game.

Structure of the scene
One of the things that I like about this sample and many of the ones made by the Unity Learn team is that they structure the scene's components into sections:
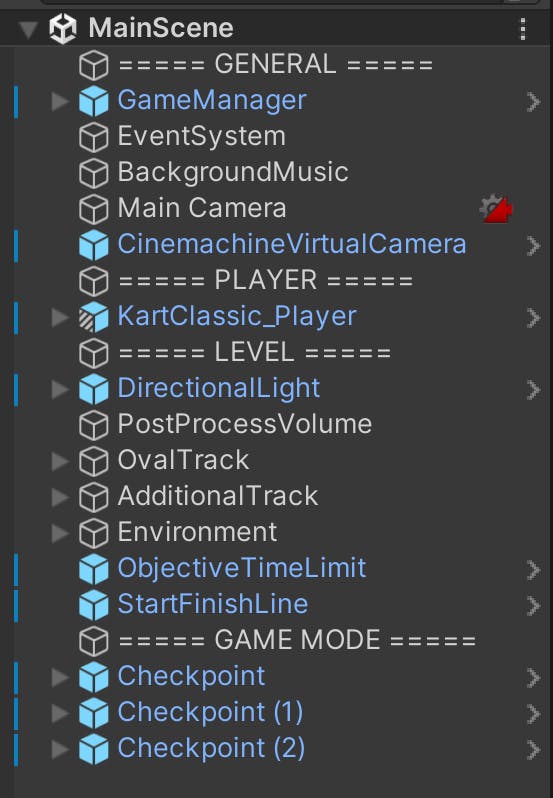
There are many ways in which you can organize your components so some might organize this very same sample in different ways. What we can appreciate here is that they've separated the environment(lights, mountains, trees, etc.) from manager objects (game, music, events, etc.), the player character, and objects related to gameplay, which are the checkpoints.
1st small modification
It can be a bit intimidating to answer the question “where to start?”, but one thing that can help is to find something small, something that just starts to show a little bit of progress. For now, let's change the color of the sunlight!
Go into the inspector hierarchy, and select the DirectionalLight game object. Let's give a new look to the sunlight by modifying the emission color:
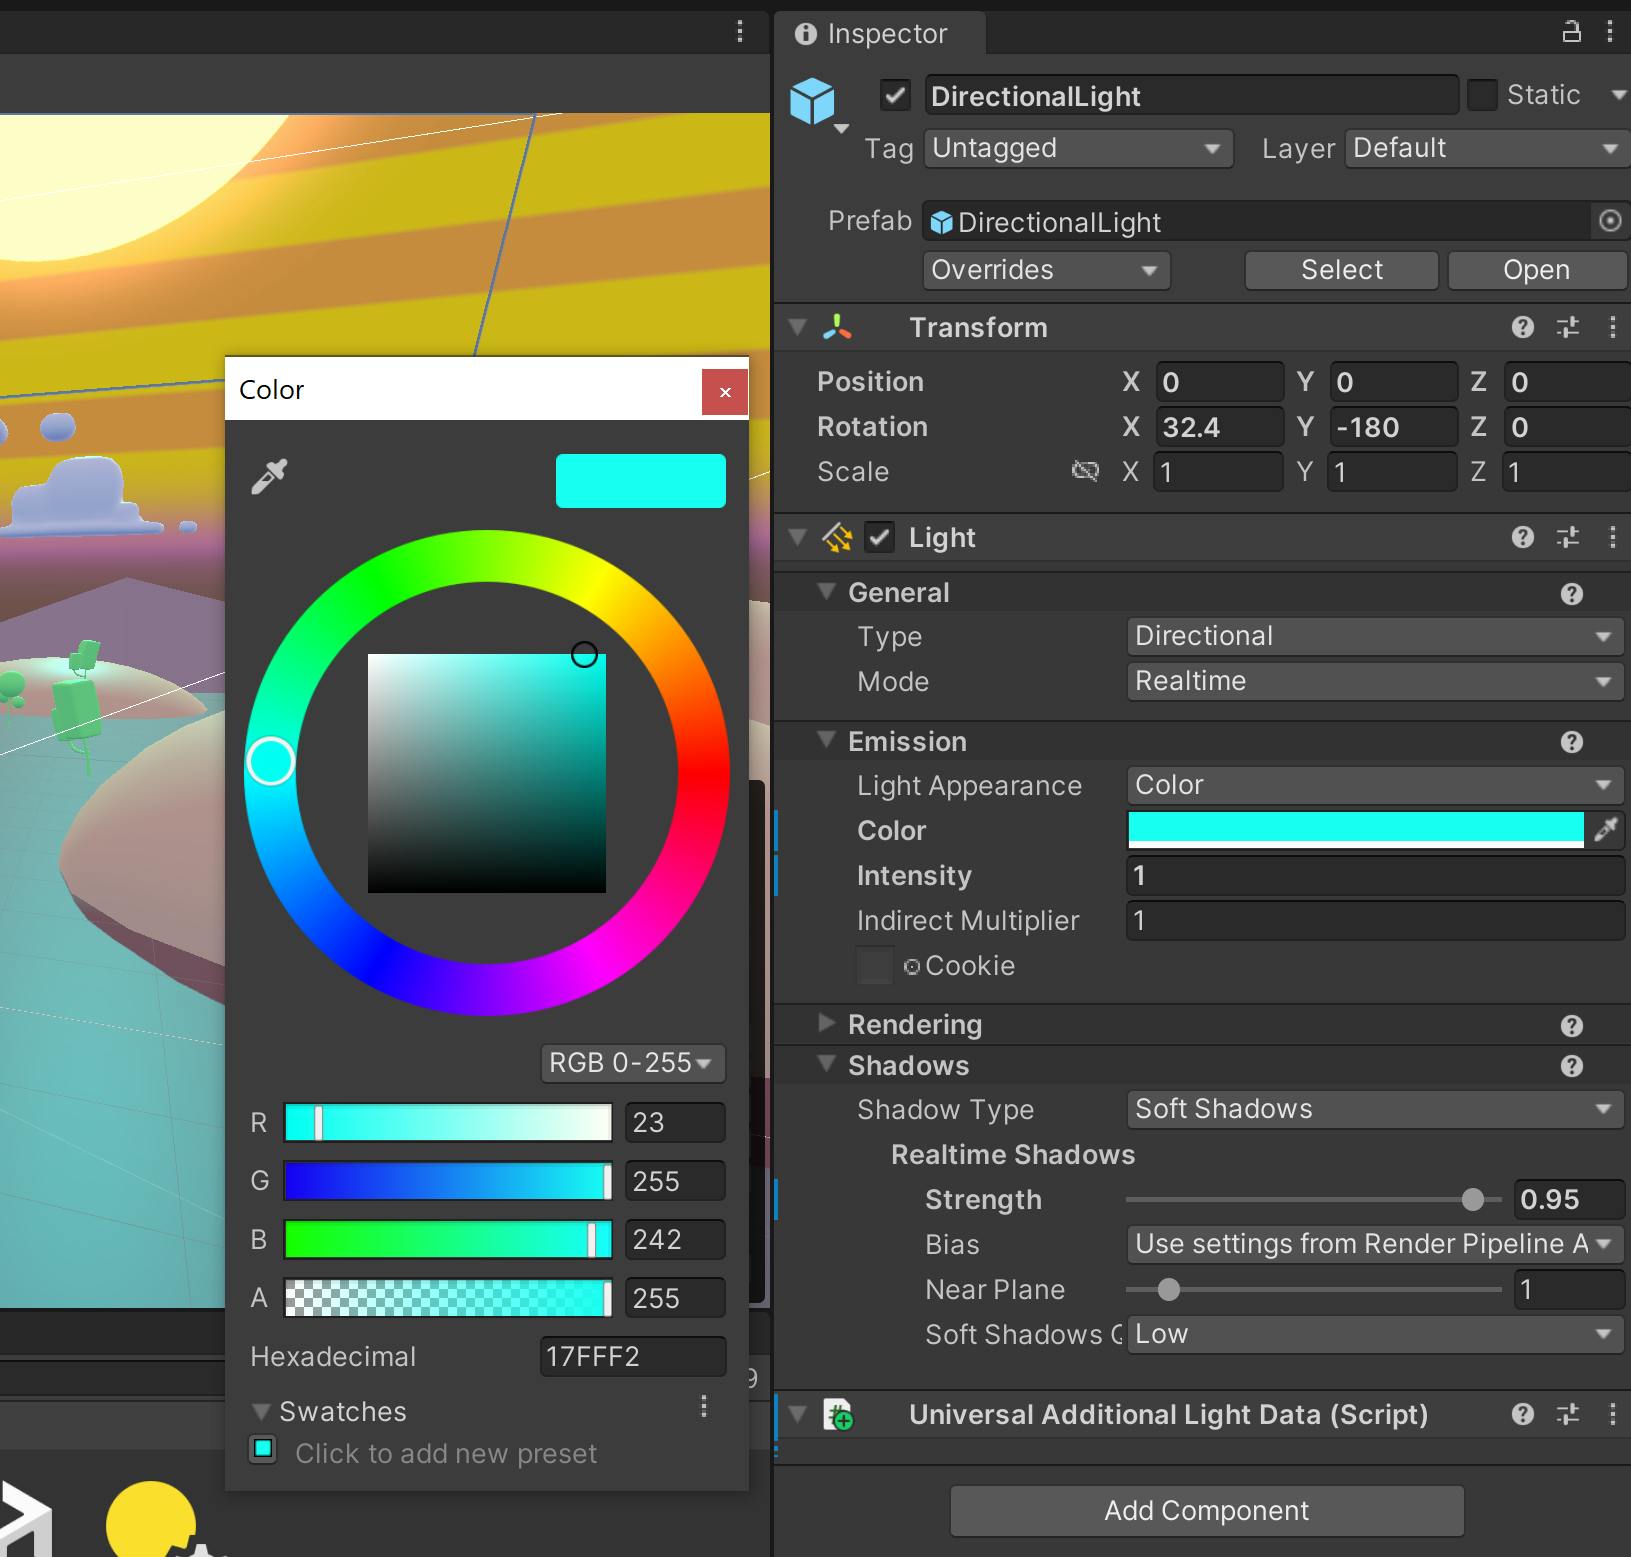
As you can see, it gives a blue-ish glow in the floor:
Modifying the game player
That racing player looks pretty cool, but let's give him a little bit more character. Let's give it a hat to wear! We need to first find where is the head game object located, because the character even though it looks quite simple, is composed of many different parts:

Now that we found the head object, we'll add this nice looking top hat, which I found by searching for hat on the assets search bar:

From there you can drag the TopHat prefab onto the head object of the player.

Note: You may need to modify the position & rotation a bit in order to get it right. Modify it to your liking!
And check it out!
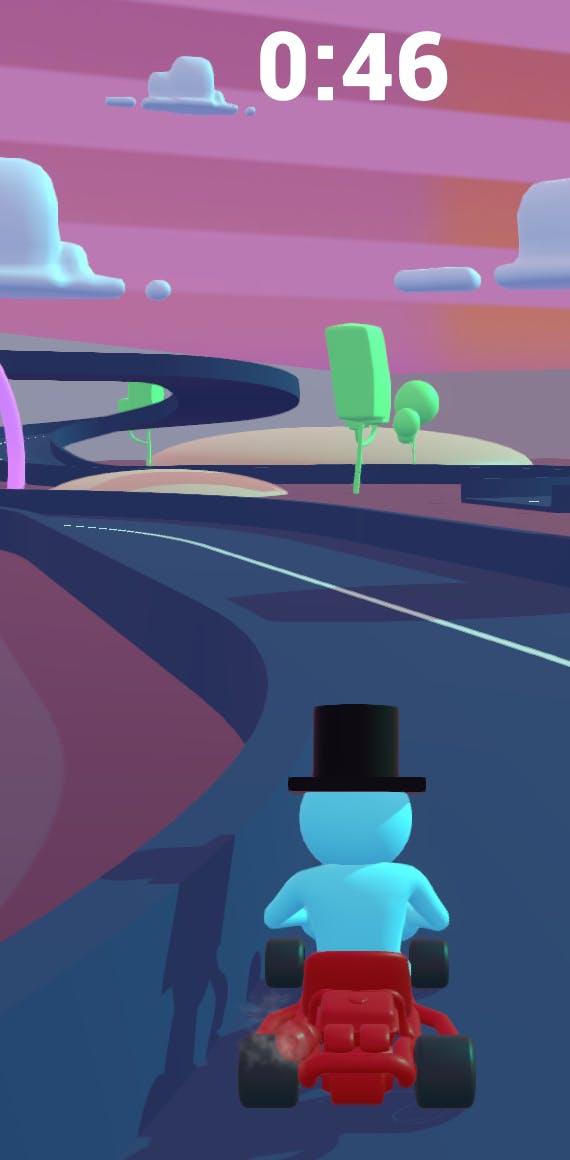
Since we added our top hat in the correct game object, the top hat follows the movement of the head object, so now our player drives with a cool looking hat around:
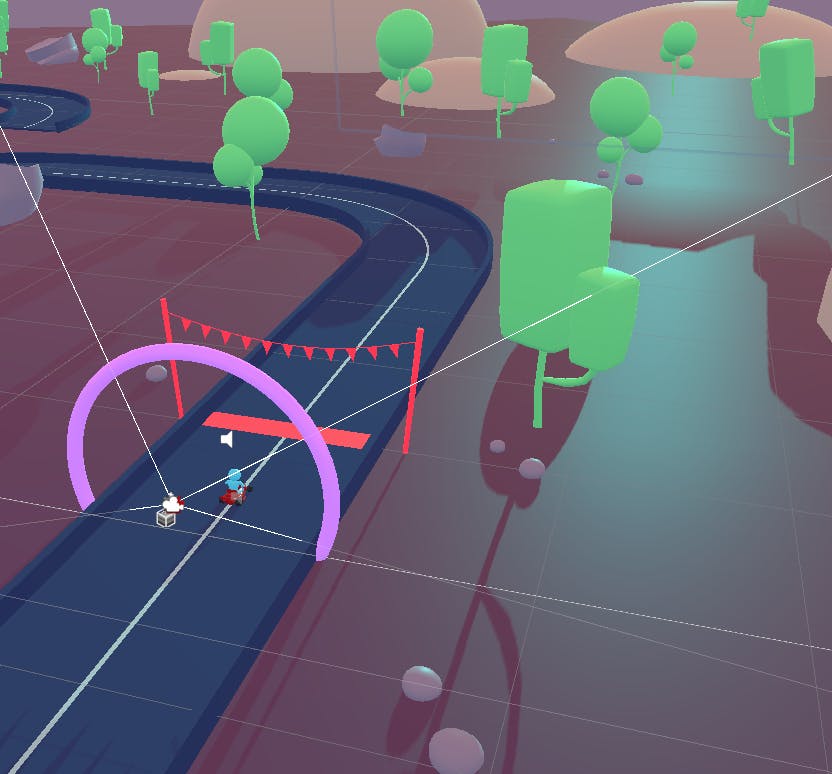
Modifying the drift VFX
When playing the game, you might have noticed that you have the ability to drift like in Mario Kart or other racing games, and there are a few sparks that show up when you do.
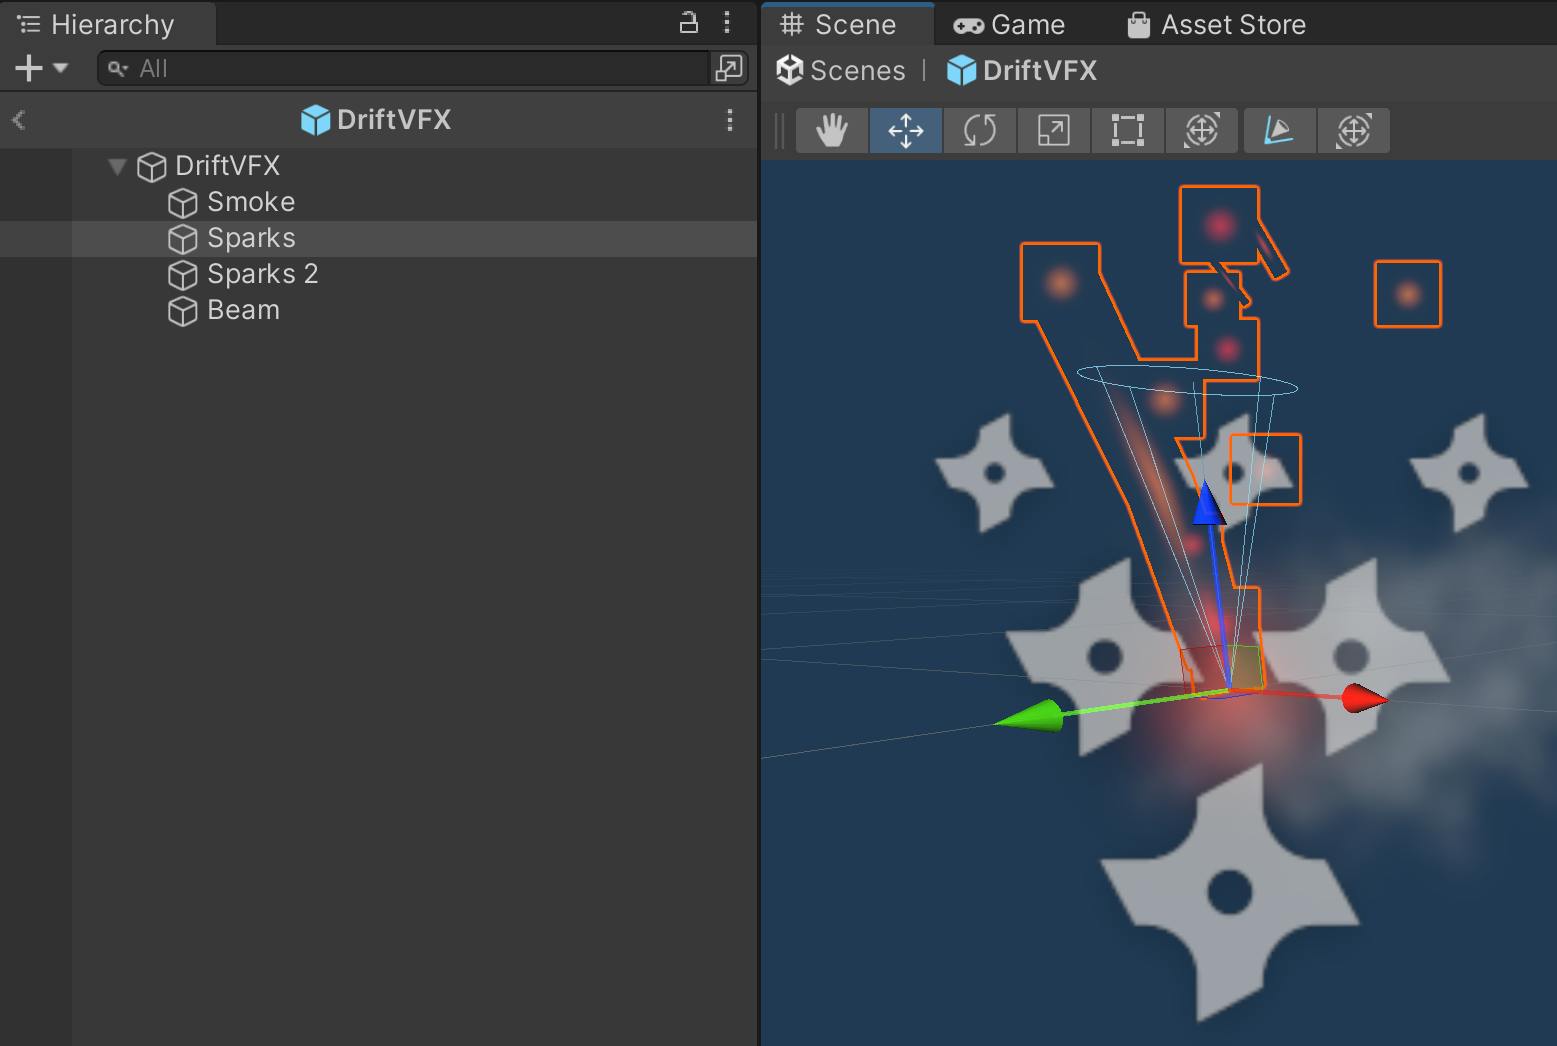
We don't have to study and know all of the particle systems working together, but something that we can easily do is make the Sparks a little bit bigger. With the Sparks game object selected, let's increase the size of its particles

And check it out!
With a small change like that we already have a much more dramatic and a little bit comical effect in our drifting sparks:

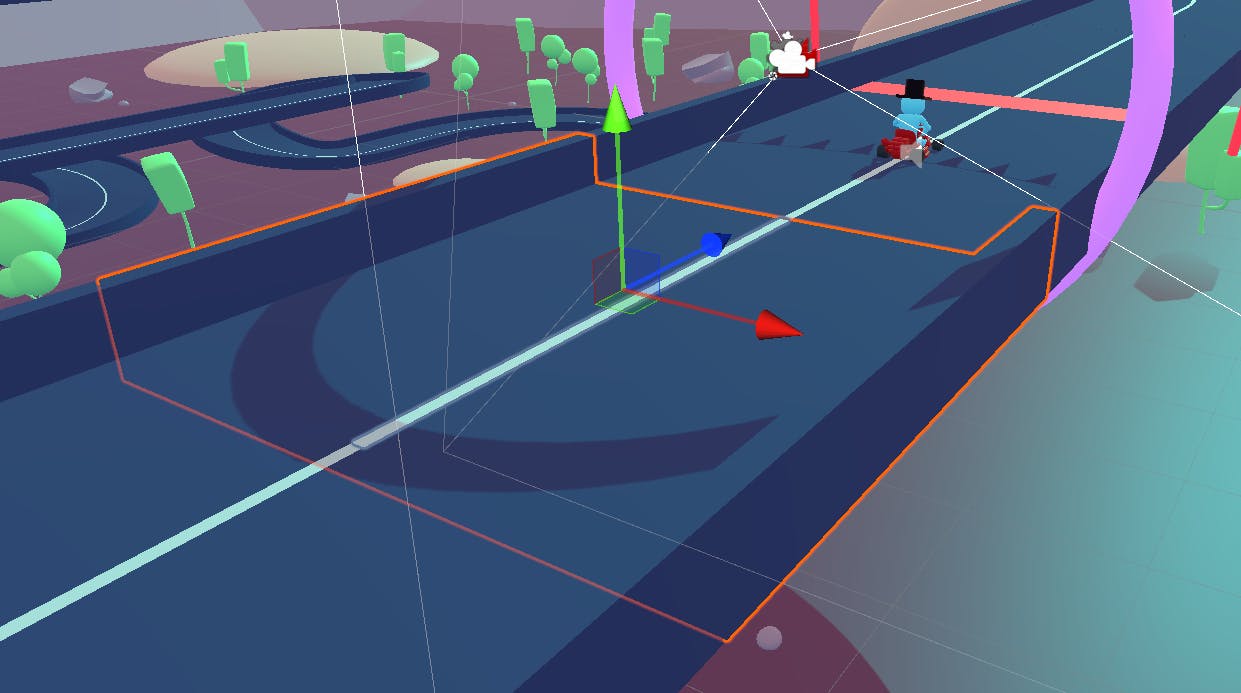
Modify the main gameplay
Let's go ahead into the more fun part of this story, let's modify the gameplay and make a new version of the challenge. We'll raise the stakes...literally, let's raise the racing track!
Select the game objects that are highlighted below, these objects are the track, the checkpoints, the player, and the start/finish line. Once you select them raise them all slightly using the transform gizmo:

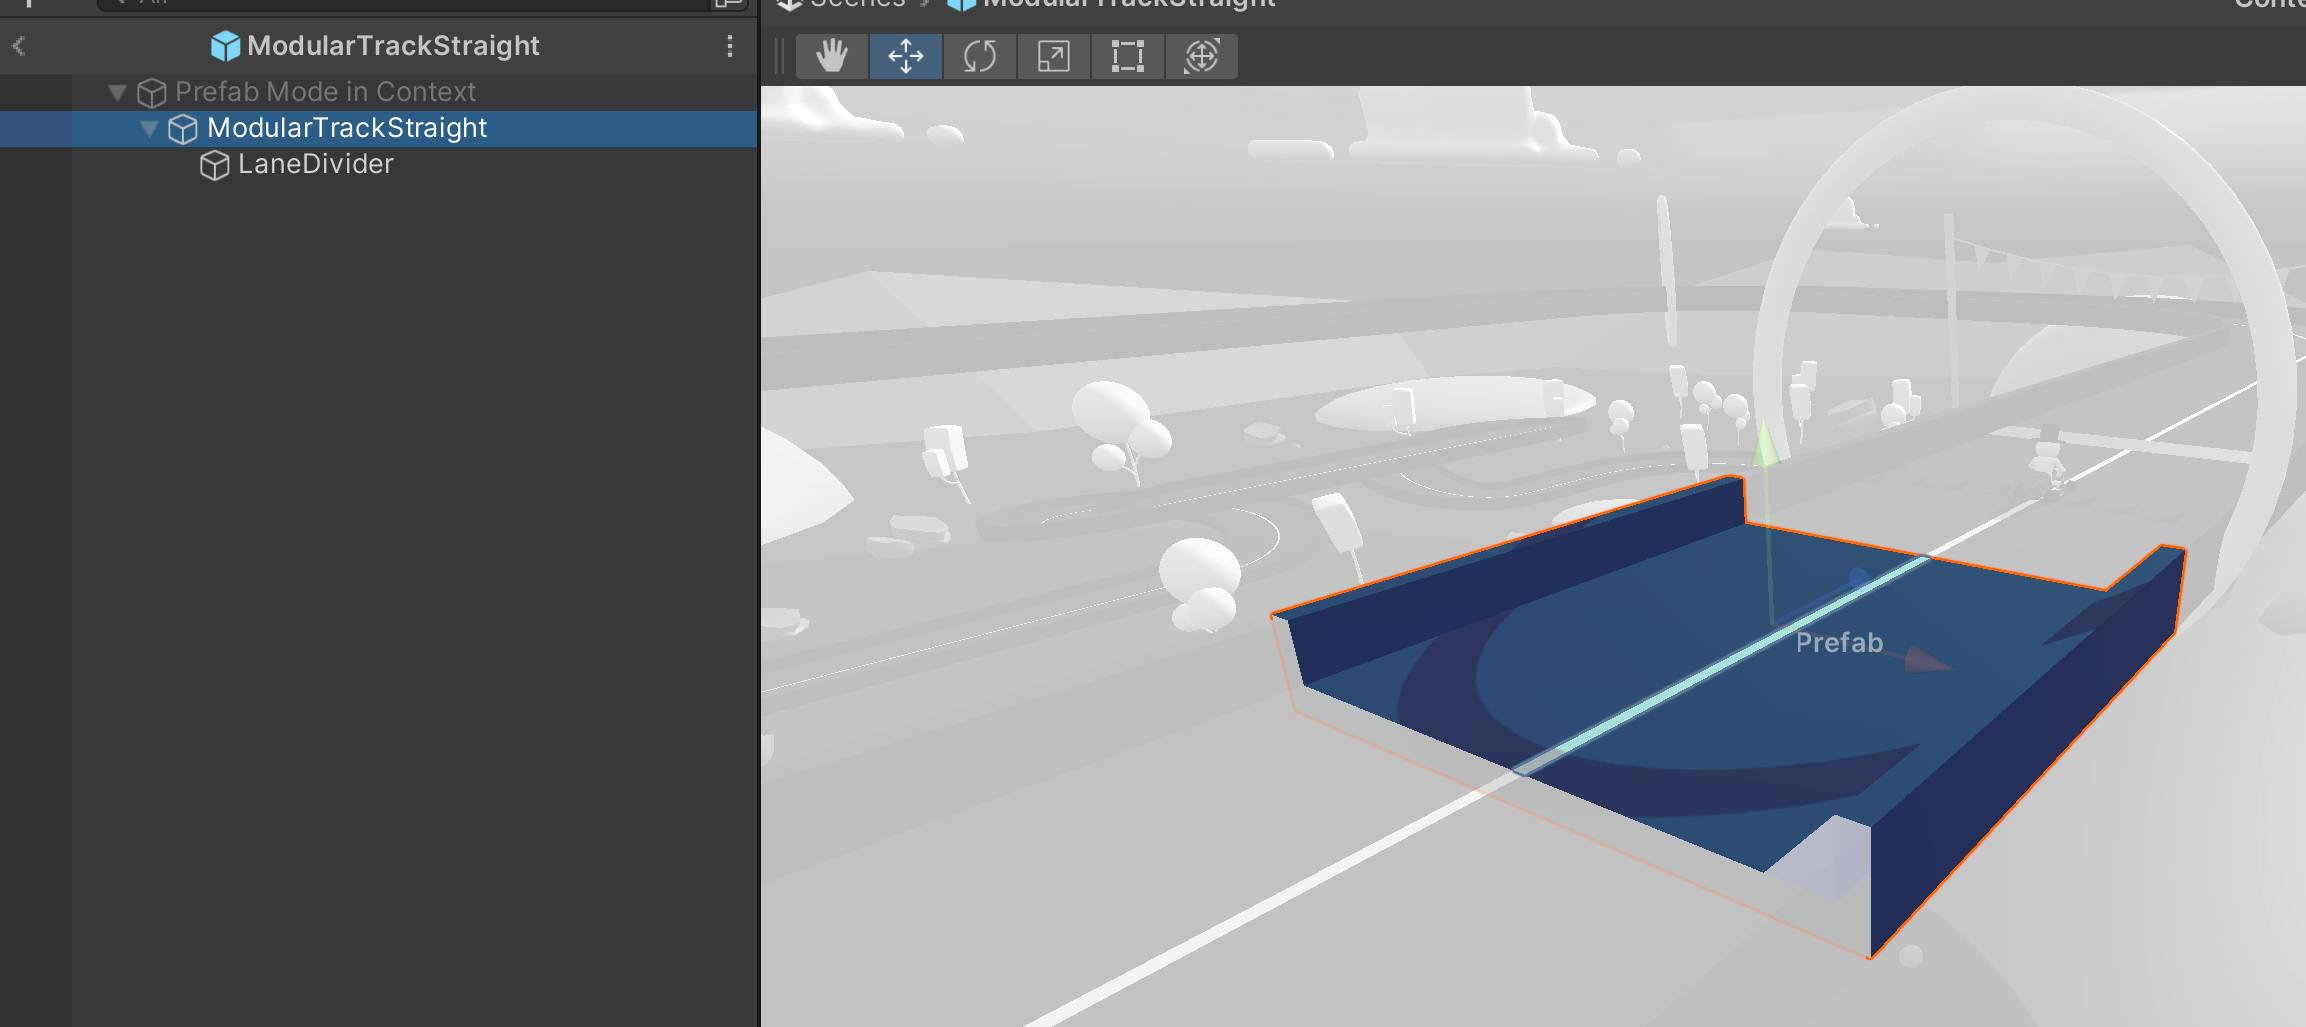
The track is made of many pieces, let's modify the straight track piece asset:
Once you select the piece, go to the inspector, and you can open the root prefab:

Now in the prefab mode, I'd like this piece to hover up and down when you start the game. You can add an animation file to it and have that animation run, but since I'm not too familiar with Unity's animation tool, I'll make it hover using code!
Let's add a new component script to the prefab piece:
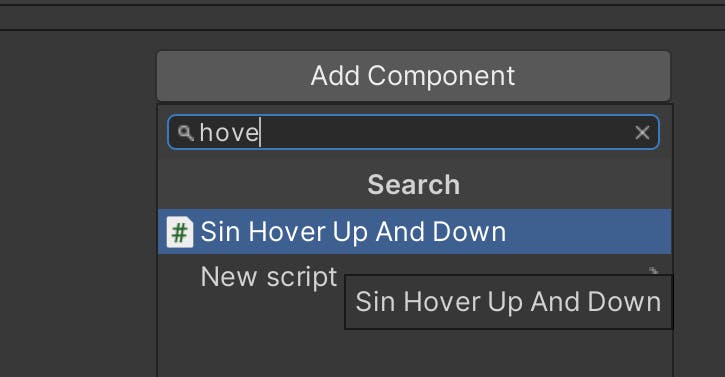
The sine wave is perfect to achieve this kind of behavior. The code will have exposed variables that can determine the height, hover speed, and whether the object starts with a randomized initial value. Here's the final state of the script:
using UnityEngine;

public class SinHoverUpAndDown : MonoBehaviour
{
    [SerializeField]
    private float m_hoverSpeed = 1.0f;

    [SerializeField]
    private float m_hoverHeight = 0.2f;

    [SerializeField]
    private bool m_ShouldRandomizeStartValue;

    private float m_randomizedStartValue = 0f;

    private float m_startYposition = 0f;

    private Vector3 m_updatedPosition;

    private void Start()
    {
        m_startYposition = transform.position.y;

        if(m_ShouldRandomizeStartValue)
        {
            m_randomizedStartValue = Random.Range(-1f, 1f);
        }
    }

    private void Update()
    {
        float currentSinValue = Mathf.Sin(m_randomizedStartValue + Time.time);

        m_updatedPosition.x = transform.position.x;
        m_updatedPosition.y = m_startYposition +
            (m_hoverHeight * currentSinValue * m_hoverSpeed);
        m_updatedPosition.z = transform.position.z;

        transform.position = m_updatedPosition;
    }
}
And as you can see below, the [SerializeField] attribute exposes the variable for the developer to change the default value of the parameter. Let's modify them to the following:

And check it out!
With some simple changes, we've made this modified version of the game that we played at the beginning!

One final change
We have one more change to make, and that's making our starter piece NOT hover. We'd like the player to be able to safely start driving:

So with that track piece selected you can either remove the SinHoverUpAndDown component by clicking on the 3 stacked dots after the component name:
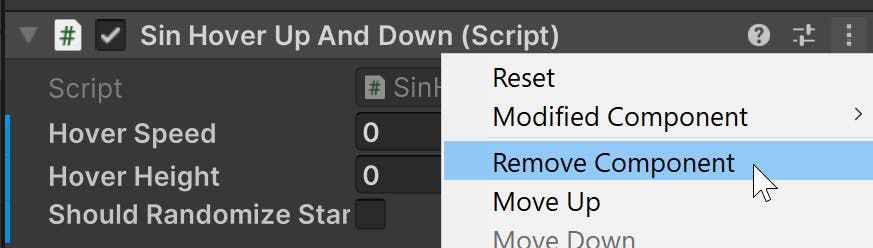
This will not affect the root prefab, because you're modifying a copy of it. Here's how it should look afterwards:

And there we have it! We've finished our modified game!
Lessons learned
Using Unity is fun, and it's easy to get started with the Unity Learn samples
A good structured scene will make it much easier for others to understand and to modify!
Cool changes can be big or small. Even the color of the sun is enough to start!
Please let me know what you think!
Have you used this sample before?
Have you ever modified another game?
What are you building now?
🎉🎉🎉 Happy building! 🎉🎉🎉