Basic Async/Await in Unity C#!
Trying it out on Editor Windows

👋🏾 Hello! 👋🏾 My name is Esteban and I love video games and learning about making games. I'm sharing here my progress as I build up my skills and learn new technologies.
Context
I was a bit bored and wanted to apply C# asynchronous programming with Unity Editor Windows, that's it! 😁
For this post, I created a new Unity project with the latest 2021.3 LTS
Creating the Editor Window
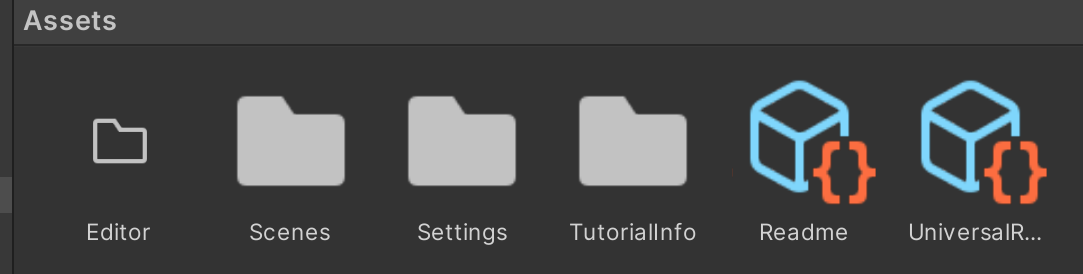
If you don't have one, create a folder called Editor inside of the main Assets folder:
The reason we need this is because Unity reacts differently to specific folder names, and it's best to store all custom editor UI scripts and assets on this folder:
Here's more info. on this from Unity's online Manual:
Editor
Editor scripts add functionality to Unity during development, but aren’t available in builds at runtime. Scripts in a Editor folder run as Editor scripts, not runtime scripts. You can have multiple Editor folders placed anywhere inside the Assets folder. Place your Editor scripts inside an Editor folder or a subfolder within it.
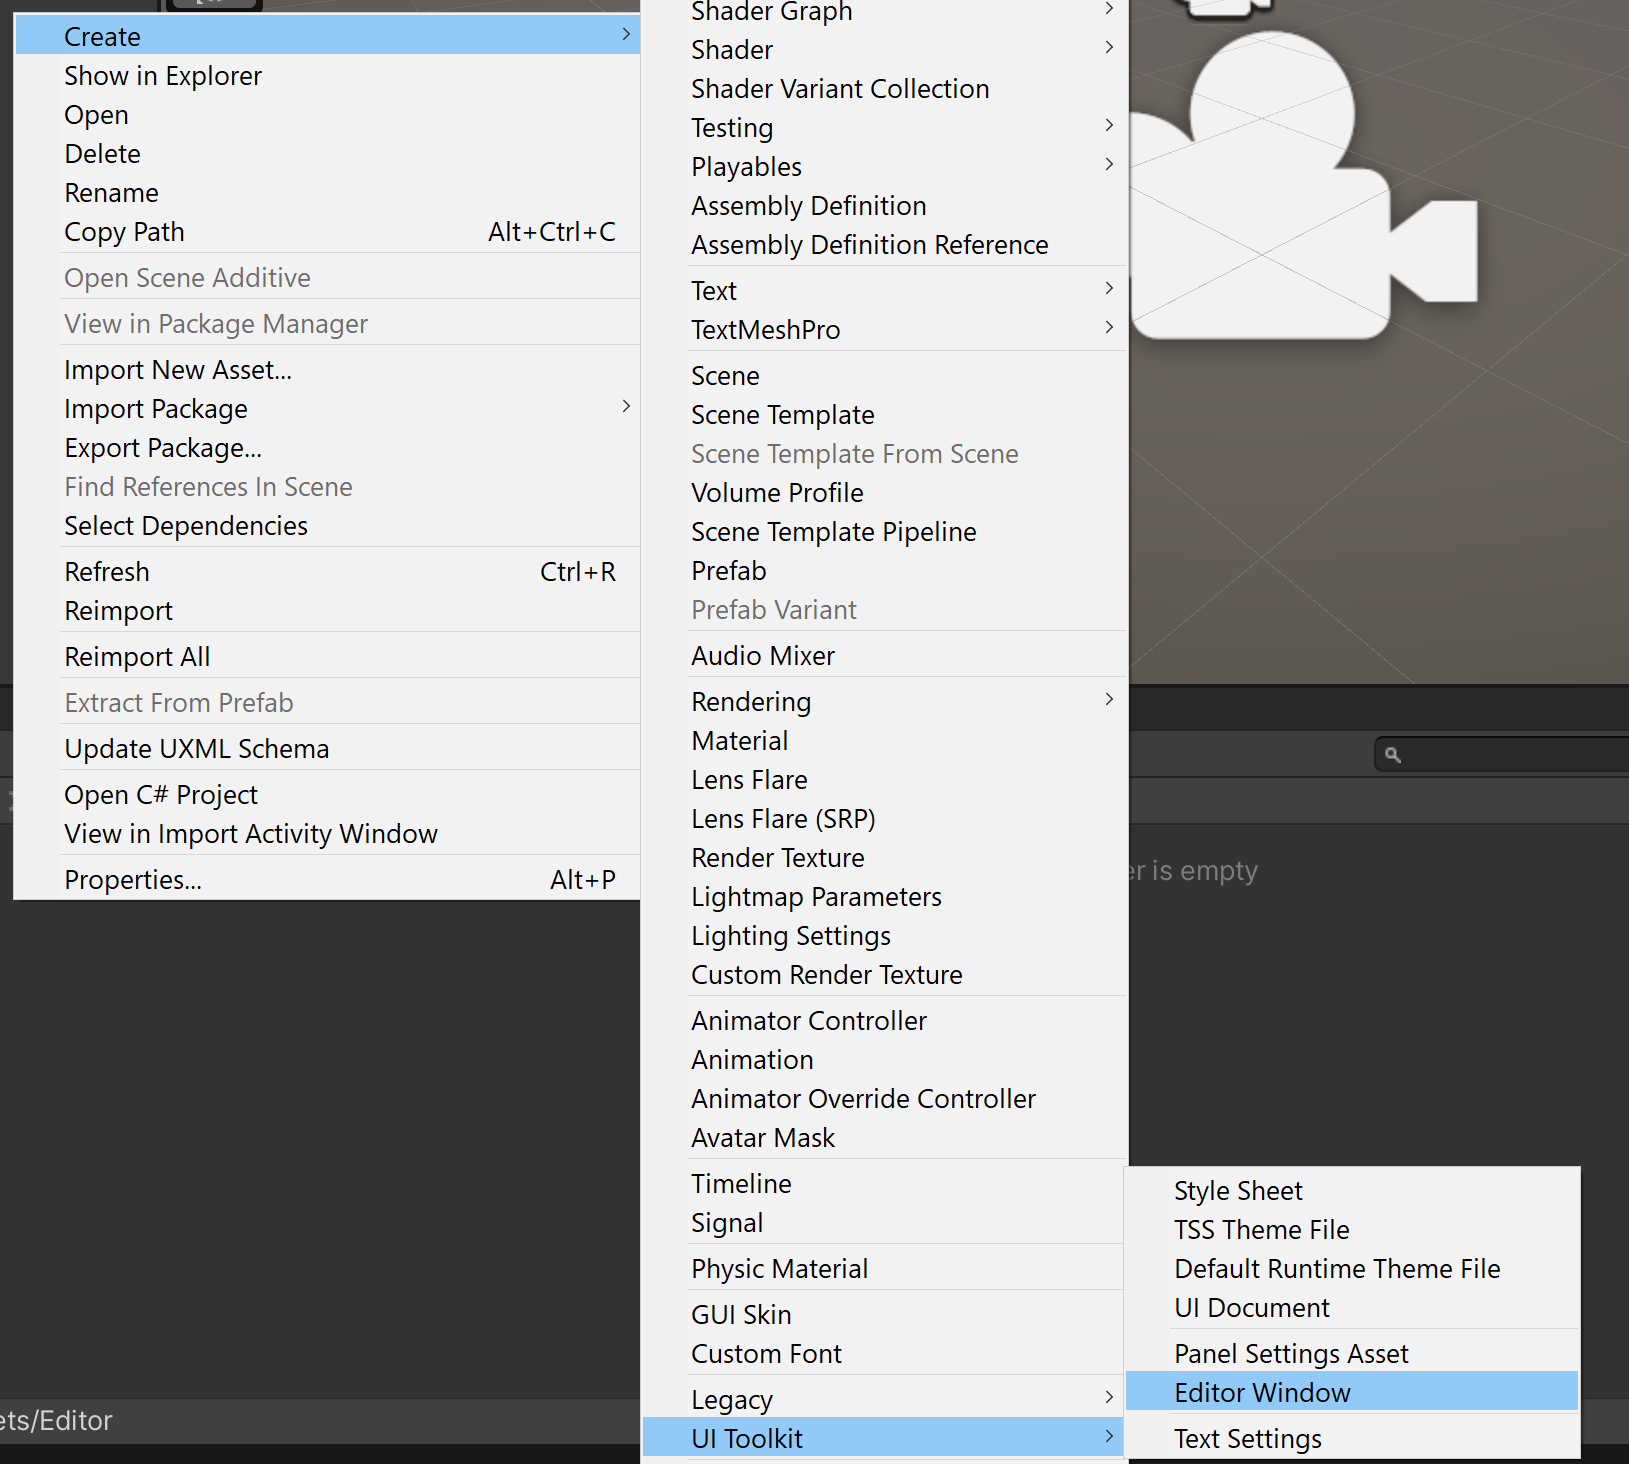
Since we're in version 2021.3, we can use of Unity's new UI Toolkit package, which comes now pre-installed in the editor.
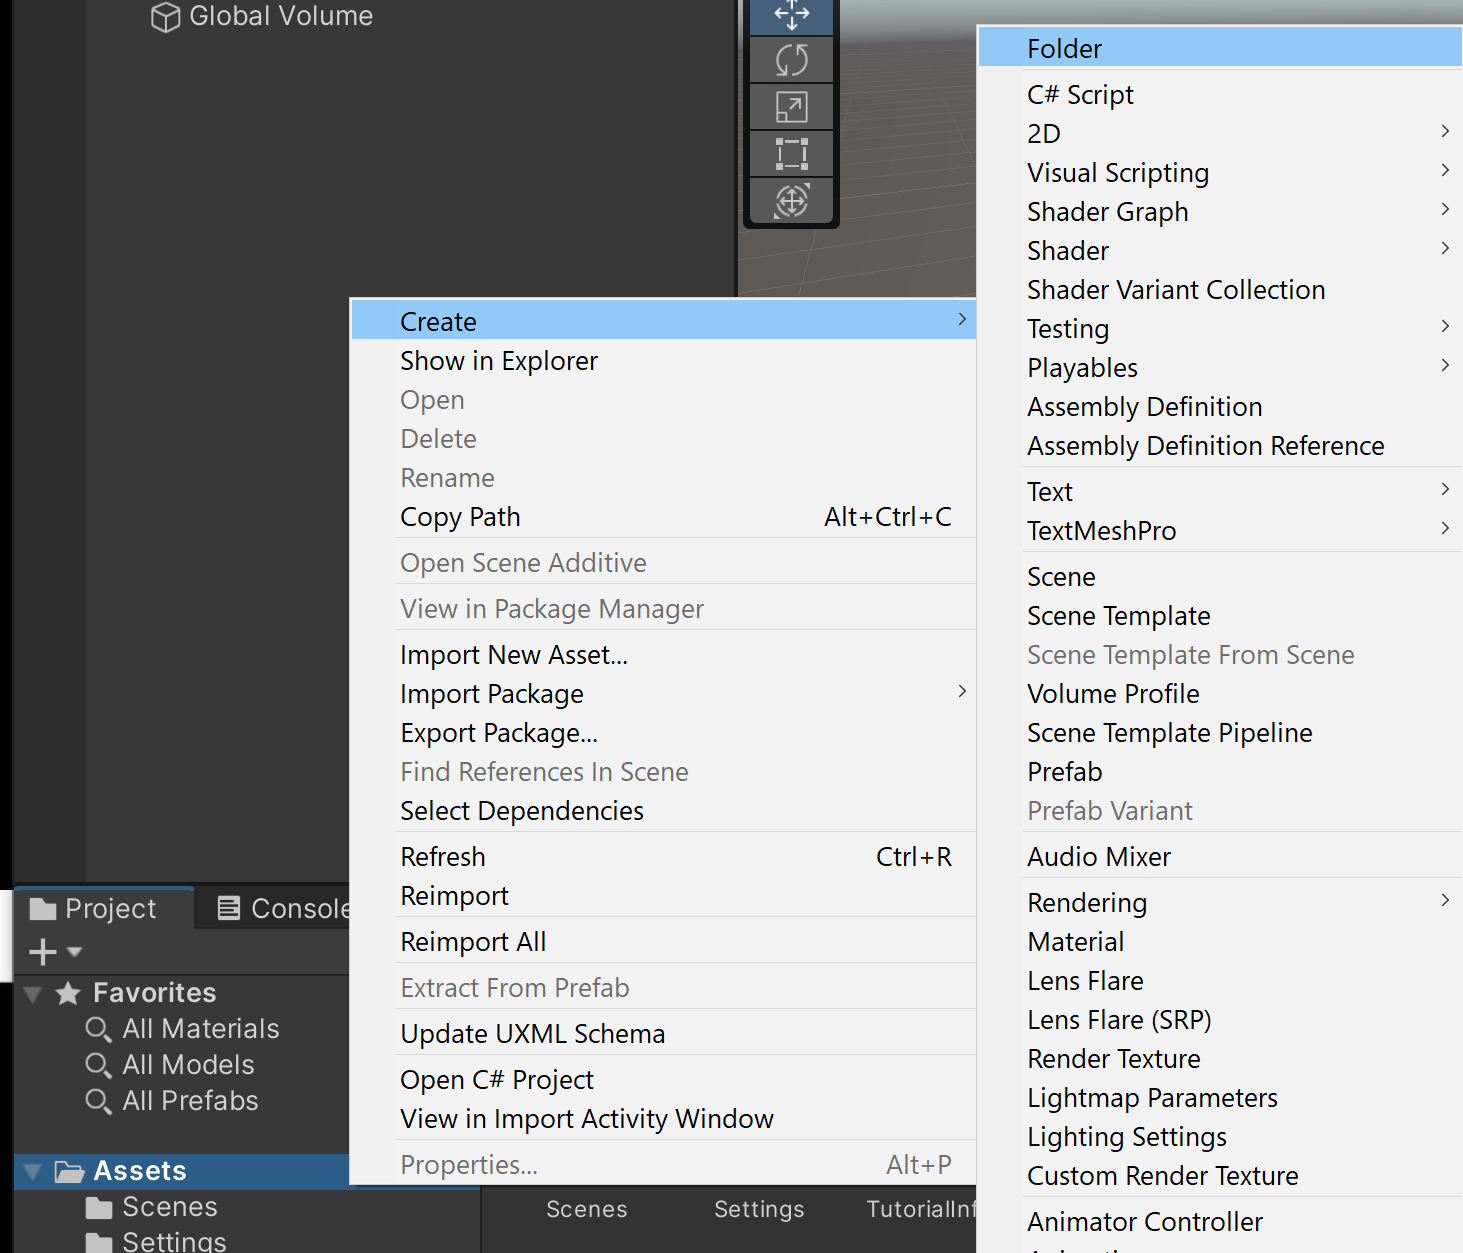
Inside of the Assets/Editor folder, let's create a new EditorWindow:
This will bring in the following pop-up:
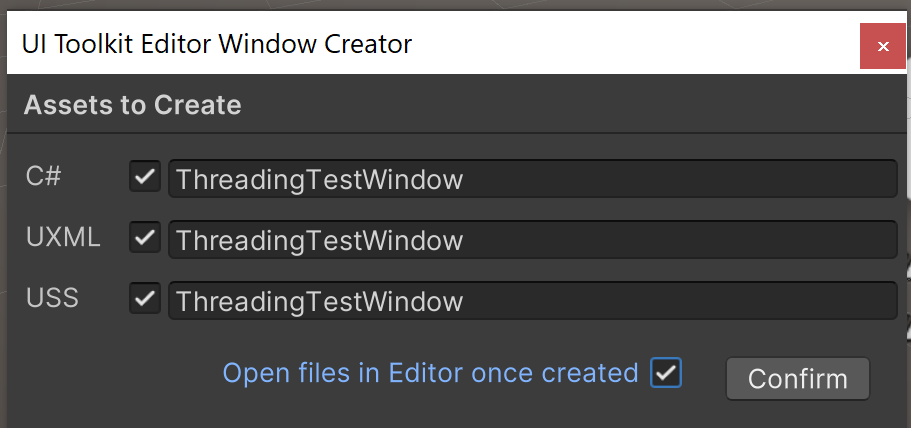
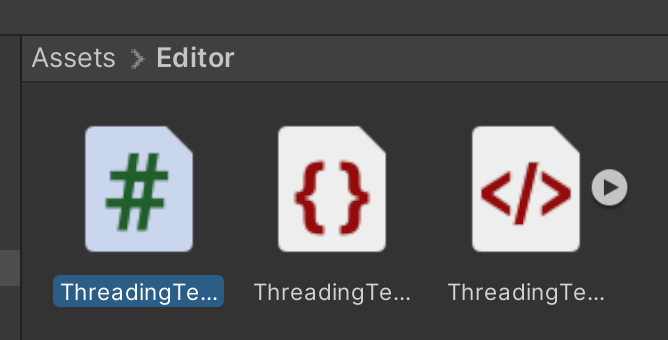
Insert the name you'd like (we'll find out if Threading is the right word here), and click on the Confirm button. You'll create these new files:

Your new EditorWindow consists of 3 files:
- UXML:
From Unity's Manual:
HTML and XML inspired markup language defines the structure of UI and reusable UI templates. Although you can build interfaces directly in C# files, Unity recommends using UXML documents if possible.
- USS:
From Unity's Manual:
Style sheets apply visual styles and behaviors to UI. They’re similar to Cascading Style Sheets (CSS) used on the web, and support a subset of standard CSS properties. Although you can apply styles directly in C# files, Unity recommends using USS files if possible.
- Editor Window C# script: This is the script that defines the logic of your editor window, whenever reacting to input events like button clicks, mouse moves, etc.
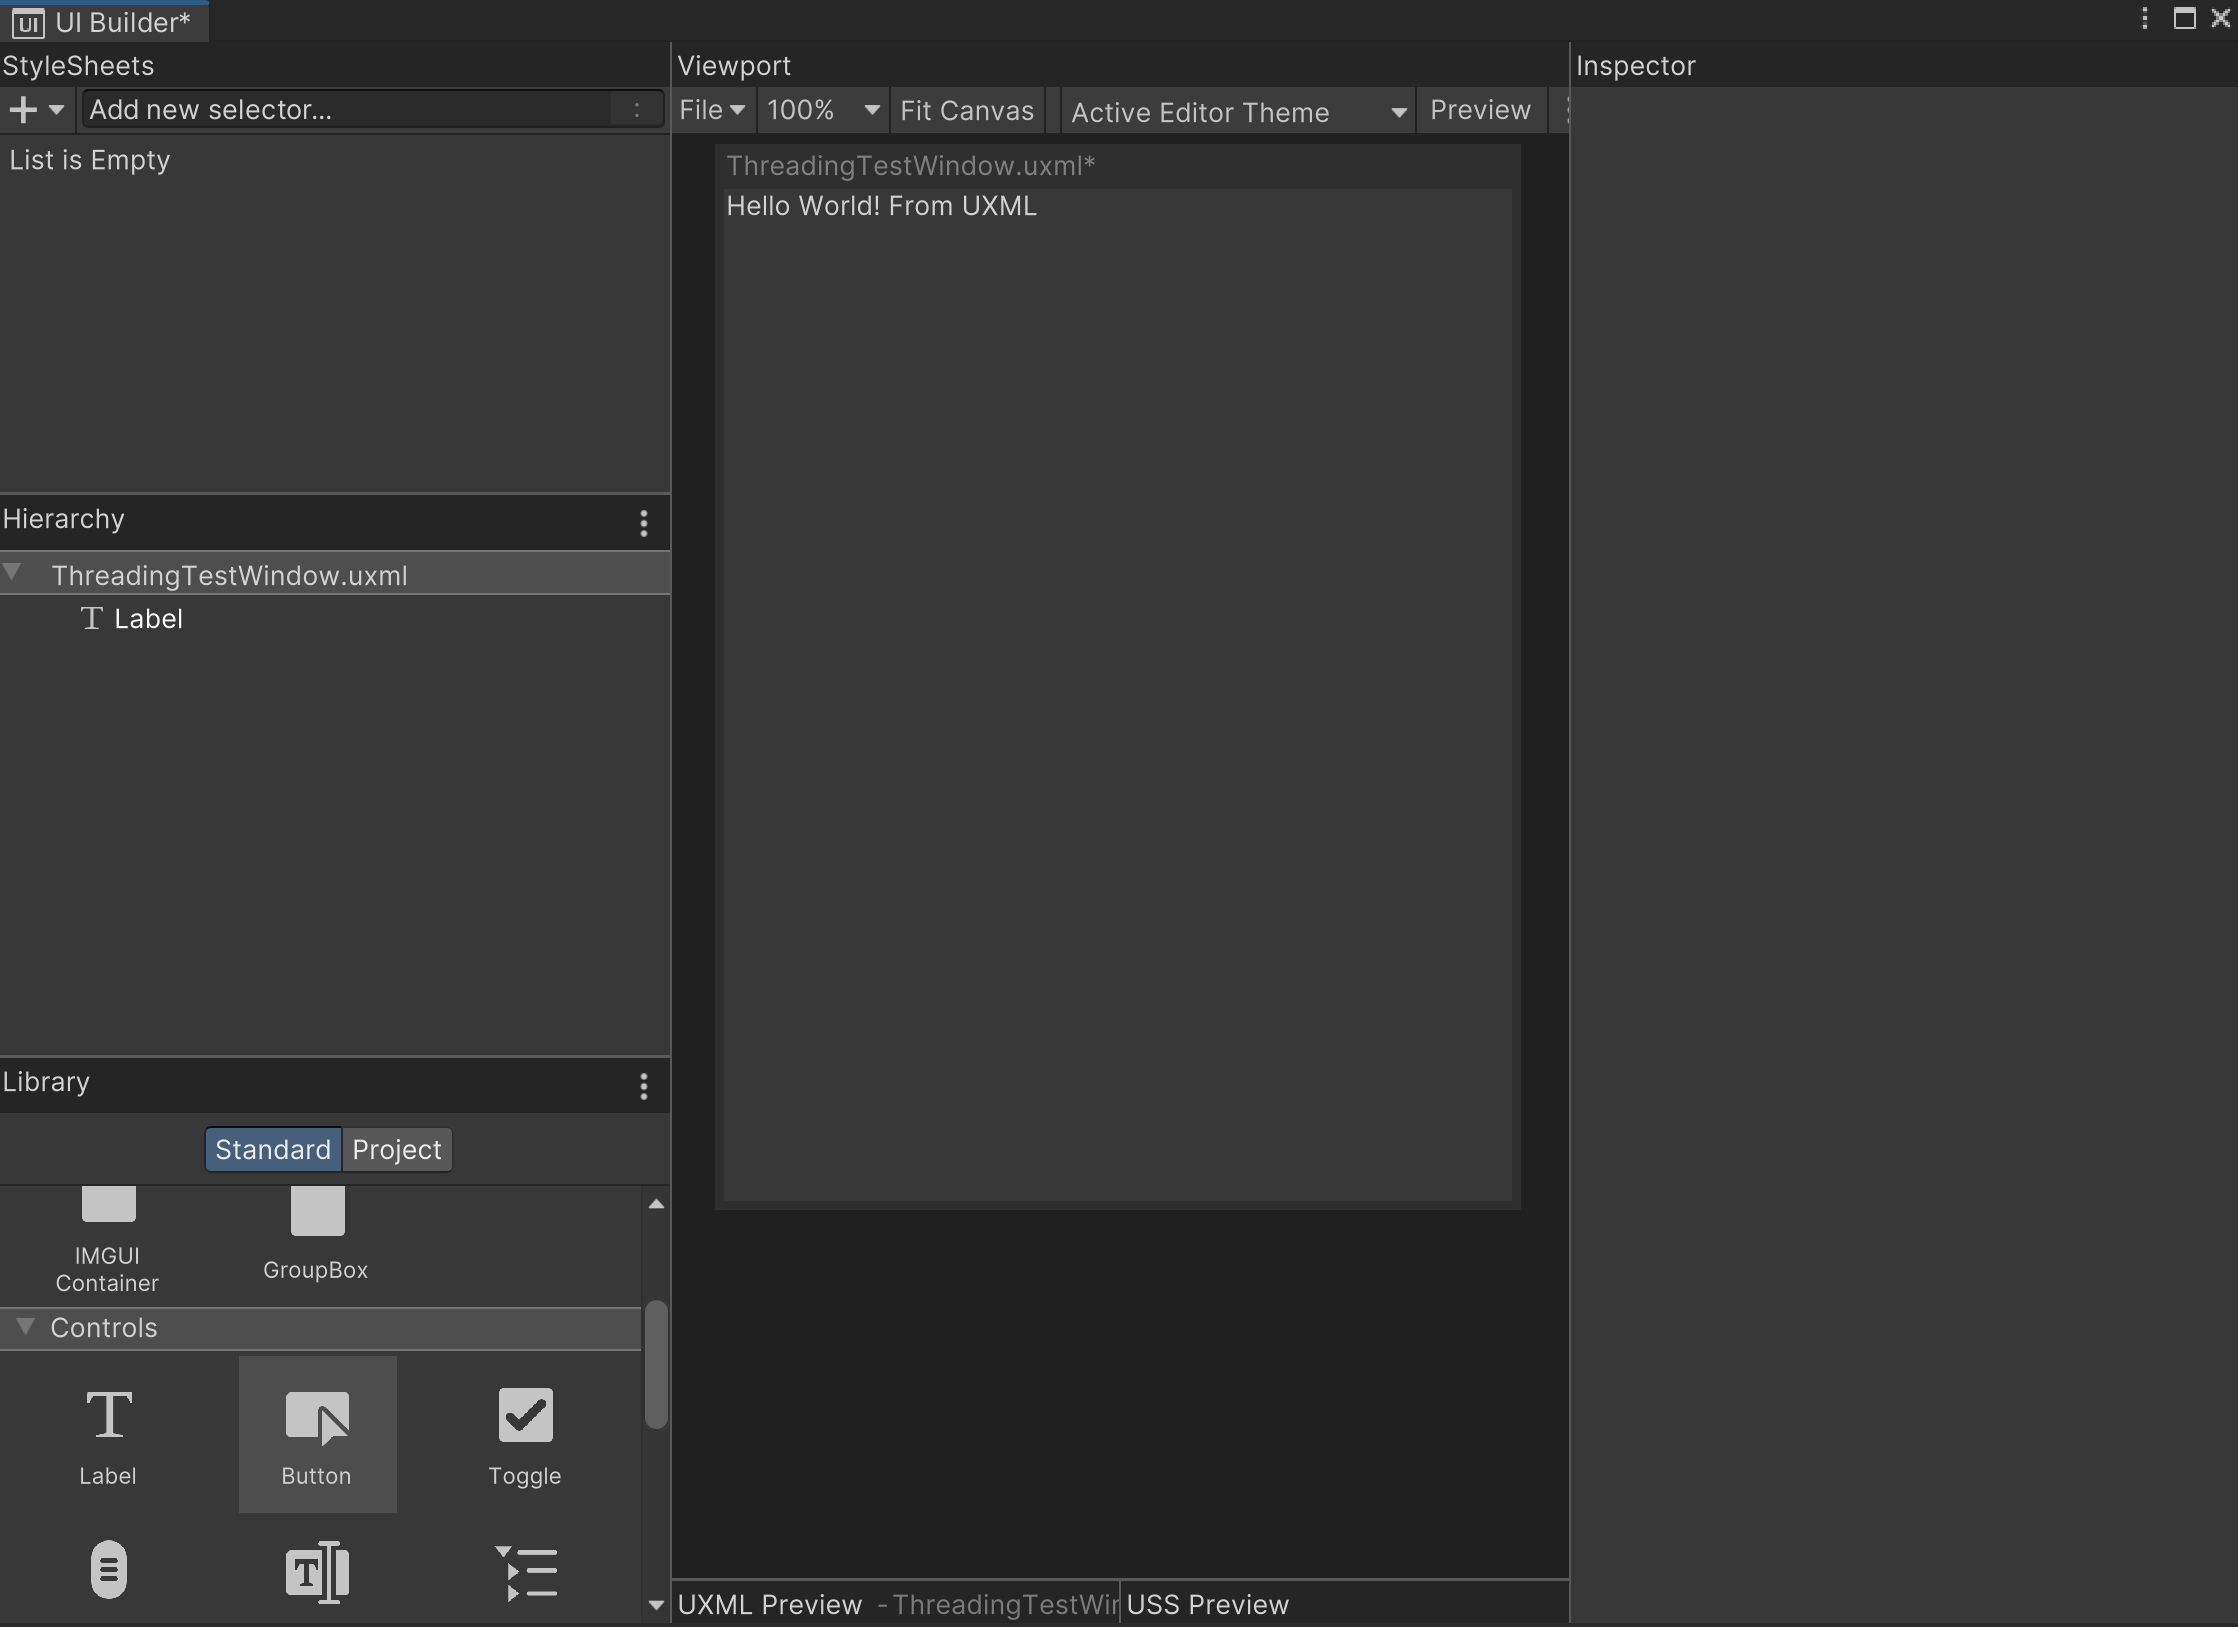
Double-click on the ThreadingTestWindow.uxml file for editing:

This will bring up the cool UI Builder:
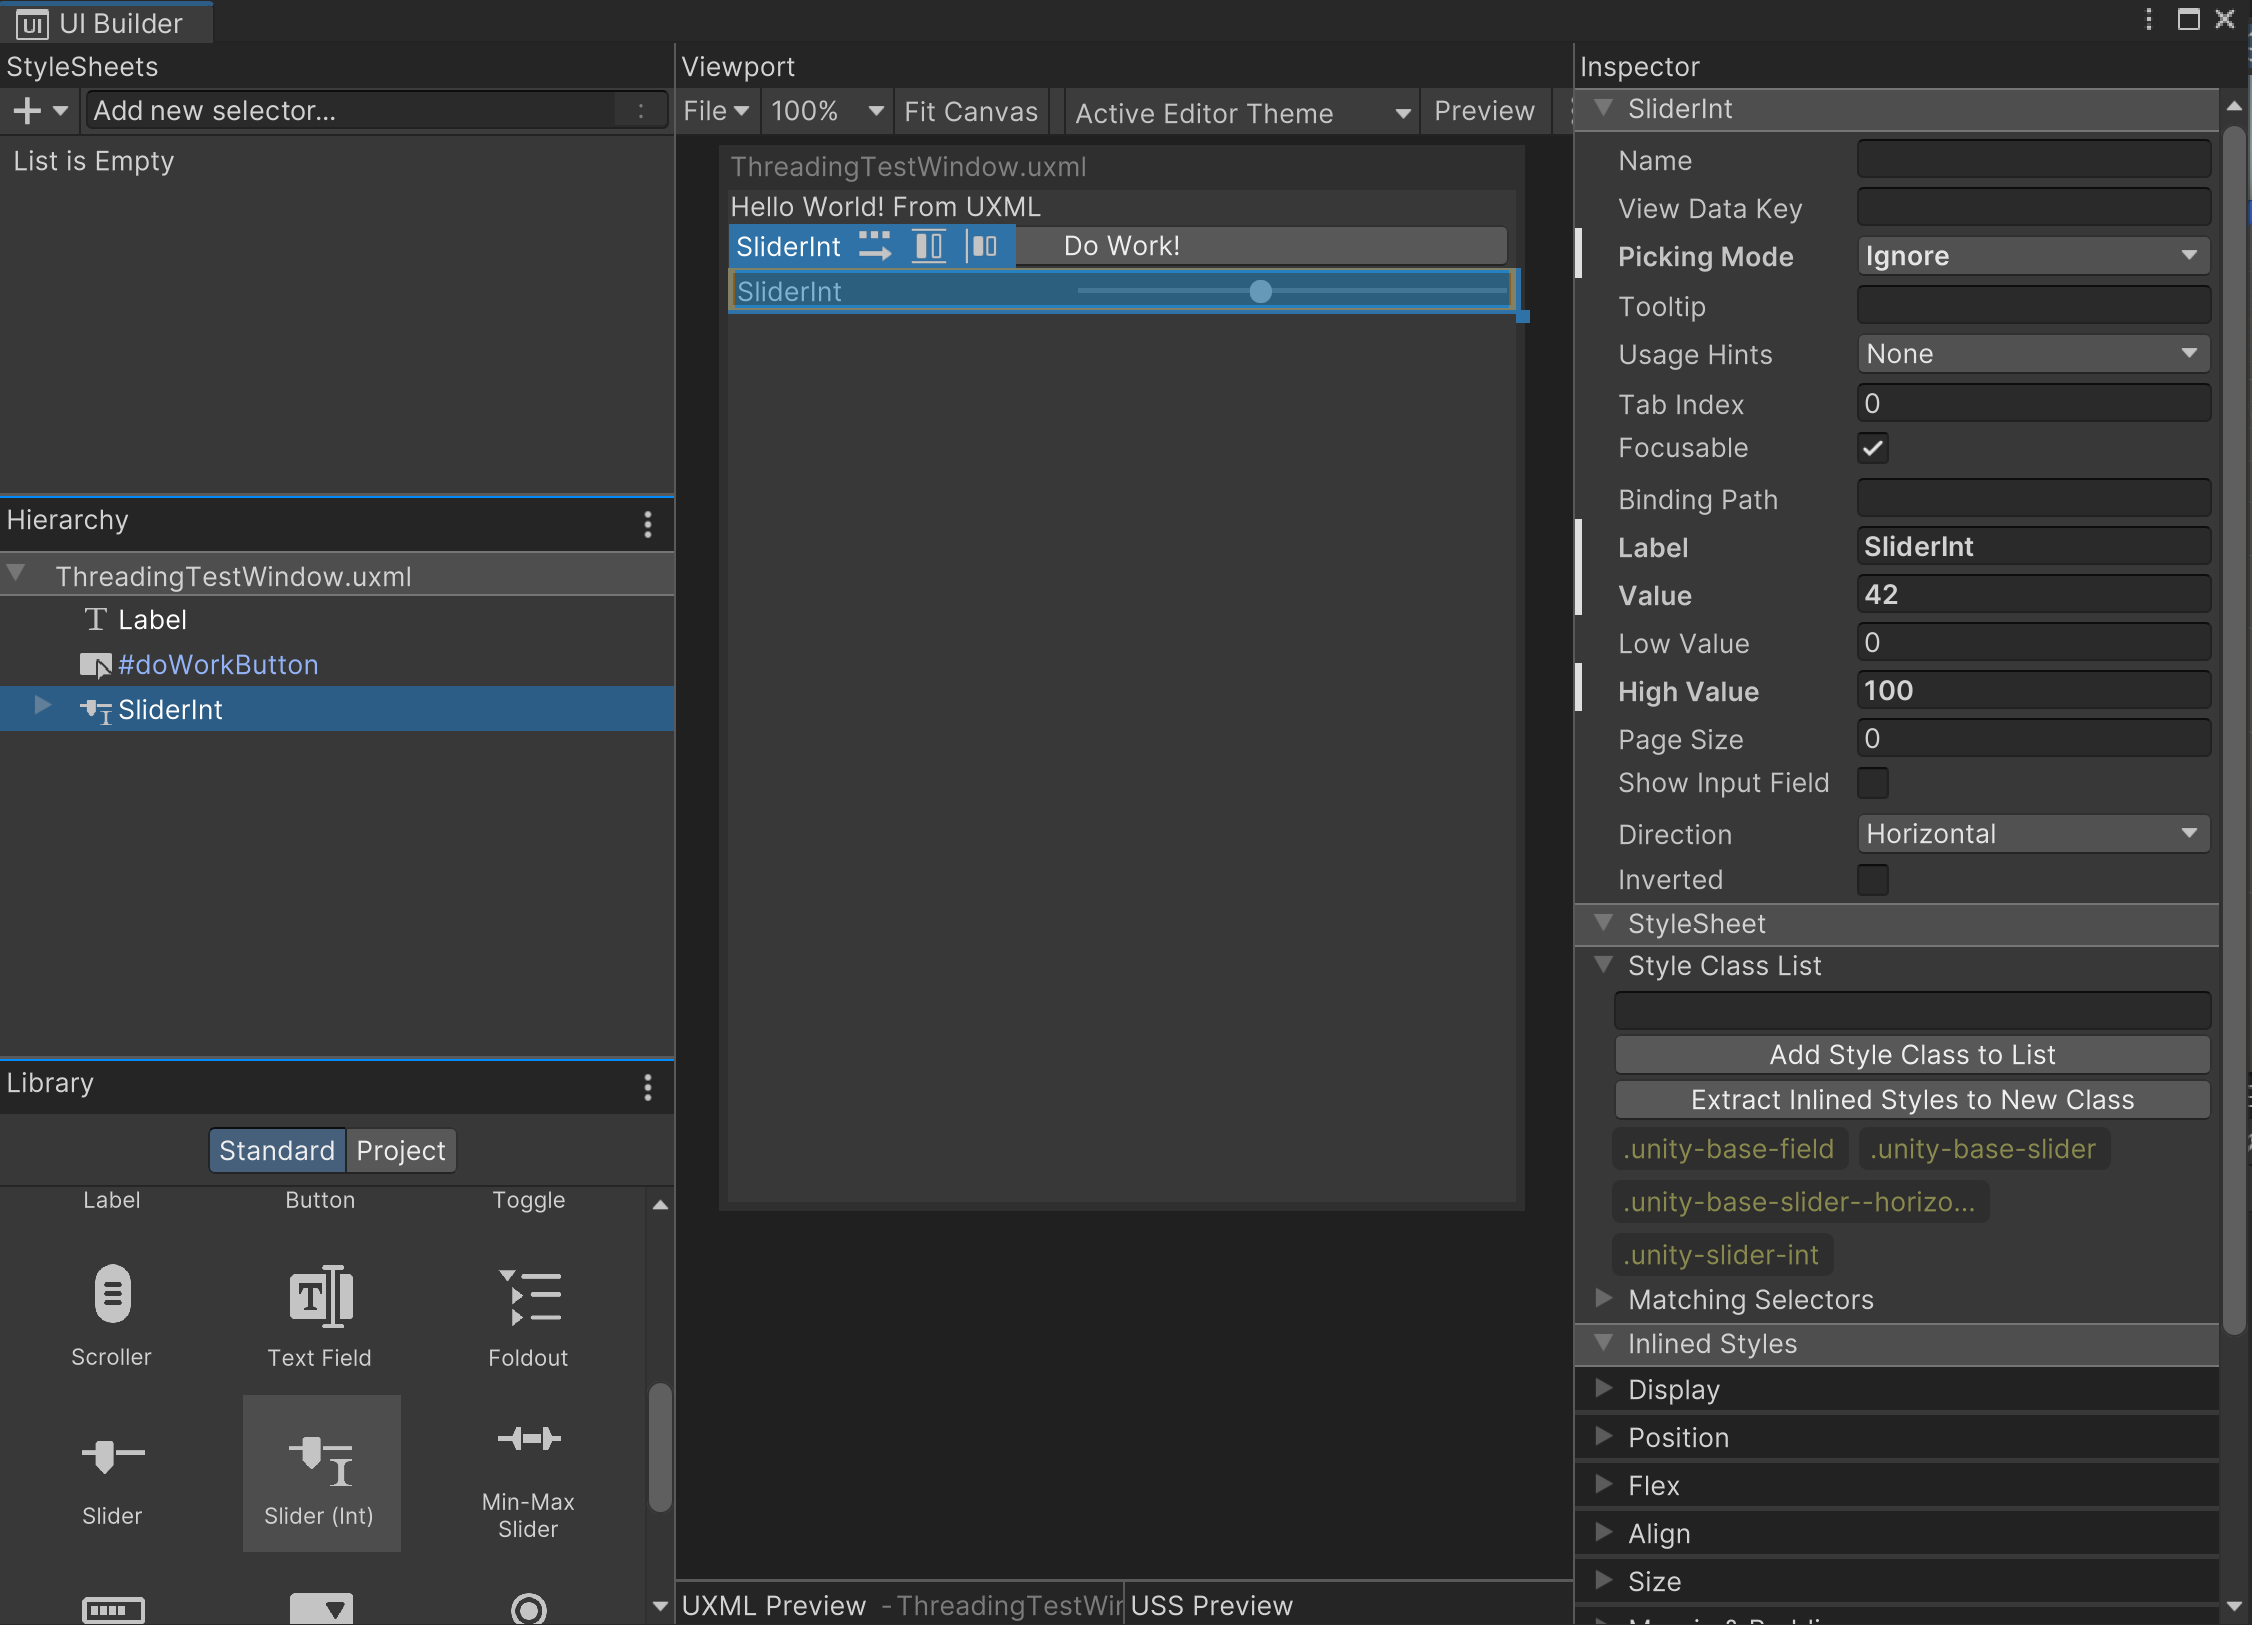
From there, let's add a new Button and change a few settings on it:
Add a button by dragging it from the component library
Change the button's name to "
doWorkButton"Change the button's text to "Do Work!"
Additionally, add an integer slider to the window (trust me, we'll use it!):
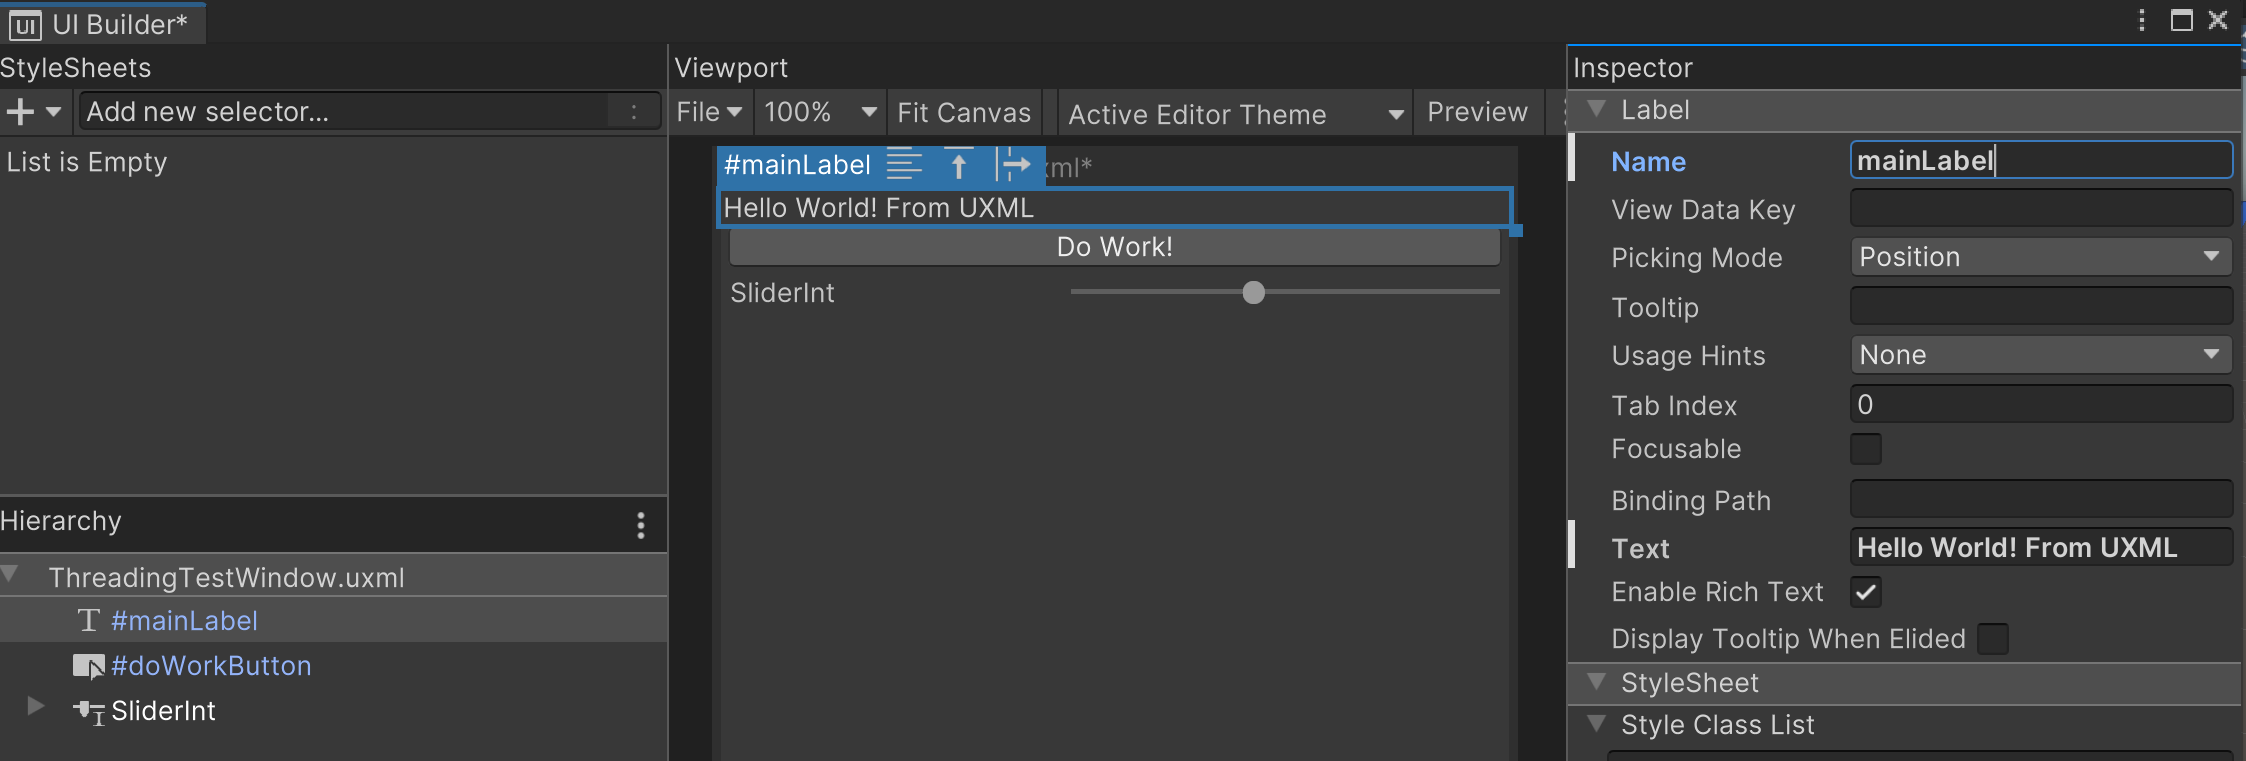
And let's change the name of the label to mainLabel
Now Some Code Work!
Let's add some programming! Double-click on the ThreadingTestWindow.cs file to open the editor window script:
Switch the code contents with the following. The code contains functions that simulate a task that takes a long time, and that freezes up the Unity UI:
using UnityEditor;
using UnityEngine;
using UnityEngine.UIElements;

using System.Threading;
using System.Threading.Tasks;

public class ThreadingTestWindow : EditorWindow
{
    [MenuItem("My Samples/ThreadingTestWindow")]
    public static void ShowExample()
    {
        ThreadingTestWindow wnd = GetWindow<ThreadingTestWindow>();
        wnd.titleContent = new GUIContent("ThreadingTestWindow");
    }

    private Button m_doWorkButton;
    private Label m_messageLabel;
    const int k_fakeDelayTimeInMS = 400;

    private void CreateGUI()
    {
        ImportUXML();

        PrepareAsynchronousWorkButton();

        PrepareSynchronousWorkButton();

        m_messageLabel = rootVisualElement.Q<Label>("mainLabel");
    }

    private void ImportUXML()
    {
        var visualTree = AssetDatabase.LoadAssetAtPath<VisualTreeAsset>(
            "Assets/Editor/ThreadingTestWindow.uxml");
        VisualElement labelFromUXML = visualTree.Instantiate();
        rootVisualElement.Add(labelFromUXML);
    }

    private void PrepareAsynchronousWorkButton()
    {
        m_doWorkButton = rootVisualElement.Q<Button>("doWorkButton");
        m_doWorkButton.clicked += OnDoWorkButtonClicked;
    }

    async private void OnDoWorkButtonClicked()
    {
        m_doWorkButton.SetEnabled(false);
        m_messageLabel.text = "";

        await FakeAsyncWork();
    }

    async private Task FakeAsyncWork()
    {
        string message = "ASYNC IS VERY COOL!";

        foreach(char messageChar in message)
        {
            m_messageLabel.text += messageChar;
            await Task.Delay(k_fakeDelayTimeInMS);
        }

        m_doWorkButton.SetEnabled(true);
    }

    private void PrepareSynchronousWorkButton()
    {
        var synchronousWorkButton = new Button(ActualSyncWork);
        synchronousWorkButton.name = "doSynchronousWorkButton";
        synchronousWorkButton.text = "Do Work Synchronously!";
        rootVisualElement.Add(synchronousWorkButton);
    }

    private void FakeSyncWork()
    {
        m_messageLabel.text = "";
        string message = "TOO SLOW!";

        foreach (char messageChar in message)
        {
            m_messageLabel.text += messageChar;
            Thread.Sleep(k_fakeDelayTimeInMS);
        }
    }
}
Make sure to save the file, and then the editor will re-compile all scripts. Let's now test our editor window! You'll be able to find the window under:
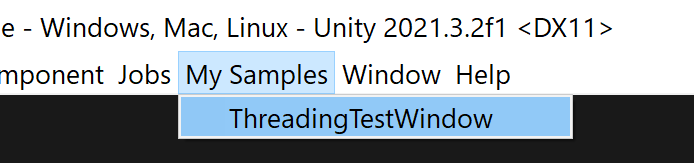
Now The Fun Part!
When you have the editor window open, click on the synchronous work button:
Look at how slow it is (on purpose though). The window is locked and you can't do anything else!
But look at what happens when we click on the button above:
It's still slow (also on purpose), but at least we can continue using the int slider! We can use this for segments of a window that require some time to execute a long operation.
What's going on?
Using C#'s built-in async and await keywords, we can unbind instructions from the UI's current execution.
Note: Using async and await does NOT necessarily mean that our code is being executed in a separate thread! If the awaited operation is CPU-bound and you want to run it on a different thread, you can use C#'s Task.Run(...) to explicitly offload it to the thread pool.
I went ahead and added this line of code when running either the asynchronous or the synchronous functions in the code:
Debug.Log($"Doing work on thread: {Thread.CurrentThread.ManagedThreadId}");
And at all times, I was using the same thread:
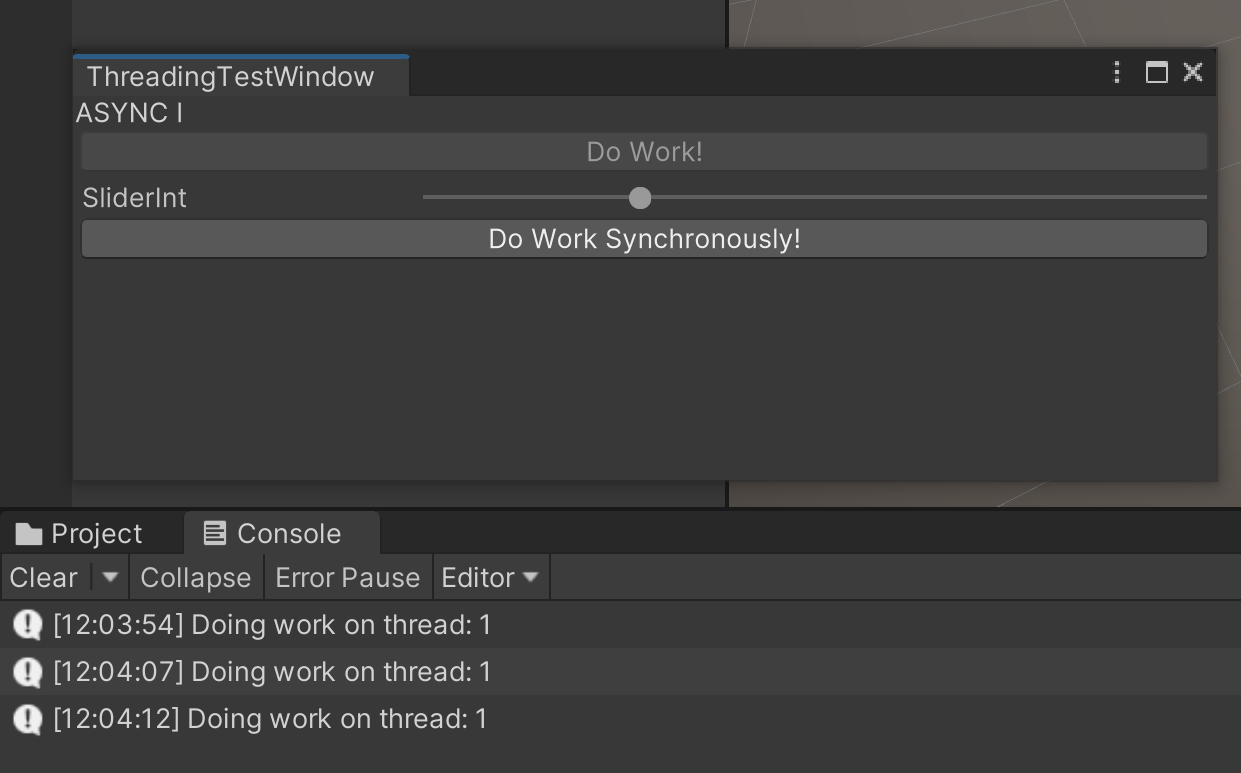
And interestingly enough, under the hood the C# compiler turns your awaited code into an internal state machine, as discussed on Vasil Kosturski's cool articles on this matter. Which means that there's a high overhead cost to using these 2 keywords, and we should take this into account when applying it in our solutions.
For more information, definitely read the Microsoft's documentation on asynchronous programming. It uses a nice breakfast making analogy to explain the topic.
Please let me know what you think!
Did you know about
asyncandawait?Have you used them for editor and/or run-time code in Unity C#?
Did you know about what happens under the hood when using these keywords?
🎉🎉🎉Happy coding!!🎉🎉🎉


