Context
Recently, I had an awesome weekend thanks to Niantic and their Lightship + VPS world tour game jam in Seattle! They're inviting people in 4 different cities to share their new AR technologies for developers. You probably know Niantic as the creators of famous AR games like Pokémon GO and Pikmin Bloom, but they're now bringing that technology to their users, and giving creators a chance to make their own experiences!
To join the event, it was very easy to apply! You click on the location that’s best for you and directly apply on a submission form:
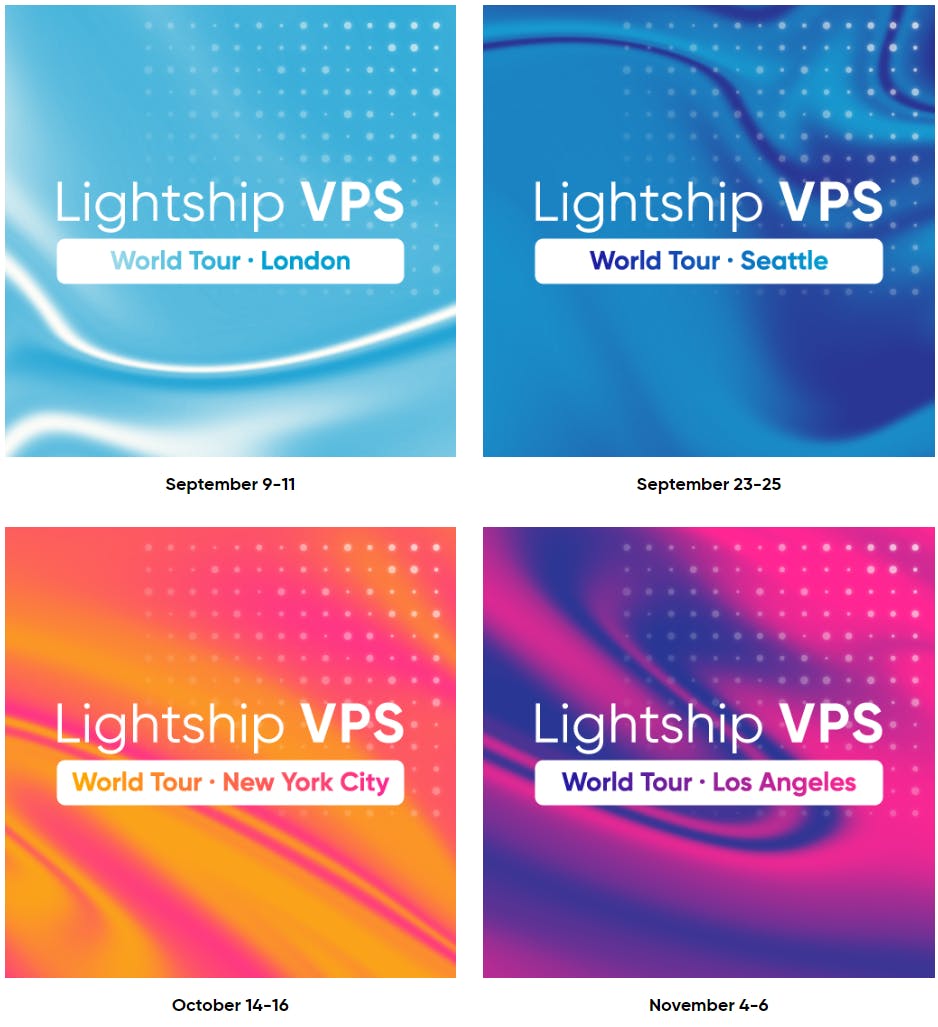
Note: 🎉 At the moment when I'm writing this, there's still time to join the New York or Los Angeles events!
In the next sections I'll mention some details of the event, a summary of what I worked on for our team's project, share what we made, and some lessons learned.
Day 1
A great welcome!
Even though I've already messed a bit with the ARDK, I wanted to start fresh, so I joined the optional starter session which was really cool! The Niantic folks then gave a quick talk on the game jam structure, submission process and the prize(🏆) for the winning team. Afterwards we got some time to hang out with other participants and to form teams.
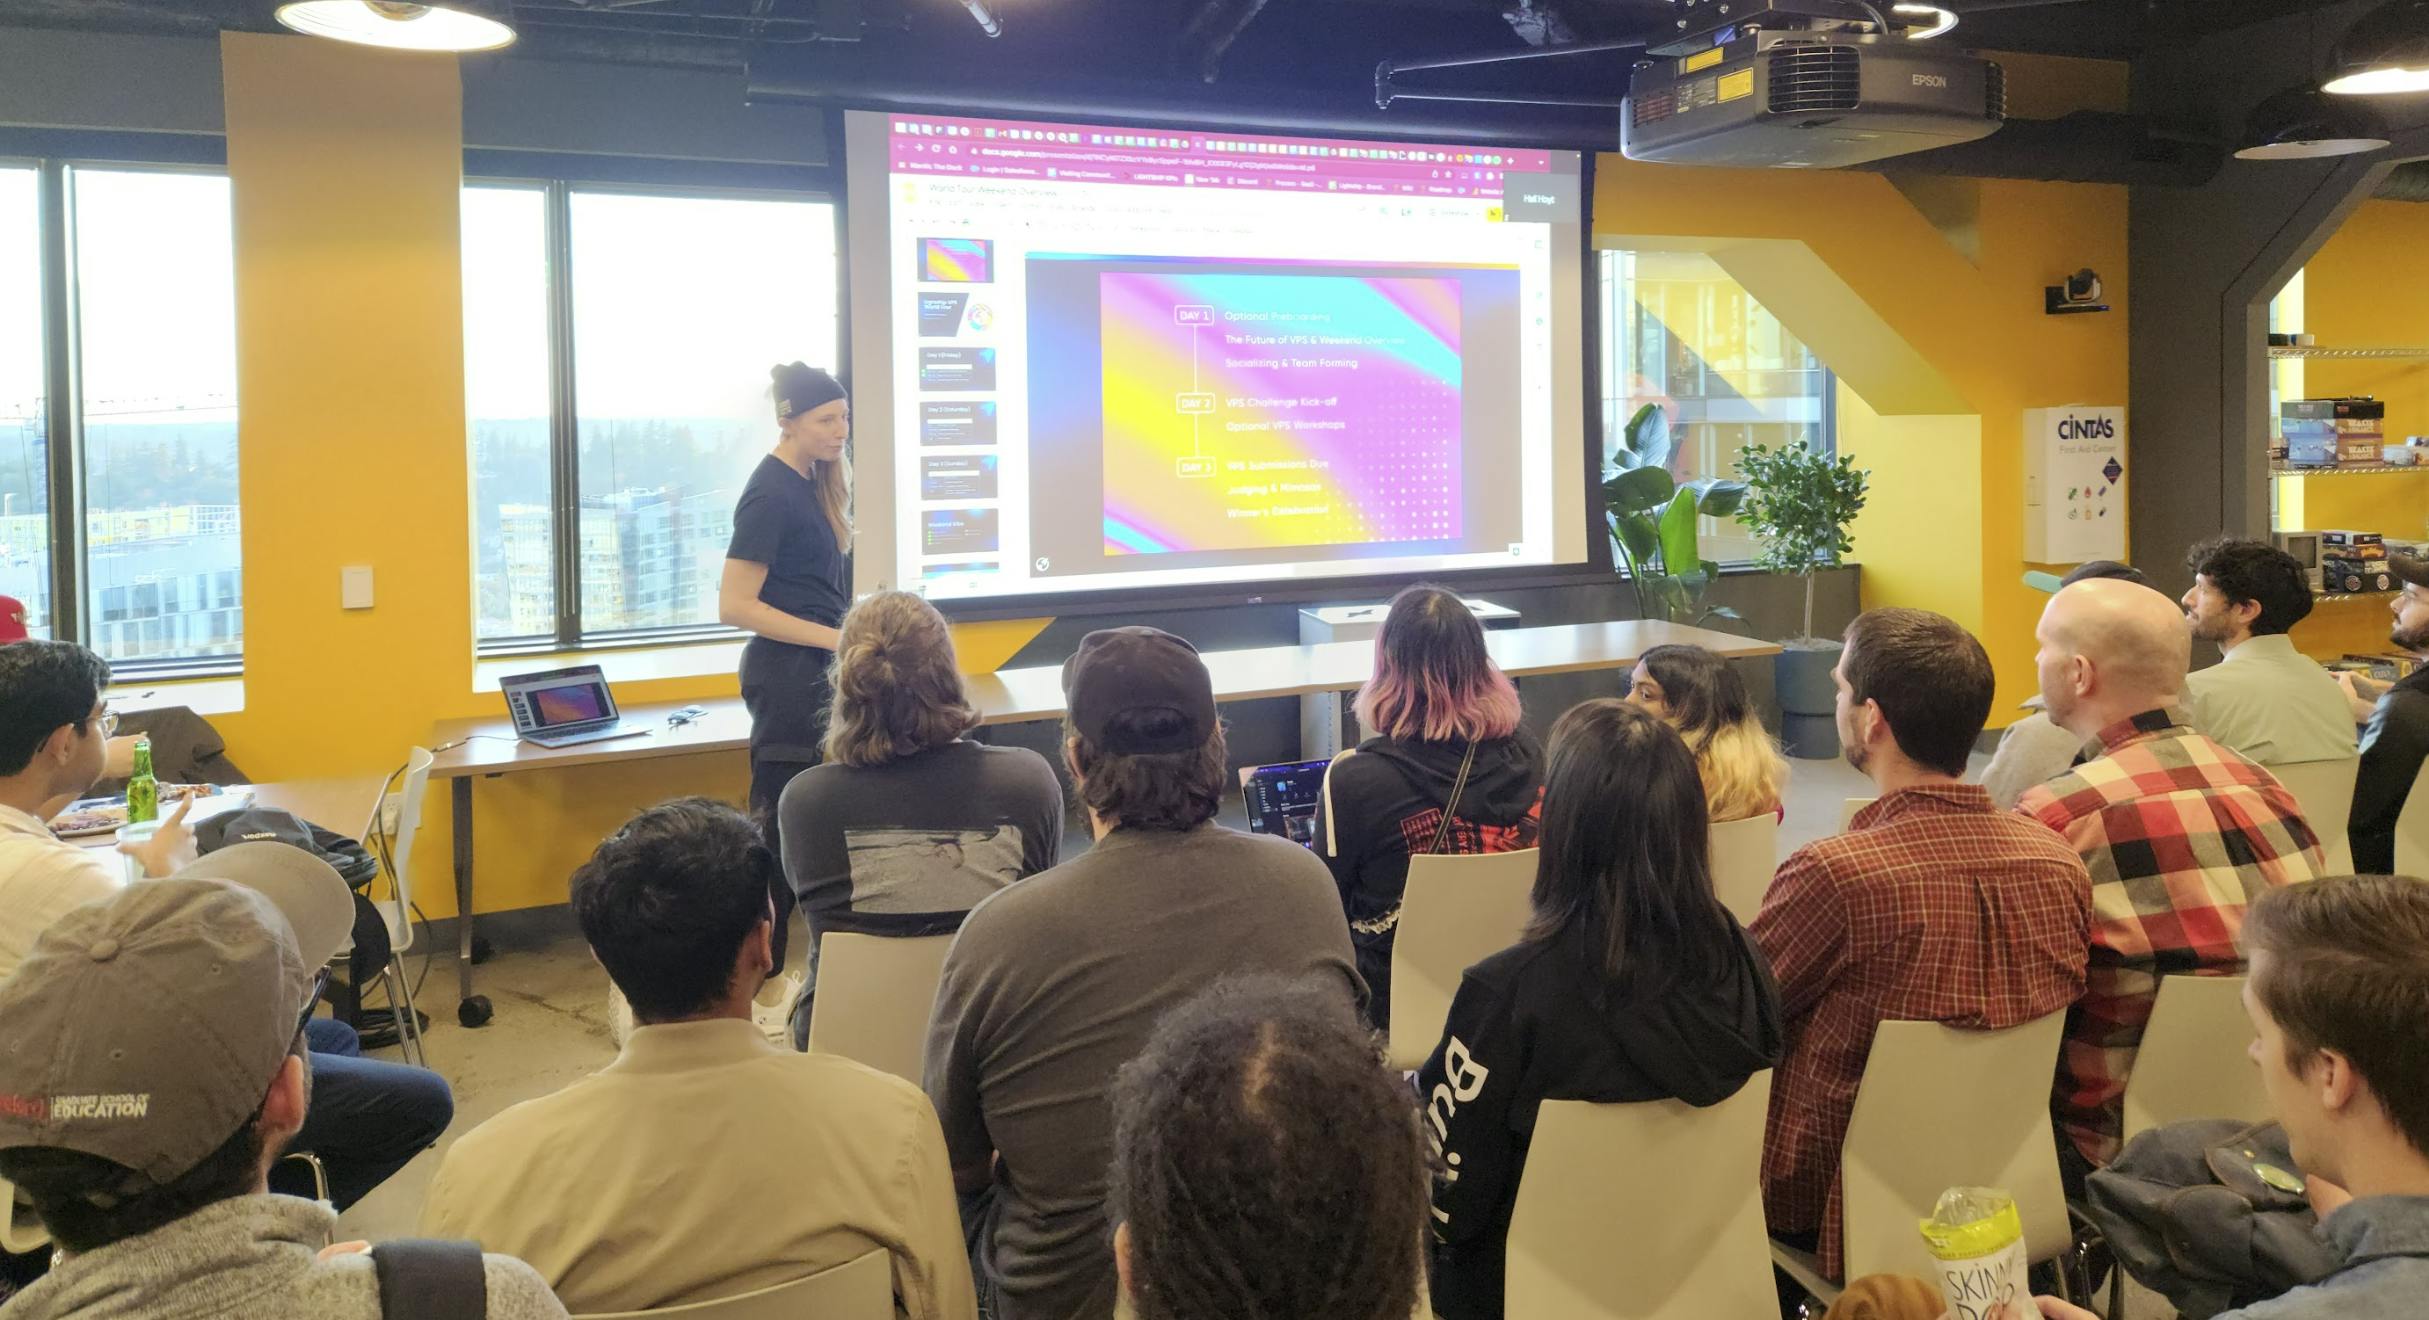
One thing I noticed is that there was a wide range of participants including professional programmers with no game development experience and no AR experience, some folks who only knew a little bit of Unity, folks who had experience making AR apps, non-technical folks with game development experience, pure beginners, etc. So even though you have to technically apply to participate, don't sweat it if you feel you don't have that much experience, or if you're still starting in your career.
Teams!
We formed our team and decided on wanting to make an arcade game where people could come in and compete with other players that had played before. We wanted to add a small leaderboard of player scores that new challenges could come in and try to beat the top 5 scores.

Meet team Insert Coin! 😁
Adding UGS to our project
Since our initial idea required retrieving data from a server, I volunteered to handle the part of adding the Unity Gaming Services (UGS) and use Remote Config to load game settings and values from Unity's servers. With this service, you can launch new features, test functionality, or make general modifications without requiring app updates or code changes.
First step of working with a project on the Unity dashboard is to create an organization:
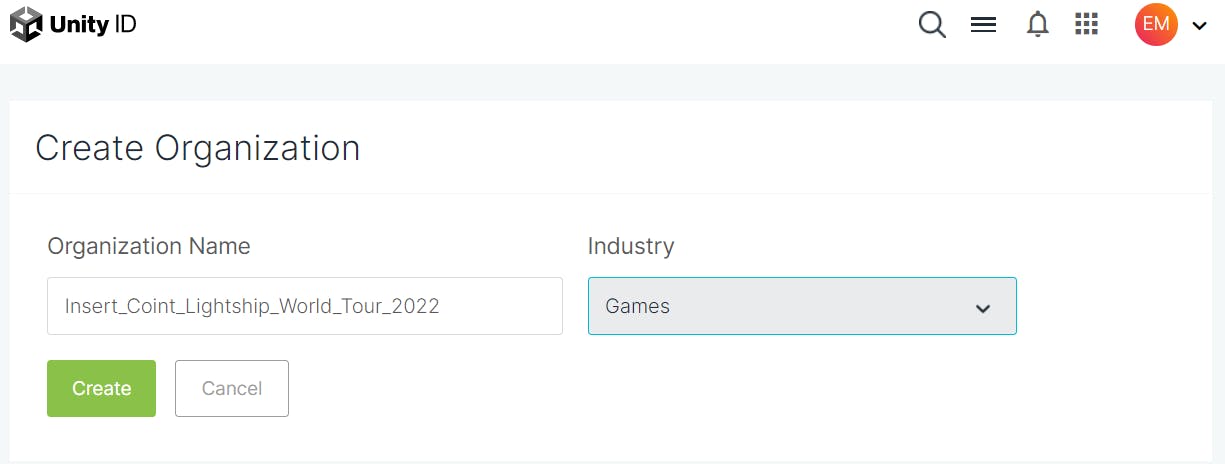
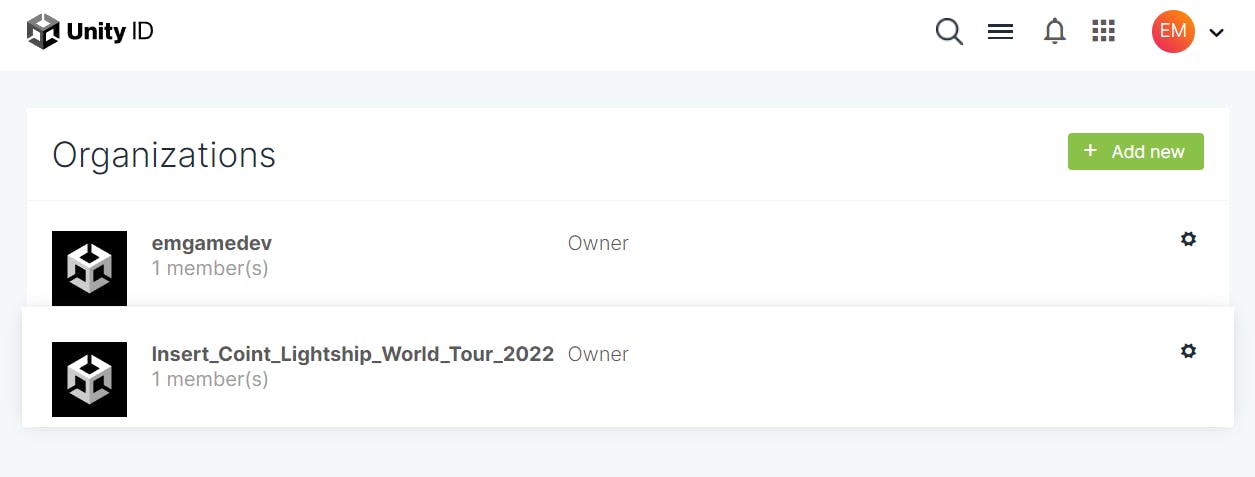
After those quick steps, you'll have the created organization ready:
Now it's time to create your organization's project. Simply write in your project name, and answer whether your project is for children:
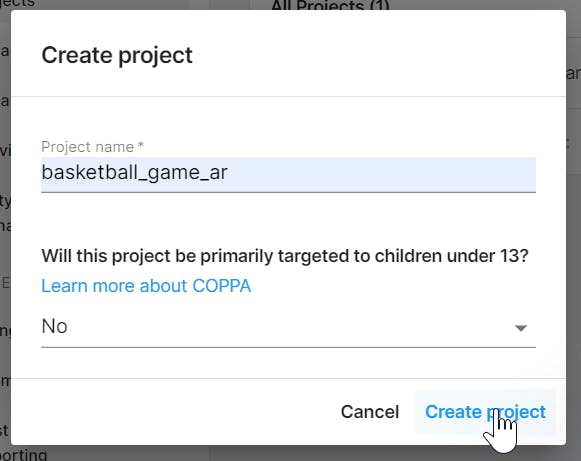
And that's it! Now we're going to setup Remote Config service:

Click on that setup button shown before, and then you'll add your first key value:
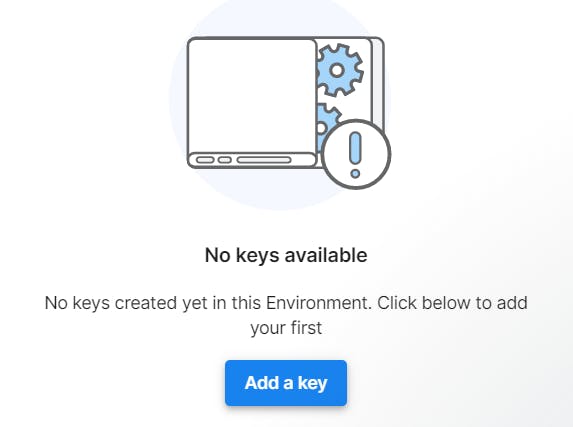
I decided to originally set up the player leaderboard data using a JSON structure:
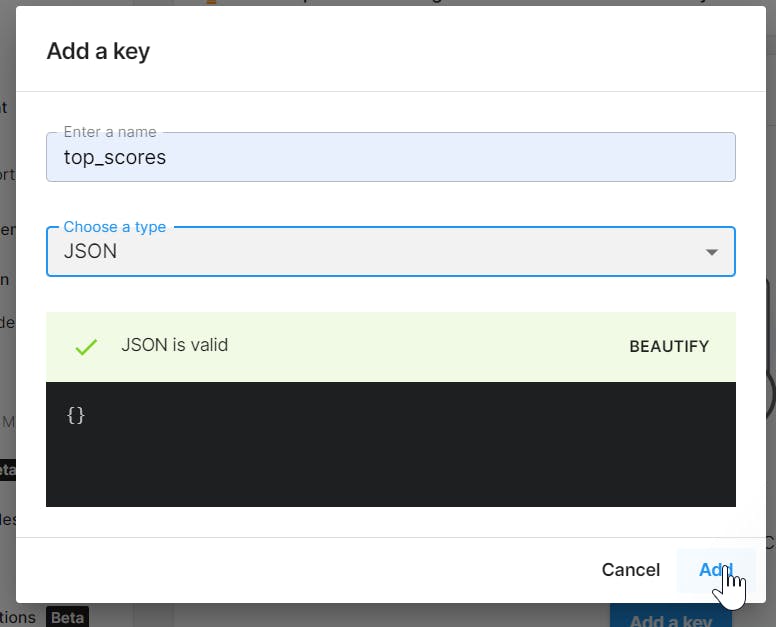
This is the default value of a JSON entry:
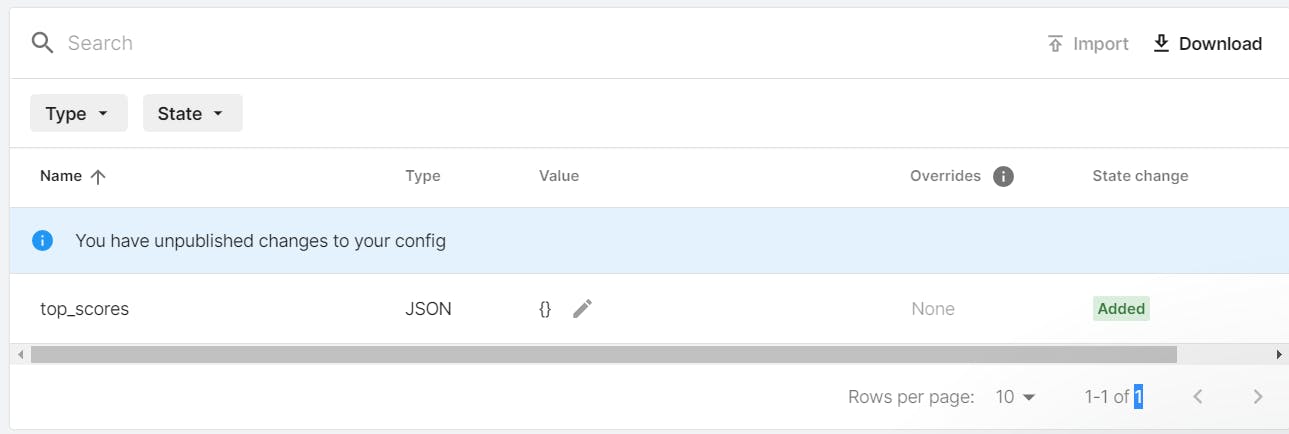
So now we go ahead and update it by clicking on this icon:

Afterwards I added some default scores, and that's it! The remote configurations were ready.:

I'm really good at this game, I swear! 🏀
Now we need to install the remote config package in our Unity project. We can find it in the Package Manager window:

Afterwards, we tie the Unity dashboard project with our Unity project by choosing the organization and project on the Services tab in the Project Settings window:
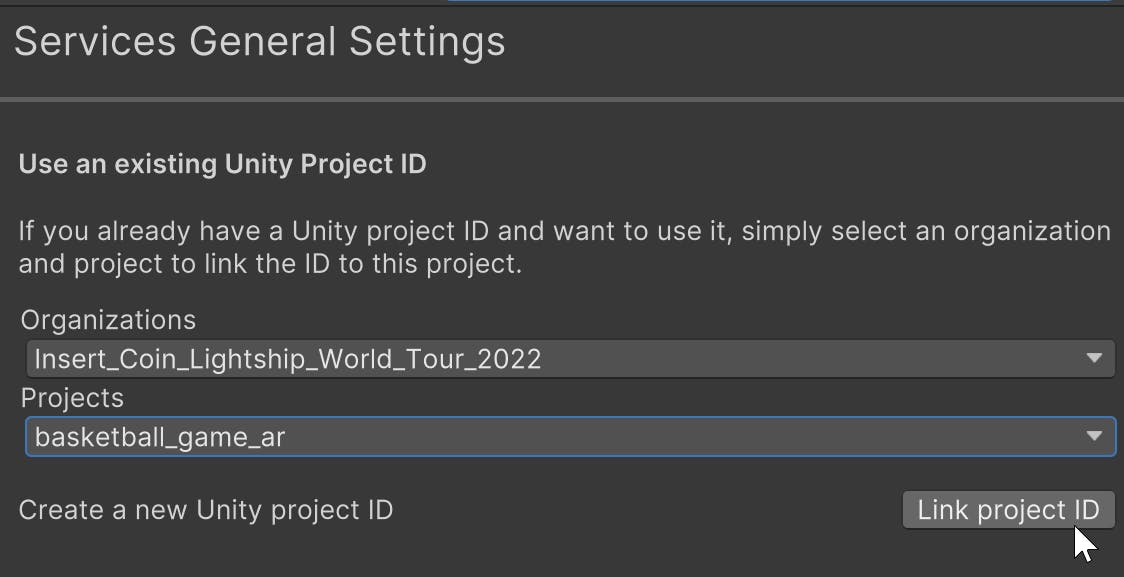
On the sample scene, create a new empty object called RemoteConfigTester:

Added a new script called RemoteConfigTester:
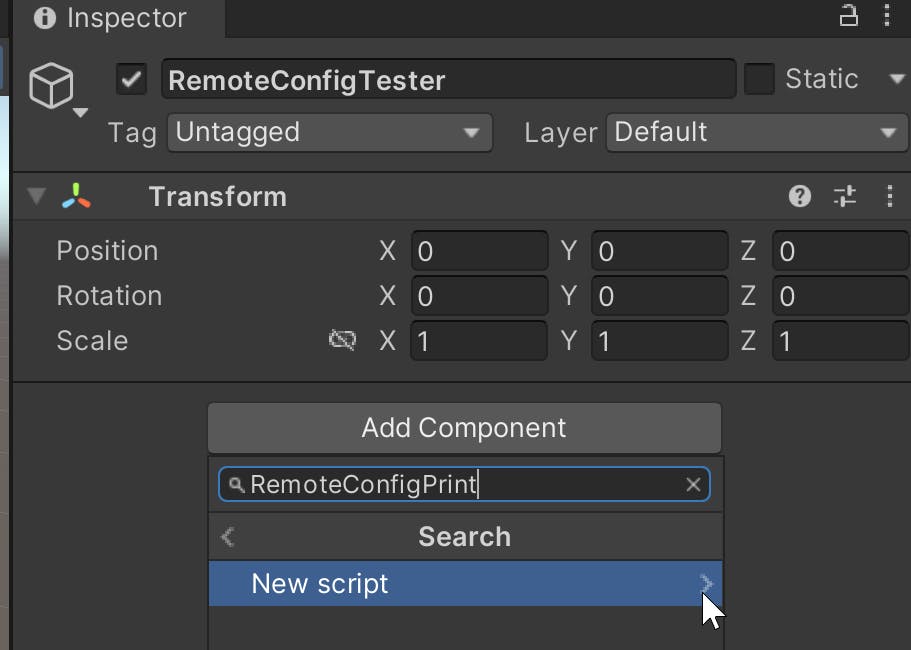
Day 2
Defining some data classes
Since we want to register players, let's represent these in a Player class. This will live in its own file:
[System.Serializable]
public class Player
{
    public System.Guid playerId;
    public string playerName;
    public int playerScore;
}
We need to first add some user and application attributes, it's part of the interface of the Remote Config package. But in the end these attributes are actually optional, so we can represent these attributes as empty structures:
public struct userAttributes
{
    // add optional user attributes here...
}

public struct appAttributes
{
    // add optional app attributes here...
}
Woops! First fail! 😎
So Jumping ahead a bit, I ran into my first fail and first lesson 😂. I tried using Unity's JSON serialization to parse the JSON data and transfer that data to a Player object. I realized that I was not using this correctly, by including 5 player scores in 1 JSON object. I tried representing all of that data in 1 object, but no luck.
I needed to move fast, since we only had 1 day to make our game. This is why I decided to store all of the same data (id, name, and score) for each player in a single string. I decided to quickly use the following format:
[unique id] , [player name], [player score] ; [...],[...],[...] ; [...],[...],[...] ; ...
The string will hold all of the player values. Each player data will be separated by ;, and each player data field is separated by ,.
Went back to the Unity dashboard project and added this new key value:
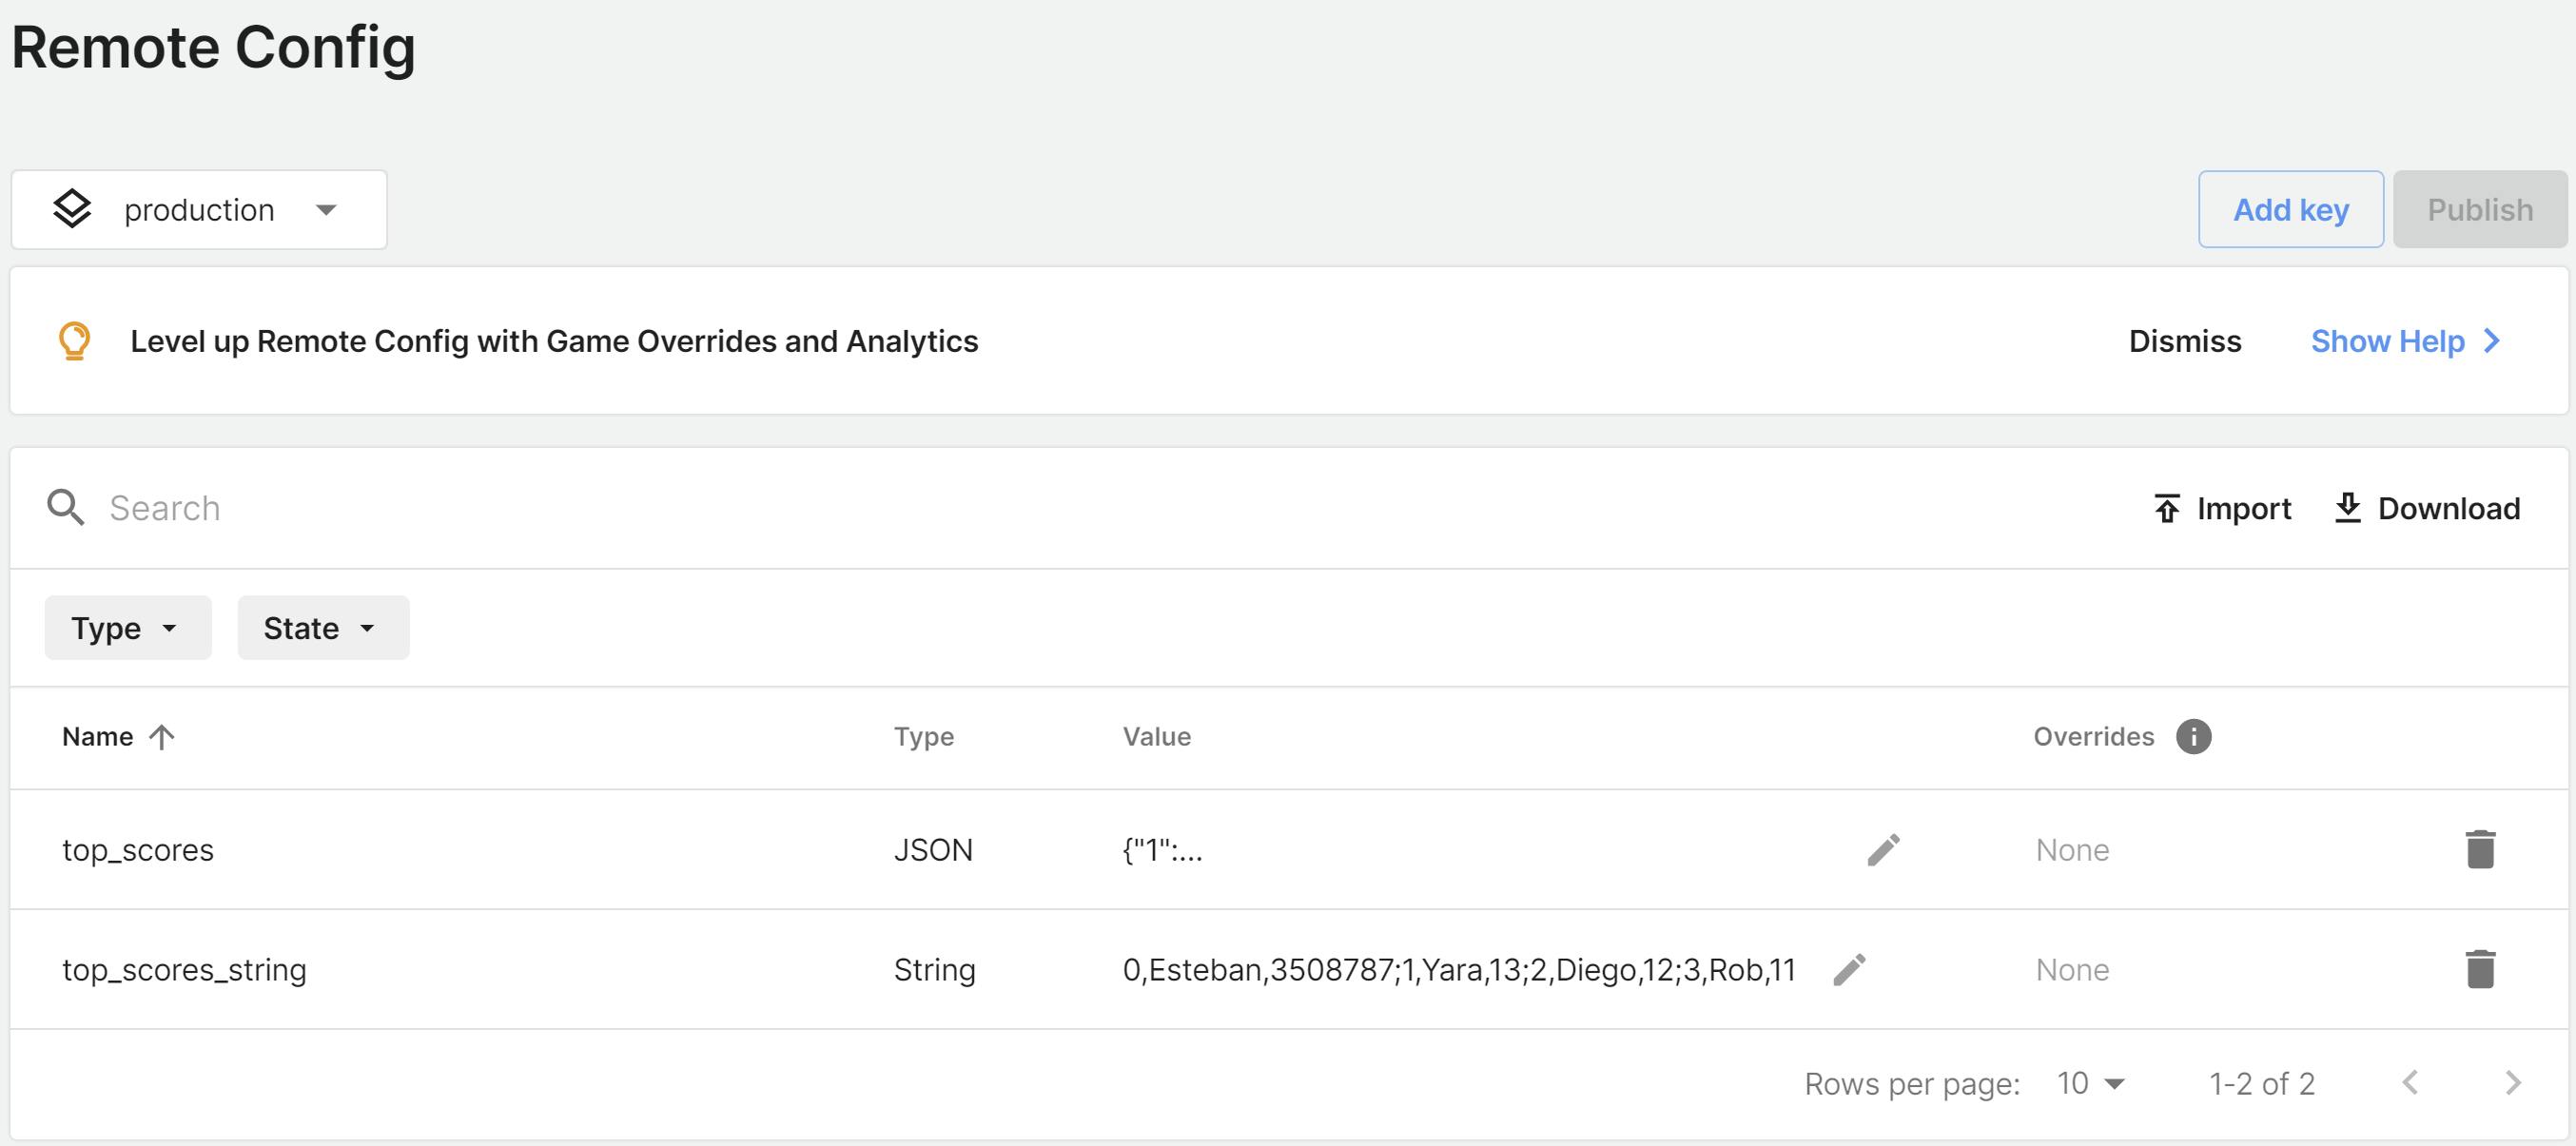
Here's how it looks in the editor:

Reading remote config data!
Here's my parser class to read in the formatted string:
using UnityEngine;

static public class PlayerParser
{
    static public Player GetPlayerFromString(string playerDataFormatted)
    {
        var topScorePlayer = new Player();

        var topScoreSpecificRawStr = playerDataFormatted.Split(',');

        if (topScoreSpecificRawStr.Length != 3)
        {
            Debug.Log("ERROR PARSING!");
        }
        else
        {
            System.Guid.TryParse(topScoreSpecificRawStr[0], out topScorePlayer.playerId);
            topScorePlayer.playerName = topScoreSpecificRawStr[1];
            int.TryParse(topScoreSpecificRawStr[2],out topScorePlayer.playerScore);
        }

        return topScorePlayer;
    }

    static public string GetFormattedStringFromPlayer(Player player)
    {
        return $"{player.playerId},{player.playerName},{player.playerScore}";
    }
}
Now we have a way to parse the string to get a player object, and and format a Player object into a string. We'll now create a class to test reading values from the cloud.
Let's create a new script component, based on the Remote Config documentation.
public class RemoteConfigPrint : MonoBehaviour
{
    private float timerToUpdate = 2f;
    private bool didUpdate = false;
    private string topScoresStringFromRemoteConfig;
    private readonly List<Player> m_players = new List<Player>();

    // Retrieve and apply the current key-value pairs from the service on Awake:
    private async void Awake()
    {
        // initialize Unity's authentication and core services, however check for internet connection
        // in order to fail gracefully without throwing exception if connection does not exist
        if (Utilities.CheckForInternetConnection())
        {
            await InitializeRemoteConfigAsync();
        }

        // Add a listener to apply settings when successfully retrieved:
        RemoteConfigService.Instance.FetchCompleted += ApplyRemoteSettings;

        // Set the user�s unique ID:
        RemoteConfigService.Instance.SetCustomUserID("some-user-id");

        // Set the environment ID (Use the one from your dashboard project):
        RemoteConfigService.Instance.SetEnvironmentID(".....");

        // Fetch configuration settings from the remote service:
        RemoteConfigService.Instance.FetchConfigs<userAttributes, appAttributes>(
            new userAttributes(),
            new appAttributes()
        );
    }

    private void Update()
    {
        if (didUpdate)
            return;

        timerToUpdate -= Time.deltaTime;

        if (timerToUpdate <= 0f)
        {
            populatePlayers();

            randomizePlayerScores();

            didUpdate = true;
        }
    }

    private async Task InitializeRemoteConfigAsync()
    {
        // initialize handlers for unity game services
        await UnityServices.InitializeAsync();

        // remote config requires authentication for managing environment information
        if (!AuthenticationService.Instance.IsSignedIn)
        {
            await AuthenticationService.Instance.SignInAnonymouslyAsync();
        }
    }

    private void ApplyRemoteSettings(ConfigResponse configResponse)
    {
        topScoresStringFromRemoteConfig = "nonthing read...";

        switch (configResponse.requestOrigin)
        {
            case ConfigOrigin.Default:
                Debug.Log("No settings loaded this session; using default values.");
                break;
            case ConfigOrigin.Cached:
                Debug.Log("No settings loaded this session; using cached values from a previous session.");
                break;
            case ConfigOrigin.Remote:
                Debug.Log("New settings loaded this session; update values accordingly.");
                topScoresStringFromRemoteConfig =
                    RemoteConfigService.Instance.appConfig.GetString("top_scores_string");
                break;
        }

        Debug.Log($"Loaded values are: {topScoresStringFromRemoteConfig}");
    }

    private void populatePlayers()
    {
        string[] topScoresRawStrings = topScoresStringFromRemoteConfig.Split(';');

        foreach(string topScoreRawStr in topScoresRawStrings)
        {
            Player topScorePlayer = PlayerParser.GetPlayerFromString(topScoreRawStr);
            m_players.Add(topScorePlayer);

            Debug.Log($"player id: {topScorePlayer.playerId}, player name: " +
                $"{topScorePlayer.playerName}, player score: {topScorePlayer.playerScore}");
        }

    }

    private void randomizePlayerScores()
    {
        foreach(Player player in m_players)
        {
            player.playerScore = Random.Range(0, 56);
        }
    }
}
And check it out! We successfully loaded remote values from the cloud and into our game:

You might've noticed that in the end this last script, there's not that much use in it, right? Well you're right! I intended to randomize the player scores, and then update them to the cloud, buuuuut something came up...
Woops! Second fail! 🤣
Unfortunately, I ran into a very simple but very critical error. The remote config SDK does NOT have the functionality to update the values at runtime! So we could still provide a challenge to players, but unfortunately we can't update the top 5 player scores every time someone played and beat one of the high scores.
Oh well! You win some, you lose some! 🤷🏾♂️.
At least I learned how to use the Remote Config library, read game values from the cloud, and I've shared how to this with you! So hopefully you can see how using this service can help you in your own project.
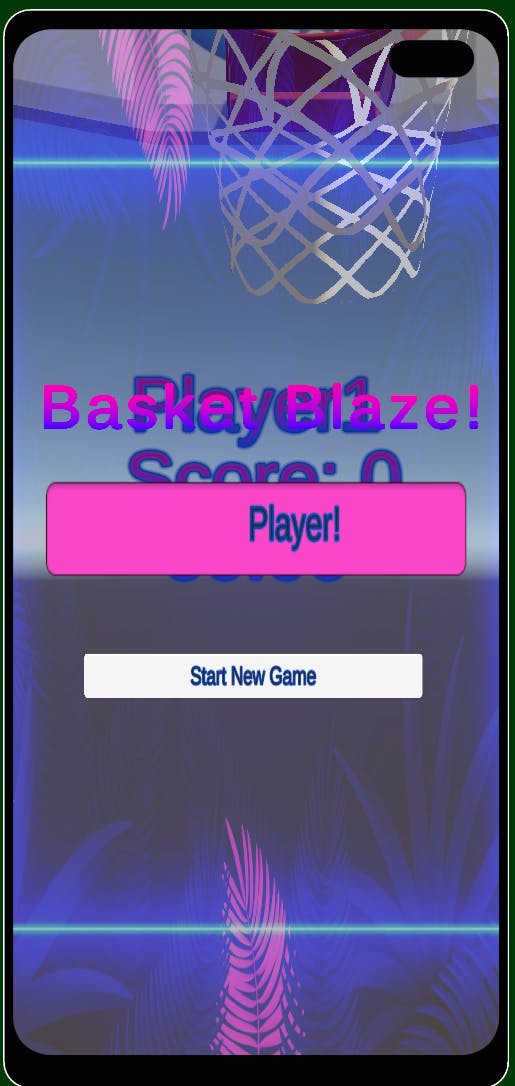
After that, I decided to focus more on the actual basketball shooting mechanic(swipe up to shoot!), and helped out with the game menu UI. One of our teammates had never worked in a game jam before and didn't have that much experience with Unity, so another teammate and I helped out to answer questions:
Day 3
Submissions due! ⌚
All teams were scrambling to test their apps and record their game trailers since all submissions required an up to 1-min. video of the team's project. The submission process was quite easy though. We all just had to submit our project videos in the event itch.io page, add team details and a small game description. Check out all of the submissions listed here! Not bad for realistically having 1 day to make a new app or game.
Here's our final video!
Honestly, it was a lot of fun to join this event and I recommend it to anyone who still has a chance!
And btw nope, our team did not win at all! 😂
That honor went to team yeeDM who made a very cool app for music festivals!
Completed Goals
- Explored even more with Niantic's Lightship technology!
- Managed to create a Unity dashboard project and use the Remote Config service!
- Participated in my first in-person game jam in years!
- Created with my team a small, but functional AR game!
Lessons Learned from Experiment
- AR development definitely requires that you shift your dev mindset!🧠
- Test time can be cut down like crazy by testing in the editor first! ⌚
- Remote config is good for loading game settings from the cloud! 😎
- Also, Remote config is NOT good for uploading values at run-time! 😅
- The potential for XR technology in the future is huge! 📈
Please let me know what you think!
- Have you built games/projects with Lightship?
- Would you like to use XR in your next project?
- How do you feel about XR in general?
🎉🎉🎉 Happy building! 🎉🎉🎉
